Looking for the best balcony gardening books for small outdoor spaces? ðŋ I put together a helpful roundup of practical guides for growing plants, herbs, and flowers on balconies of any size. Perfect if you want fresh ideas and simple advice for making the most of a small outdoor space.
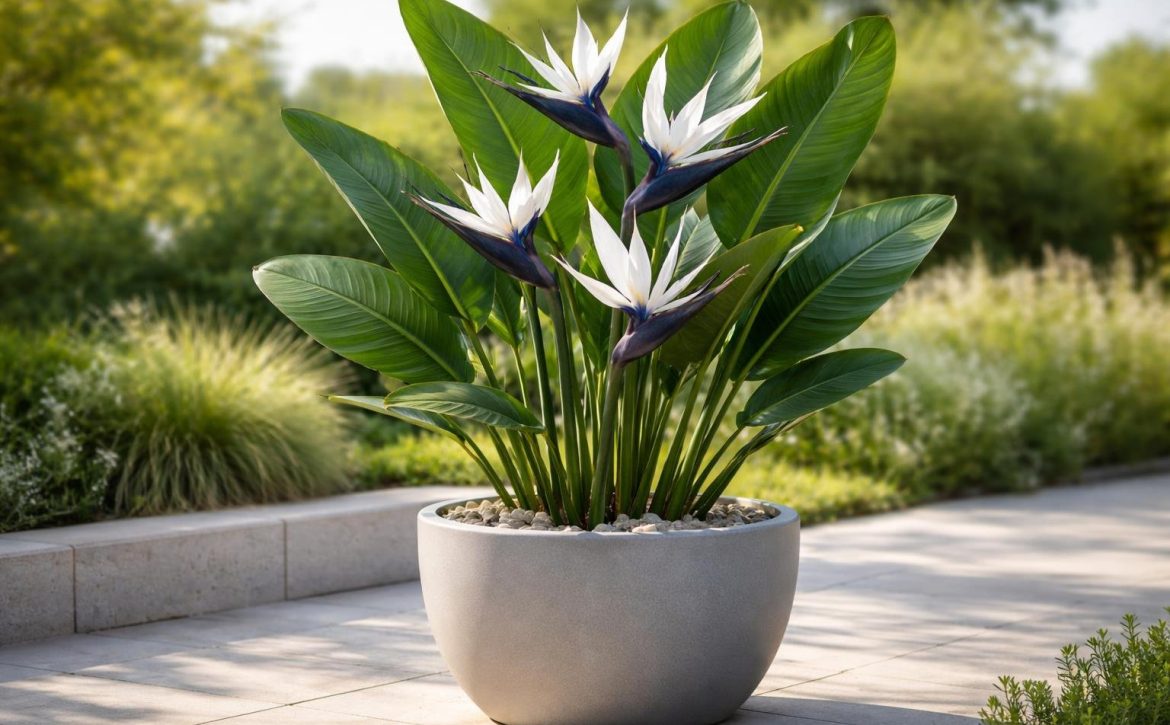
If you’ve been searching for that one plant that’s going to completely transform your patio, balcony, or front entryway this season â you just found it.
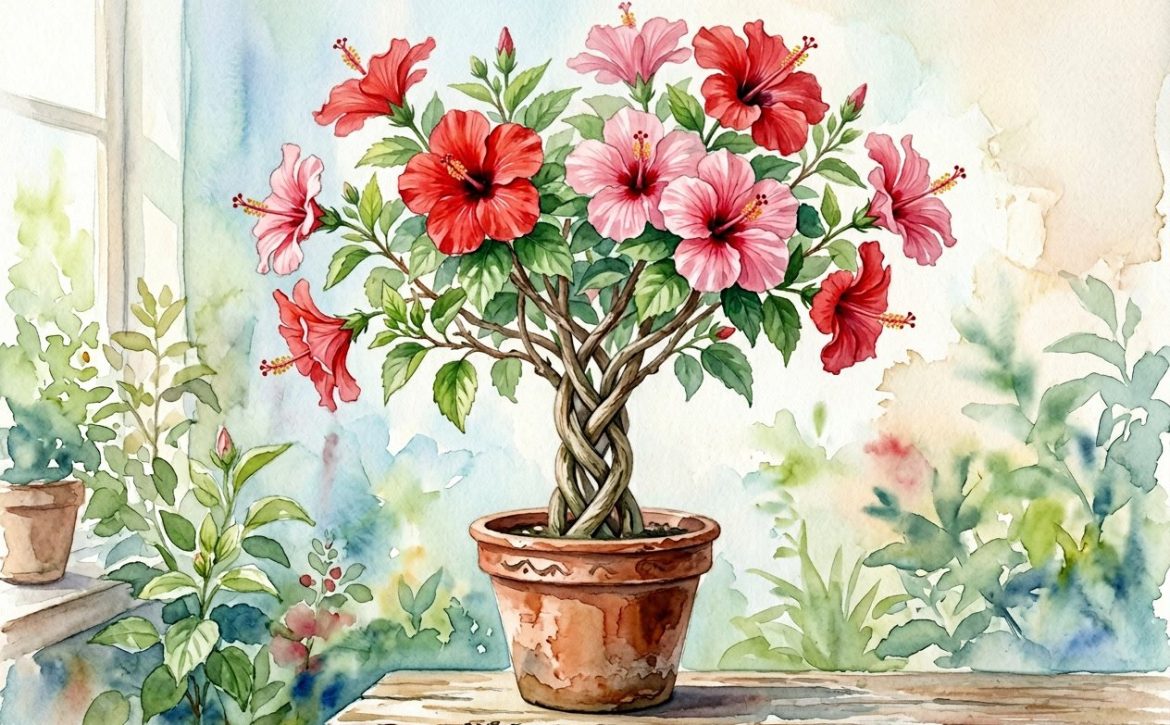
The braided hibiscus is hands-down one of the most spectacular plants you can grow in a container, and once you see one in person, you’ll totally understand why. We’re talking about a true living sculpture â an elegantly braided trunk topped with a lush, full canopy of glossy green leaves and enormous, vibrant tropical blooms that just keep coming all season long. It has this incredible, almost dramatic presence that instantly elevates any outdoor space from ordinary to wow.
The best part? Despite its showstopper appearance, the braided hibiscus is surprisingly straightforward to care for â and because it thrives in a container, you can grow it anywhere in the United States, no matter what climate zone you’re in.
In this complete care guide, I’m walking you through everything you need to know â from sunlight and watering to pruning, overwintering, and troubleshooting common problems. Whether you’re a first-time hibiscus grower or adding a new statement piece to your collection, I’ve got you covered.
Braided hibiscus care requires bright light, consistent watering, regular fertilizing during the growing season, and protection from cold temperatures below 50°F. Many people struggle to keep their braided hibiscus thriving because these plants have particular needs that differ from typical houseplants. Getting the basics right makes all the difference between a plant that barely survives and one that produces beautiful blooms.
You’ll learn everything you need to know about caring for your braided hibiscus throughout the year. From choosing the right spot and watering schedule to dealing with common problems, this guide covers all the essential information to help your plant flourish.
Key Takeaways
Braided hibiscus needs bright light, well-draining soil, and temperatures above 50°F to grow well
Water when the top inch of soil feels dry and fertilize every two weeks during spring and summer
Move your plant indoors before frost arrives and reduce watering during the winter months
What Is A Braided Hibiscus?
A braided hibiscus plant is a tropical hibiscus with multiple stems twisted together to create a decorative braided trunk. The stems are carefully woven while they’re young and flexible, then they grow together over time to form one solid trunk.
Most braided hibiscus plants feature three or more stems that nurseries braid when the plants are still small. As the plant matures, the braided section becomes woody and permanent.
Common Features:
Height: Typically grows 4-6 feet tall indoors
Flowers: Large, colorful blooms in red, pink, orange, yellow, or white
Trunk: Multiple stems twisted into a braid pattern
Foliage: Dark green, glossy leaves
The braided trunk gives your plant a unique look that makes it stand out from regular hibiscus trees. You’ll find these plants sold as ornamental houseplants or patio decorations.
The top of the plant grows like a normal hibiscus with branches, leaves, and flowers spreading out above the braided section. Only the lower trunk stays braided.
Important to Know:
The braid doesn’t affect how the plant grows or blooms
You can’t unbraid the stems once they’ve grown together
The plant needs the same care as non-braided hibiscus varieties
Your braided hibiscus plant is essentially a standard tropical hibiscus with a decorative trunk design. It produces the same beautiful flowers and requires similar growing conditions as other hibiscus plants.
Your braided hibiscus care needs vary by where you live. These tropical plants grow best in warm climates but can adapt to different zones with proper care.
Zones 5â7 (Cold Climates)
You’ll need to grow your braided hibiscus in a container in these zones. Bring it indoors before the first frost in fall. Keep it in a bright room with temperatures between 60°F and 70°F during winter.
Water your plant less frequently when it’s indoors. You can move it back outside after the last spring frost when nighttime temperatures stay above 50°F.
Zones 8â9 (Moderate Climates)
Your braided hibiscus can stay outdoors year-round with winter protection. Add a thick layer of mulch around the base before cold weather arrives. Cover the plant with frost cloth when temperatures drop below 40°F.
You might see some leaves drop in winter, but your plant should recover in spring.
Zones 10â11 (Warm Climates)
These zones offer ideal conditions for braided hibiscus care. Your plant can live all year outdoors without protection. Water regularly and provide afternoon shade in the hottest areas.
Zone
Winter Care
Location
5â7
Move indoors
Container only
8â9
Mulch and frost protection
Can be planted in the ground
10â11
No special protection
In-ground or container
All zones need well-draining soil and regular fertilizing during the growing season. Your braided hibiscus will bloom best with at least six hours of sunlight daily.
Sunlight, Soil & Watering
Your braided hibiscus needs plenty of bright light to grow well. Place it near a window where it gets at least 6 hours of direct sunlight each day. If you don’t have a sunny spot, your plant might not bloom as much.
The right soil makes a big difference for your hibiscus. Use a well-draining potting mix that doesn’t hold too much water. You can add perlite or sand to regular potting soil to improve drainage.
Soil Requirements:
pH level between 6.0 and 7.0
Rich in organic matter
Good drainage to prevent root rot
Watering your braided hibiscus correctly keeps it healthy. Check the soil by sticking your finger about 2 inches down. Water when the top layer feels dry to the touch.
During warm months, you’ll need to water more often. Your plant might need water every 2-3 days in summer. In winter, cut back to once a week or less.
Watering Tips:
Water until it drains from the bottom holes
Empty the saucer after 15 minutes
Never let roots sit in standing water
Use room temperature water
Yellow leaves often mean you’re watering too much. Brown, crispy edges mean your plant needs more water. Watch your hibiscus closely and adjust your watering schedule based on what you see.
The container you use matters too. Pick a pot with drainage holes at the bottom. This prevents water from pooling around the roots and causing problems.
Fertilizing & Pruning
Your braided hibiscus needs regular feeding during its growing season. Feed it every two weeks from spring through summer with a balanced liquid fertilizer. Use a formula like 10-10-10 or 20-20-20 diluted to half strength.
Stop fertilizing in fall and winter when growth slows down. Too much fertilizer can burn the roots and damage your plant.
Pruning Schedule:
Early spring: Major shaping
Throughout growing season: Light trimming
After flowering: Remove spent blooms
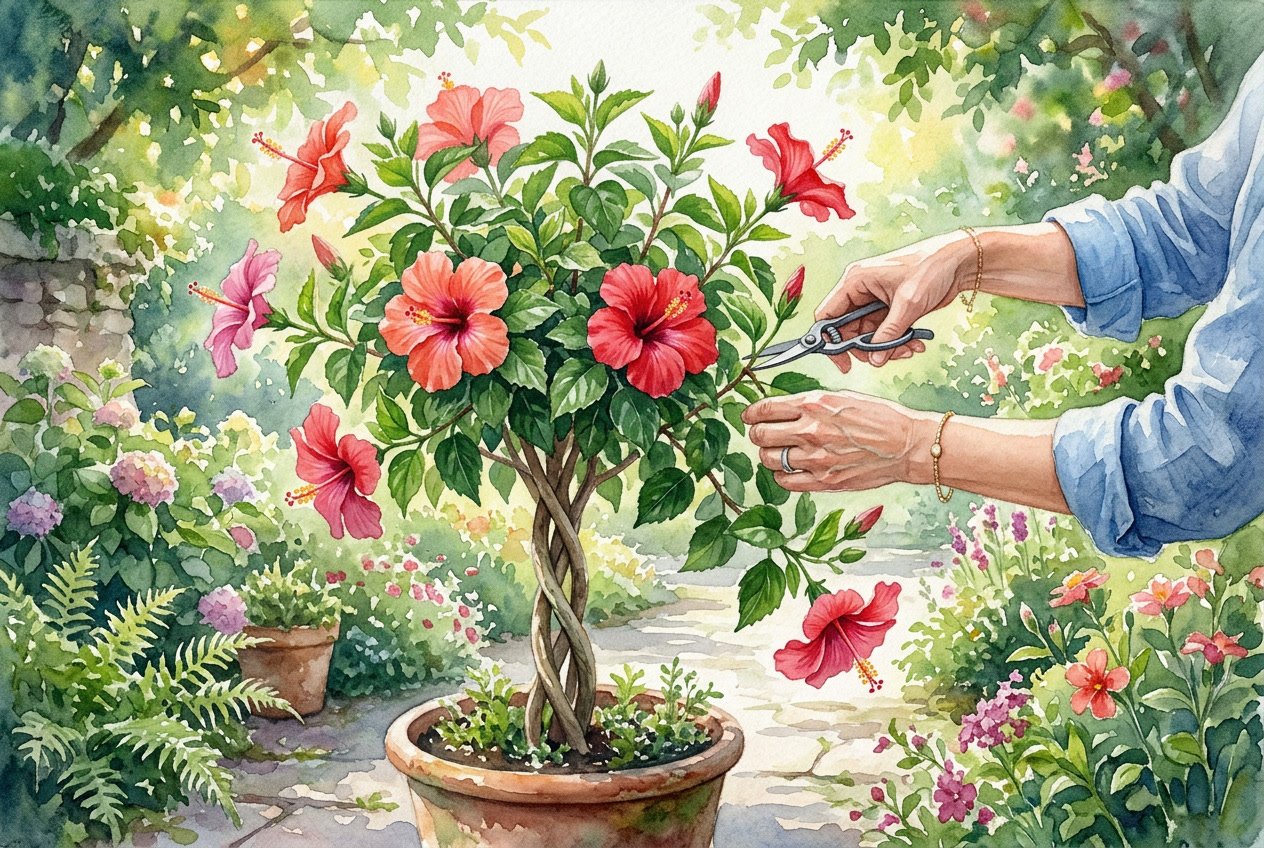
Prune your braided hibiscus in early spring before new growth starts. Cut back leggy branches to maintain the tree shape. Remove any dead, damaged, or crossing branches.
You can trim lightly throughout the year to keep the canopy neat. Cut just above a leaf node at a 45-degree angle. This encourages bushier growth and more flowers.
Always use clean, sharp pruning shears to make smooth cuts. Dirty tools can spread disease to your plant.
Don’t prune too much at once. Remove no more than one-third of the plant at any time. Heavy pruning stresses the plant and reduces flowering.
The braided trunk doesn’t need pruning. Only trim growth that appears below the braid or shoots coming directly from the trunk. These shoots take energy away from the main canopy.
Pinch off faded flowers regularly. This process, called deadheading, encourages your hibiscus to produce more blooms.
Overwintering Guide
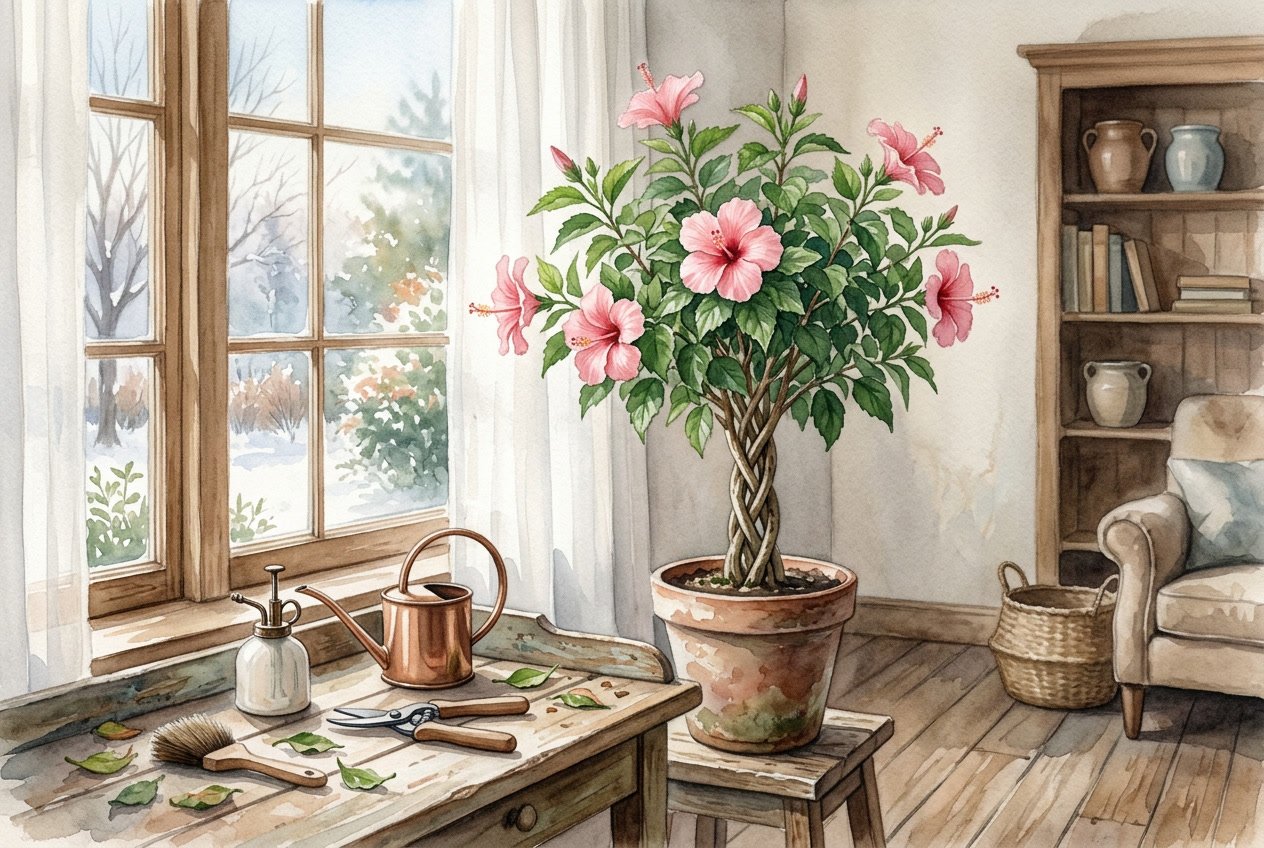
Your braided hibiscus needs special care when temperatures drop below 50°F. These tropical plants can’t survive frost, so you’ll need to bring them indoors before the first cold snap arrives.
Start preparing your plant about a month before your area’s first expected frost date. Check the stems and leaves carefully for pests like aphids or spider mites. Treat any problems before bringing the plant inside to avoid spreading bugs to your other houseplants.
When you overwinter braided hibiscus indoors, choose a spot that gets plenty of bright light. A south-facing window works best. The indoor temperature should stay between 55°F and 70°F throughout winter.
Your plant will likely go through an adjustment period and may drop some leaves. This is normal and nothing to worry about. Cut back on watering during the winter months since the plant grows more slowly in lower light conditions. Let the top inch of soil dry out between waterings.
Winter Care Checklist:
Water less frequently than in the summer months
Maintain humidity levels around 40-50%
Rotate the plant weekly for even light exposure
Skip fertilizing until spring growth returns
Watch for dry leaf edges indicating low humidity
You might notice fewer blooms during winter. This happens because hardy and tropical hibiscus varieties respond to shorter daylight hours and reduced light intensity. Once spring arrives and you move your braided hibiscus back outdoors, it will perk up and resume regular blooming.
Keep the plant away from cold drafts, heating vents, and exterior doors during winter months.
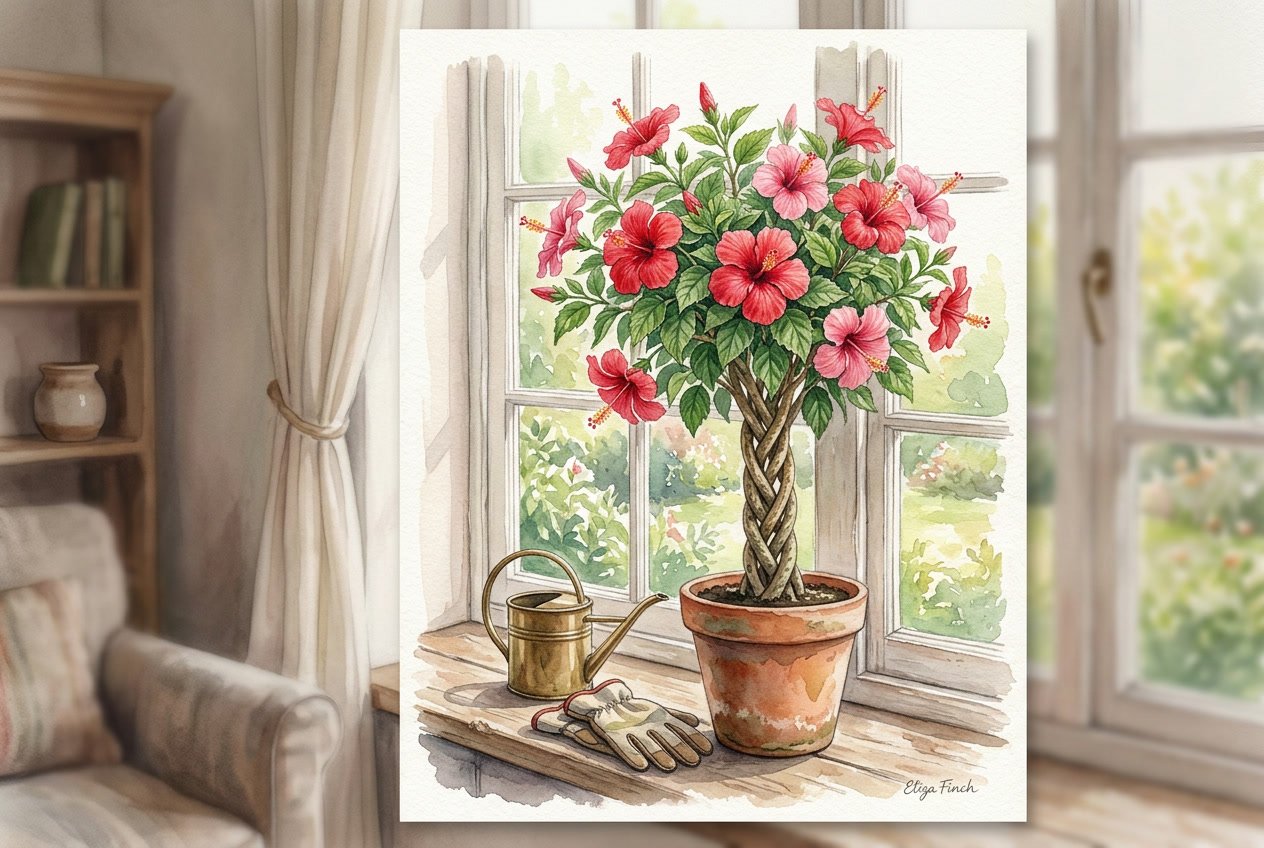
Common Problems & Fixes
Your braided hibiscus might face a few common issues, but most are easy to fix.
Yellow leaves usually mean you’re watering too much or too little. Check the soil with your finger. If it’s soggy, cut back on water and make sure your pot drains well. If it’s bone dry, water more often.
Dropping leaves can happen when your plant gets stressed. This might be from moving it to a new spot, cold drafts, or sudden temperature changes. Keep your hibiscus in a stable environment away from heating vents and cold windows.
No flowers often means your plant needs more light. Move it closer to a bright window or add a grow light. Your hibiscus also needs fertilizer during the growing season to produce blooms.
Sticky leaves or small bugs point to pests like aphids or spider mites. Spray your plant with insecticidal soap or neem oil. You might need to repeat this treatment every few days until the bugs are gone.
Brown leaf tips suggest low humidity or salt buildup from tap water. Mist your plant regularly or use a humidifier. Try switching to filtered or distilled water if you have hard water.
Wilting despite wet soil could mean root rot. Take your plant out of its pot and check the roots. Healthy roots are white or tan. If they’re brown and mushy, trim the damaged parts and repot in fresh soil.
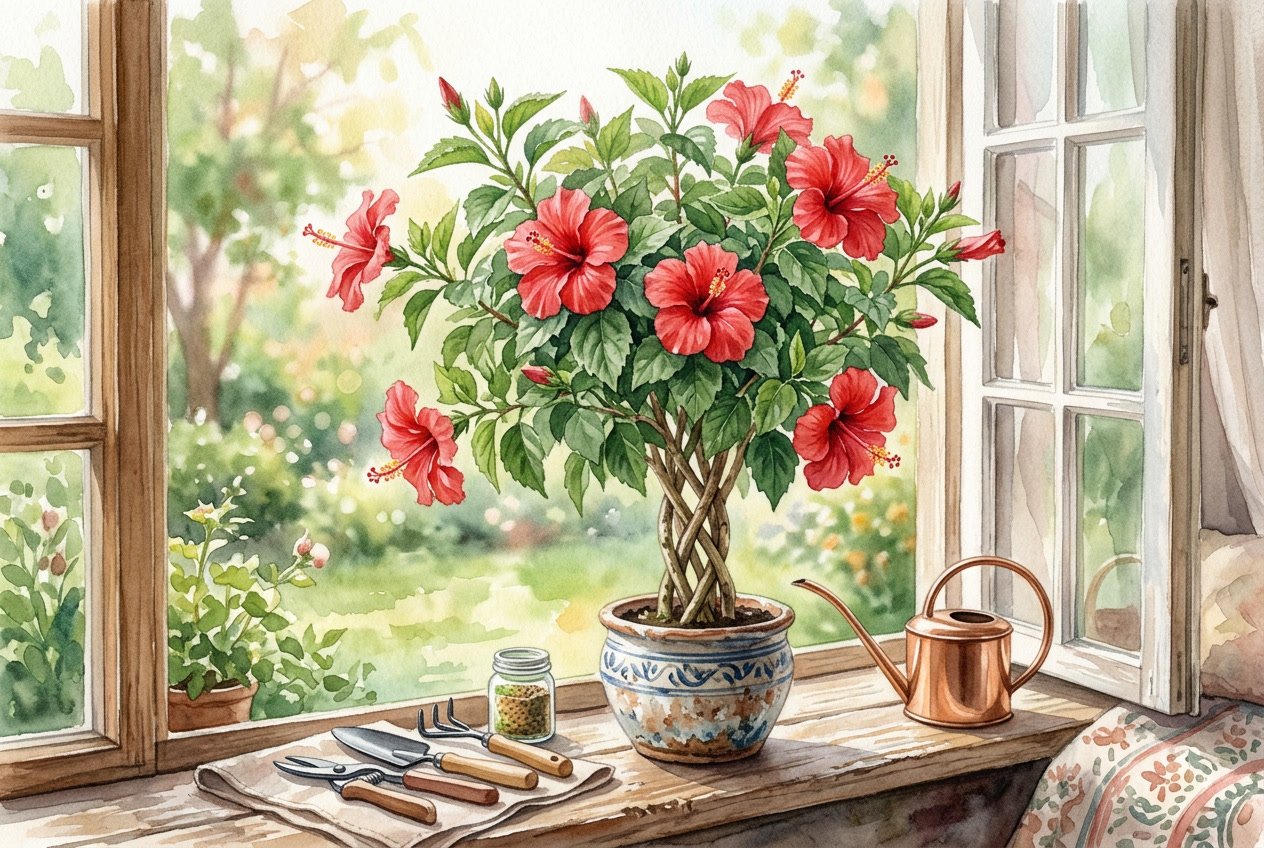
Where To Buy a Braided Hibiscus
If you’re ready to get your hands on one of these living sculptures, I can save you some time and point you straight to an option I’ve found.
Costa Farms is one of the most trusted and respected growers in the country, and their braided hibiscus is absolutely the real deal. What I love about this particular listing is that you’re not getting tiny little starter plants â you receive two already-established, healthy 20-inch-tall braided hibiscus trees shipped right to your door via Amazon Prime.
Two plants means you can:
Create a stunning symmetrical entrance flanking your front door
Place one on the patio and one by the pool
Gift one to a fellow plant-loving friend ðš
I’ve seen these sell out fast once spring hits, so if you’re reading this during the growing season, don’t wait too long!
ðŠī Too busy to water every few days? You can still enjoy a lush, green space! ðŋ Discover the best plants that thrive on neglect â from hardy indoor succulents to outdoor favorites that practically care for themselves.
Read our ultimate guide to low-maintenance gardening and let nature do the work for you!
ðŠīâïļ Bring life to your balcony this winter! Discover how to create a pollinator-friendly garden that gives bees and butterflies a safe haven all season long. From hardy blooms to easy container tips, you can turn even a small space into a buzzing winter retreat. ðļððĶ
ðŠīâïļ Bring life to your balcony this winter! Discover how to create a pollinator-friendly garden that gives bees and butterflies a safe haven all season long. From hardy blooms to easy container tips, you can turn even a small space into a buzzing winter retreat.
#WinterGarden #PollinatorGarden #Bees #Butterflies #UrbanGardening #BalconyGarden #EcoFriendly #SustainableLiving #GardenTips
Tiny balcony? No problem! Transform it into a lush 2026 paradise with these 10 space-maximizing garden themes. ðŋ From jungle vibes to micro-farmsâpick yours!
Cold months give you time to think, measure, and plan without rushing. You can use winter to plan a balcony garden by reviewing your space, choosing the right plants, and setting a clear plan before spring arrives. This quiet season helps you make smart choices that save time, money, and effort later.
Winter lets you study light, wind, and temperature on your balcony. You can research coldâhardy plants, containers, soil, and simple ways to protect plants from the weather. Planning now also helps you avoid common mistakes with watering, pests, and storage.
Use your Balcony Garden Paradise Journal to gather ideas, sketch layouts, track supplies, and map out each month. A clear plan turns winter into a strong starting point for a healthy, wellâdesigned balcony garden.
Why Winter Is the Perfect Time to Plan a Balcony Garden
Winter gives you time to think, measure, and prepare without pressure. You can review last season, set clear goals, and make practical choices before spring crowds and costs rise.
Advantages of Off-Season Planning
Winter planning helps you avoid rushed decisions. Garden centers stock limited items, but you gain time to research plants, containers, and layouts that fit your space. You can compare prices online and watch for sales on pots, soil, and tools.
Cold weather also shows real conditions on your balcony. You see wind patterns, shade hours, and areas that trap cold air. This information helps you plan a balcony garden with fewer mistakes.
Key advantages include:
Better budgeting and fewer impulse buys
Clear view of light, wind, and exposure
More time to source cold-hardy or compact plants
Planning now reduces waste and saves money later.
Assessing Your Gardening Goals
Winter is ideal for an honest review. You can look at what worked and what failed last year without the distraction of daily care. Think about how you want to use the space and how much time you can commit.
Start by writing simple goals. Keep them realistic and specific to your balcony size.
Common goal types:
Food: herbs, greens, or small vegetables
Visual: color, texture, or year-round structure
Function: privacy screens or wind breaks
Match goals to constraints like weight limits, sunlight, and local rules. This process helps you plan a balcony garden that fits your life, not just your ideas.
Utilizing the Dormant Season Productively
You can use winter for tasks that often get skipped. Measure your balcony and sketch layouts. Note door swings, drains, and railing height. These details affect container size and placement.
Use this time to build a simple plan.
Task
Why It Matters
Measure space
Prevents overcrowding
Check light
Guides plant choice
List supplies
Avoids last-minute gaps
You can also start seeds indoors late winter if light allows. Even without planting, winter helps you plan a balcony garden with clear steps and fewer surprises.
Assessing Your Balcony Space
Winter gives you time to observe details you might miss in warmer months. When you use winter to plan a balcony garden, focus on light, space, and structure so your choices fit your balcony and your building rules.
Evaluating Sunlight and Microclimate
Watch how sunlight moves across your balcony in winter. Note direct sun, partial shade, and full shade. Winter sun sits lower, so shadows from buildings and railings last longer.
Track wind, cold pockets, and heat traps. Corners near walls often stay warmer. Open railings face stronger wind. These details affect plant survival and container placement.
Use a simple log for one week. Check morning, midday, and late afternoon.
Factor
What to Note
Sun hours
Count direct light each day
Wind
Strong, mild, or blocked
Cold spots
Frost or icy areas
Warm zones
Sheltered walls or corners
Analyzing Balcony Dimensions and Layout
Measure your balcony width, depth, and height. Write down exact numbers. This step prevents crowded paths and blocked doors.
Sketch a basic layout. Mark doors, drains, outlets, and railings. Leave a clear walking space for safety and ease of care.
Plan zones by use. Place tall plants along walls. Use corners for storage or vertical planters. Keep herbs or daily-use plants near the door.
Key layout checks:
Door swing and emergency exit space
Drain access for winter melt
Railing height for hanging items
Identifying Weight Limits for Containers
Find your balconyâs weight limit. Check your lease, building guide, or ask management. Many balconies have strict load limits.
Remember that wet soil weighs much more than dry soil. Large pots, water trays, and planters add up fast.
Choose lighter materials when possible. Use resin, fiberglass, or fabric pots instead of concrete or stone. Spread weight across the balcony, not in one spot.
Common container weights (approximate):
12-inch plastic pot with wet soil: 25â30 lbs
18-inch ceramic pot with wet soil: 70â90 lbs
Fabric grow bag (15-gallon): 40â50 lbs
Place heavy items near walls or support beams for better balance.
Choosing Plants Suited for Balcony Gardens
Plant choice shapes how well your balcony garden performs through the seasons. When you plan a balcony garden in winter, focus on climate fit, purpose, and how plants grow together in small spaces.
Selecting Plants for Your Climate Zone
Start with your local climate zone, not the calendar. Winter exposes weak choices fast, especially on balconies with wind and limited shelter.
Cold-hardy plants work best in exposed spaces. Examples include dwarf evergreens, ornamental grasses, and winter pansies. In mild zones, you can also grow rosemary, lavender, and citrus in containers.
Use this quick guide:
Climate Type
Reliable Balcony Plants
Cold winters
Boxwood, ivy, heather
Mild winters
Herbs, geraniums, succulents
Windy sites
Juniper, grasses, sedum
Check container ratings too. Roots freeze faster in pots than in ground soil.
Decide early if your goal is food, looks, or both. This choice affects light needs, watering, and spacing.
Edible plants give steady value. Leafy greens, scallions, and hardy herbs grow well in cool weather and shallow pots. Many continue growing through winter with basic protection.
Ornamental plants offer structure and color. Evergreens keep their shape, while winter flowers add contrast. Mix textures instead of colors for a cleaner look.
A balanced approach works well. Pair one edible with one ornamental per container to save space and reduce care tasks.
Evaluating Plant Compatibility and Companions
Plants must share the same needs to thrive together. Match light, water, and soil preferences before planting.
Avoid mixing drought-tolerant plants with water-loving ones. One will fail. Group plants with similar growth rates so fast growers do not crowd others.
Use companions that help each other:
Herbs with similar water needs
Evergreens with ground covers
Tall plants paired with trailing ones
Leave space for airflow. Tight clusters trap moisture and raise disease risk, especially in winter.
Designing Your Balcony Garden Layout
Important steps to take before starting a garden | Garden Design | Gardening Australia Gardening Australia
When you use winter to plan a balcony garden, you gain time to measure space, test layouts, and choose materials. Careful layout planning helps you grow more plants, move with ease, and keep maintenance simple.
Vertical Gardening Solutions
Vertical gardening lets you grow more without using floor space. You can mount wall planters, trellises, or pocket systems to hold herbs, greens, or small flowering plants. Rail planters also add growing space while keeping the floor clear.
Choose sturdy materials that handle moisture and cold. During winter, map anchor points and weight limits so you avoid damage later.
Common vertical options
Wall-mounted planters for herbs
Trellises for climbing plants
Hanging baskets with drip trays
Vertical systems also improve light use. You can place sun-loving plants higher and shade-tolerant ones below.
Maximizing Limited Space Efficiently
Small balconies need clear paths and flexible layouts. Start by measuring width, depth, and door clearance. Keep at least 18â24 inches open for walking and door swing.
Use containers that serve more than one role. A bench with storage can hold tools and soil. Stackable or tiered planters let you adjust height as plants grow.
Space Challenge
Practical Fix
Narrow floor area
Tall planters
Low weight limit
Lightweight pots
Limited sun
Mobile containers
Winter planning helps you test layouts on paper before you move heavy items.
Incorporating Aesthetic and Functional Elements
A good layout balances looks and daily use. Choose a simple color palette for pots to reduce visual clutter. Neutral tones help plants stand out.
Add functional details early in the plan. Hooks for tools, a small shelf, or a fold-down table save space and time. Plan lighting now, even if you install it later.
Useful elements to include
Weather-safe storage box
Solar or plug-in lights
Non-slip floor mats
These choices shape a balcony that feels organized and easy to use when the growing season starts.
The right containers shape how well your plants grow and how easy care feels. When you use winter to plan a balcony garden, focus on strong materials, correct sizing, and practical features that fit your space and climate.
Material Choices for Durability
Choose materials that handle cold, moisture, and wind without cracking or tipping. Frost-safe containers protect roots and last longer.
Common options and uses:
Material
Why It Works
Watch For
Resin or plastic
Lightweight, affordable, frost-resistant
Can fade in sun
Fiberglass
Strong, modern look, handles cold well
Higher cost
Metal (steel, aluminum)
Clean style, durable
Can heat or chill roots
Glazed ceramic
Heavy, stable
Must be rated frost-safe
Avoid thin terracotta in cold areas. It absorbs water and cracks in freezing weather. If you like the look, use it inside a protective outer pot.
Pick neutral colors if you want flexibility. Dark colors absorb more heat, which helps in winter but can stress roots in spring.
Sizing Containers for Various Plants
Match container size to plant roots, not just plant height. Roots need room to grow and stay insulated.
Use these size guidelines:
Herbs and small flowers: 6â8 inches deep
Leafy greens: 8â10 inches deep
Shrubs or dwarf trees: 14â20 inches deep
Larger containers hold moisture longer and change temperature more slowly. This helps in winter and early spring.
Avoid overcrowding. One healthy plant often grows better than several crowded ones. Plan spacing now so you do not need to repot during the busy growing season.
Check weight before buying large pots. Balconies have load limits, and heavy containers are hard to move.
Drainage and Mobility Considerations
Good drainage prevents root rot and salt buildup. Every outdoor container needs at least one drainage hole.
Look for:
Raised feet or built-in drainage channels
Saucers that attach or remove easily
Pots designed for outdoor use
Use pot feet to lift containers off the floor. This improves drainage and protects balcony surfaces.
Mobility matters in small spaces. Containers with casters or rolling stands let you shift plants for sun, wind, or frost protection. Lightweight pots also make seasonal changes easier.
Plan placement now so each container fits railings, corners, and walking paths without blocking doors or drains.
Soil Preparation and Fertilization Strategies
When you use winter to plan a balcony garden, soil and fertilizer choices shape how well plants grow in containers. Winter gives you time to select the right mixes, set a feeding schedule, and choose compostmethods that fit a small space.
Soil Mixes for Container Gardening
Container plants need light, well-drained soil. Do not use garden soil, as it compacts and holds too much water. Choose a quality potting mix labeled for containers or vegetables.
A good mix should include:
Peat moss or coconut coir for moisture control
Perlite or vermiculite for airflow
Compost or slow-release nutrients for steady growth
For herbs and greens, use a standard mix. For tomatoes or peppers, add extra compost. Check that pots have drainage holes. Soil health matters more in containers because roots cannot spread far.
Planning Seasonal Fertilization
Winter planning helps you avoid guesswork during the growing season. Most container plants need regular feeding since water washes nutrients out fast.
Set a simple plan:
Use a balanced slow-release fertilizer at planting
Add a liquid fertilizer every 2â4 weeks during growth
Reduce feeding late in the season
Match fertilizer to plant needs. Leafy greens prefer more nitrogen. Flowering plants need more phosphorus and potassium. Read labels and avoid overfeeding, which can harm roots and reduce yields.
Composting Options for Balconies
You can compost even with limited space. Winter gives you time to pick a system that fits your balcony rules and climate.
Common options include:
Worm bins for kitchen scraps and fast results
Bokashi buckets for odor control and indoor use
Store-bought compost if home composting is not allowed
Keep compost dry and sealed to avoid pests. Use finished compost to refresh potting mix in spring. Even small amounts improve soil structure and nutrient levels in containers.
Planning Irrigation and Water Management
Winter gives you time to plan a balcony garden with fewer mistakes and lower costs. You can map water needs, choose the right tools, and fix drainage issues before plants arrive.
Efficient Watering Systems for Small Spaces
Small balconies need precise watering. Hand watering works, but it often leads to uneven moisture. A drip irrigation system delivers water slowly and directly to the soil, which helps roots grow strong.
You can use simple drip kits, watering cones, or gravity-fed bottles. These options fit tight spaces and work without a tap. Many kits connect to a timer, so you control frequency and duration.
In winter, plants use less water. Use this season to test flow rates and placement. Adjust emitters so each pot receives water without overflow.
Common options for balconies:
System type
Best use
Drip lines
Multiple pots
Watering cones
Large containers
Self-watering pots
Herbs and greens
Water Conservation Techniques
Balcony gardens waste water easily due to wind and shallow containers. You can reduce loss with smart planning. Choose pots with good soil depth and add mulch to slow evaporation.
Water early in the day to reduce loss from heat and wind. Group plants with similar water needs so you avoid overwatering. In winter, reduce frequency but never let the soil fully dry out.
Collect household water when possible. For example, cooled water from rinsing vegetables works well for non-edible plants.
Poor drainage causes root rot and water stains below your balcony. Every container needs drainage holes. Place saucers under pots, but empty them after watering.
Use pot feet or risers to lift containers. This allows water to drain freely and keeps roots healthy. Check local building rules about runoff, especially in apartments.
Winter planning helps you spot problems early. Pour water into empty pots to test flow. Fix slow drainage before planting season starts.
Drainage checklist:
Clear holes at the base
Use a lightweight potting mix
Prevent water from spilling over the edges
Researching Pests and Winterproofing
Winter gives you time to study risks and set clear protections for your balcony garden in winter. You can spot pest patterns, choose the right barriers, and set habits that limit damage before spring growth begins.
Identifying Potential Balcony Garden Pests
Cold weather slows pests, but it does not remove them. Many hide in soil, plant crowns, or small cracks near walls and railings. You should research pests common to container plants in your area.
Focus on pests that survive winter indoors or in sheltered spots. These often cause early spring damage.
Common balcony garden pests to watch for:
Pest
Where they hide
Signs to look for
Aphids
Soil surface, stems
Sticky residue, curled leaves
Spider mites
Underside of leaves
Fine webbing, speckled leaves
Fungus gnats
Moist potting mix
Small flies near soil
Scale insects
Stems, leaf joints
Hard bumps on plants
Check plant labels and local extension sites. Match pests to the plants you plan to grow. This step helps you choose better prevention tools now.
Winter Protection Techniques
Balcony plants face wind, frost, and temperature swings. Containers lose heat faster than ground soil, so you need added insulation.
Move pots close to walls to reduce wind exposure. Use a frost cloth, burlap, or old blankets on cold nights. Avoid plastic touching leaves, since it traps moisture and causes damage.
Raise pots off cold floors with feet or wood blocks
Add mulch to protect roots and hold soil warmth
Group containers to share heat
Reduce watering to prevent root rot
Choose cold-hardy plants when possible. Many herbs and perennials handle light frost better than tender annuals.
Preventative Measures for Healthier Plants
Prevention lowers pest pressure and winter stress at the same time. Start with clean containers and fresh potting mix. Old soil often holds eggs and disease.
Water only when the soil feels dry below the surface. Overwatering in winter creates ideal pest conditions. Good drainage matters more than frequent watering.
You should also inspect plants every two weeks. Look under leaves and along stems.
Simple habits that protect your balcony garden:
Remove dead leaves and fallen debris
Wipe leaves with a damp cloth to remove pests
Quarantine new plants before placing them outside
Keep tools clean between uses
These steps protect plants now and support stronger growth when temperatures rise.
Organizing Tools, Supplies, and Storage
Winter gives you time to sort what you own, decide what you need, and set up storage that fits a small space. When you use winter to plan a balcony garden, you can reduce clutter, protect supplies, and make spring setup fast and simple.
Essential Tools for Balcony Gardeners
You only need a short list of tools for a balcony garden. Keep tools small, light, and easy to store. Skip large items made for yards.
Core tools to keep
Hand trowel and hand fork
Pruning shears with a safety lock
Small watering can or hose attachment
Garden gloves that fit well
Soil scoop or an old measuring cup
Store duplicates only if you use them often. Clean tools before winter storage to prevent rust and dirt buildup.
Tool Type
Why You Need It
Storage Tip
Pruners
Trim herbs and plants
Hang on a hook
Trowel
Plant and repot
Store in a bin
Gloves
Protect hands
Keep in a dry box
Safe Storage Solutions for Small Spaces
Choose storage that uses vertical space and keeps items dry. Wall-mounted shelves and pegboards work well on balconies with solid walls. They hold tools, small pots, and watering cans without using floor space.
Use weather-resistant cabinets or sealed bins for soil, fertilizer, and seeds. Under-bench storage works well for cushions and larger items. Stackable bins help you sort supplies by task, such as planting or maintenance.
Label each container. Clear labels save time and reduce mess. Avoid cardboard boxes since moisture can damage them.
Planning for Easy Seasonal Transitions
Set up storage so you can move between seasons with little effort. Keep winter-only items, like covers and wraps, in the back of cabinets. Place spring tools and pots near the front.
Create zones based on use. Store planting supplies together and cleaning tools in another spot. This setup helps you grab what you need without digging.
Keep a short checklist inside a storage bin. List items to inspect before spring, such as soil quality and tool condition. This habit keeps your balcony garden organized year after year.
Creating a Month-by-Month Planning Checklist
A clear checklist turns winter into a useful planning season. You set simple goals, track details, and make small fixes so you can plan a balcony garden with less stress and fewer surprises.
Setting Goals for Each Winter Month
Start with clear goals for each winter month. Focus on tasks you can finish indoors, not outdoor work.
December: review last season and list limits. Measure your balcony, note sun hours, and check weight limits. Decide what you want to grow and how much space each plant needs.
January: choose plants and supplies. Pick crops that fit containers and your light level. Order seeds, pots, and soil early to avoid delays.
February: plan timing and layout. Set seed-start dates and sketch where each pot will sit.
Month
Key Goal
Main Task
Dec
Review
Measure space
Jan
Select
Order seeds
Feb
Schedule
Map layout
Tracking Progress and Adjustments
Track progress with a simple list or notebook. Write short notes once a week to keep plans current.
Check off tasks as you finish them. If a seed sells out, swap it for a similar plant with the same needs. If your light estimate was wrong, adjust plant choices now.
Use clear markers to flag changes:
Delay: items on backorder
Replace: plants that need more sun
Confirm: dates that still work
Review your list at the end of each month. Small updates during winter help you plan a balcony garden that fits your space, schedule, and budget.
Gathering Inspiration and Resources
Winter gives you time to collect ideas and tools before planting begins. You can study balcony layouts, note what works in cold weather, and connect with people who share practical advice for a winter balcony garden.
Balcony Garden Design Ideas
Use winter to observe your balcony and plan a balcony garden in winter with purpose. Note sun exposure, wind patterns, and how much space you can use. These details shape your design choices.
Look for winter balcony garden ideas that focus on structure and layout. Evergreens, railing planters, and vertical shelves work well in small spaces. Lighting and weatherâsafe containers also matter during cold months.
You can organize ideas with a simple list or sketch. Focus on function first, then style.
Design Focus
What to Look For
Layout
Clear paths and safe access
Containers
Frostâresistant pots
Plants
Coldâhardy or dormant choices
Comfort
Rugs, covers, or seating storage
Community Groups and Online Resources
You can save time by learning from others who already manage a winter balcony garden. Online articles and photo galleries show real setups and common mistakes. Many focus on winter care, planning, and plant selection.
Join local gardening groups on social media or forums. Members often share photos, plant lists, and timing tips based on climate. This helps you plan a balcony garden in winter using local knowledge.
Libraries and garden centers also offer planning guides and seed catalogs. These resources help you compare options and set clear goals before spring planting begins.
Thessaloniki’s green gems: Pasha’s faded opulence whispers Sufi secrets; Stavroupoli’s herbs beg for Ikaria cookbook magic. History + nature = perfect day trip. Who’s joining?