🪴Balcony Garden Paradise is reader-supported. When you buy through links on our site,
we may earn a small affiliate commission at no extra cost to you. As an Amazon Associate,
we earn from qualifying purchases. Happy Gardening from the team! 🌿
The world of microgreens offers a refreshing way to enhance your culinary delights with vibrant colors and intense flavors. These miniature greens are a treat to the eyes and a powerhouse of nutrition. Growing microgreens at home provides immediate access to fresh, nutrient-rich greens right from your windowsill. This guide walks you through the process, ensuring that even beginners can cultivate these tiny plants successfully.
Embrace the simplicity of growing microgreens by focusing on a few basics: selecting the right seeds, preparing your planting trays, and ensuring proper lighting. With minimal investment in time and resources, you can enjoy a continuous supply of fresh greens, elevating your salads, sandwiches, and smoothies. With a bit of attention to their simple needs, microgreens can thrive almost anywhere in your home.

Unlock the full potential of your microgreen garden by learning the best harvesting techniques. This guide takes you through each stage, from seeding to post-harvest handling, so you feel equipped and ready to enjoy the fruits of your labor.

The 2023 USDA Plant Hardiness Zone Map was created by Oregon State University (PRISM Climate Group) and released by the USDA.
Key Takeaways
- Grow fresh microgreens at home easily.
- Focus on proper seeding and care.
- Use best practices for harvesting and storage.
Essentials of Microgreens
Exploring the basics of microgreens involves understanding what they are and the various types you can grow. These tiny plants are nutritious, offering bold flavors and unique textures. You’ll find options like arugula, basil, and kale among many others. Let’s explore the core elements that define microgreens and the types you can cultivate.
Understanding Microgreens
Microgreens are young vegetable greens, harvested just after the first true leaves have developed. These small greens are much more than garnish. They pack a nutritional punch, often higher in vitamins and minerals than mature greens.
Growing them at home is easy and efficient. You typically need trays, soil, and seeds. Within 7 to 14 days, your microgreens are ready, making them a quick turn-around crop.
Flavor varies between different microgreen types. For instance, radish greens deliver a spicy kick, while watercress offers a peppery taste. Understanding these flavor profiles can help you match microgreens to dishes, enhancing your meals with natural flavors and nutrition.
Varieties of Microgreens
Many varieties can enrich your meals, from arugula to radish. Each type offers different flavors and nutrients. Arugula microgreens boast a spicy taste and are rich in vitamins A, C, and K.
Kale microgreens provide a mild flavor and are a great source of vitamin C and beta-carotene. Beet greens offer earthy tones and are high in iron and calcium. Peas bring a sweet taste and are high in protein.
Consider experimenting with combos like red cabbage and radish greens. Create vibrant, flavorful salads, or use them to top sandwiches and soups. By trying different varieties, you expand both the flavor and nutritional profile of your diet.
Setting Up Your Growing Space
To successfully grow microgreens at home, you need to consider the right location, the best grow lights, and suitable growing mediums. These steps are crucial for ensuring optimal growth and healthy yields.
Choosing the Right Location
Selecting the ideal location is crucial for microgreen cultivation. You should look for a well-ventilated area with consistent temperature. A place near a window that receives indirect sunlight is often beneficial. Direct sunlight could be too intense, leading to wilting or drying out.
A kitchen countertop or a dedicated space in the living room might be good choices. If natural light is limited, be prepared to supplement with artificial grow lights. Ensure that the chosen spot is easy to clean and has access to electrical outlets for any equipment you may use.
Selecting Grow Lights
If natural sunlight is inadequate, installing grow lights is essential. Full-spectrum LED lights are a popular choice due to their energy efficiency and ability to mimic natural sunlight. These lights support photosynthesis, enabling robust plant growth.
When setting up lights, position them around 12-18 inches above the microgreens. You might consider using a timer to manage the light cycle, ideally 12-16 hours a day, to optimize growth. Experiment with the positioning to ensure your plants receive uniform light exposure.
Preparing Your Growing Medium
Choosing the right growing medium can make a significant difference in microgreen quality. Common options include coconut coir, potting mix, vermiculite, and perlite. Each has unique properties that benefit different types of microgreens.
Coconut coir retains moisture well and is renewable. Potting mixes often contain a blend of materials like peat, which provides nutrients. For faster drainage, consider mixing with vermiculite or perlite. Opt for organic potting soil if you prefer a chemical-free option. Make sure your growing medium is spread evenly and adequately moist before seeding.
Seeding and Germination
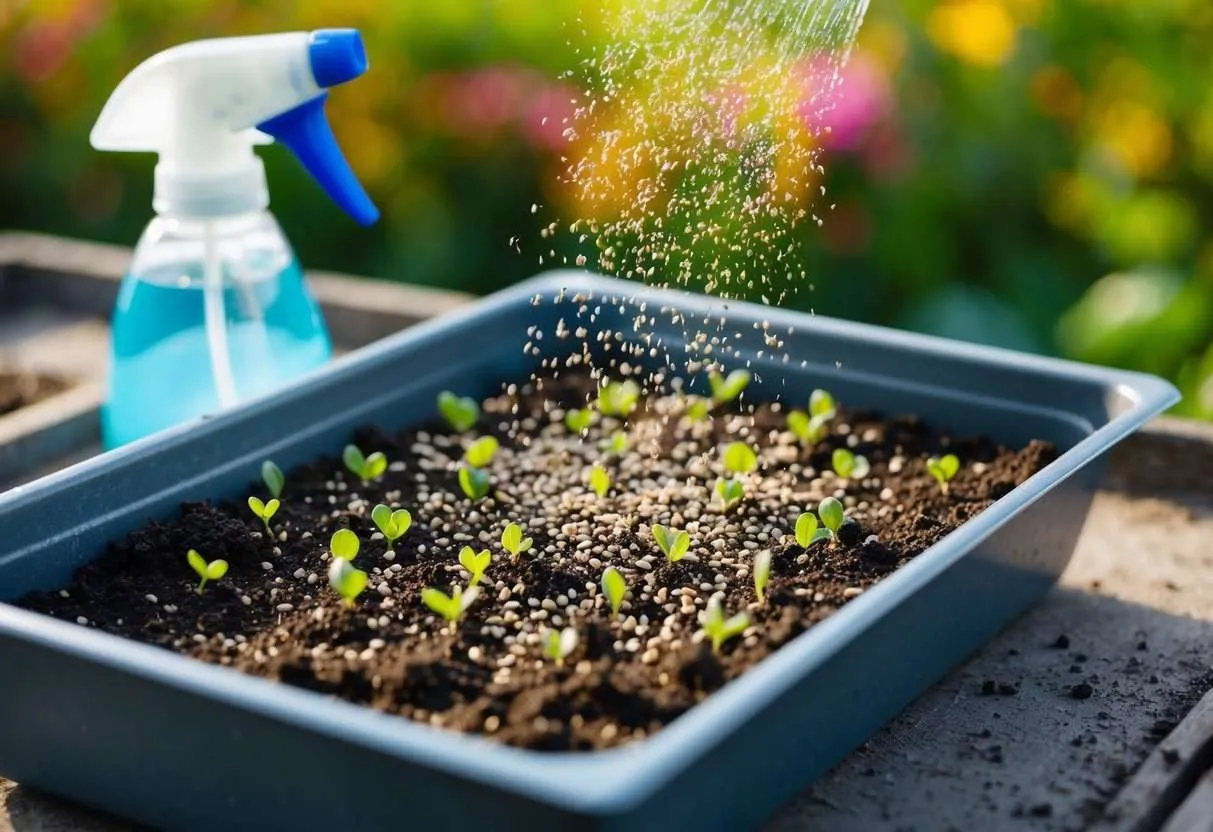
Proper seeding and managing germination conditions are crucial for growing healthy microgreens. Understanding the techniques helps ensure a high germination rate and vigorous growth.
Sowing Microgreen Seeds
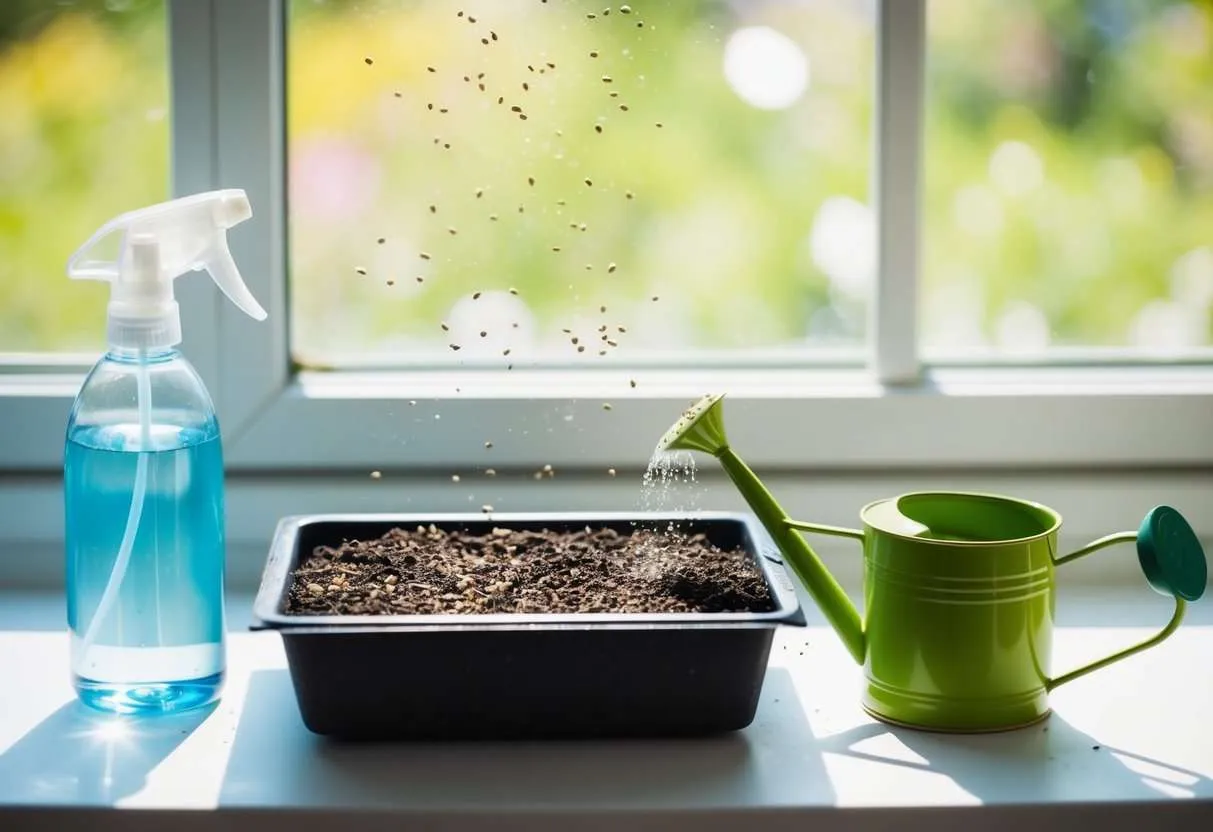
Begin by selecting the microgreen seeds with a high germination rate to achieve better growth. Calculate the optimal amount of seeds required for your tray, ensuring an even spread. After measuring, sprinkle the seeds over the growing medium in your tray.
A light covering of soil over the seeds isn’t usually necessary, as microgreens thrive with access to light. Utilize a misting bottle to water the seeds, which aids in avoiding displacement and maintaining soil moisture.
To ensure success, you may want to consider seed starting trays that help in organizing and managing seed planting.
Managing Germination Conditions
Monitoring the conditions for sprouting seeds is essential. Microgreens need a consistent temperature, generally between 60-75°F, to thrive. It’s important to place the trays in a well-ventilated area with indirect sunlight, which supports healthy cotyledon development.
Consider using a heat mat if your environment is cooler, as it helps maintain the necessary warmth for germination. Keep the medium consistently moist by misting once or twice daily but avoid over-saturating, which prevents seed rot and mold.
For those who struggle with maintaining perfect conditions, resources provide detailed guidance on handling common issues like mold or uneven growth. By monitoring these factors, you ensure robust germination for your microgreens.
Cultivation and Care
Attending to microgreens involves specific practices that ensure their healthy growth. This includes regular watering and ensuring adequate nutrients to maintain vibrant and productive plants.
Watering Your Microgreens
Proper watering is crucial for growing microgreens. Begin by ensuring even moisture across the soil, as both overwatering and underwatering can damage plant health. Use a spray bottle or watering can with a fine nozzle to gently water the soil without displacing seeds.
Frequency depends on factors like climate and container type. Generally, microgreens need watering once or twice daily. Check the soil by touching it; it should be moist but not soaked. Be consistent in your watering schedule for the best growth outcomes.
Nutrient Requirements
Although microgreens don’t need as many nutrients as mature plants, they still benefit from some assistance. You can start by using a high-quality compost mixed into the growing medium. This provides a natural nutrient supply.
Some growers use diluted liquid fertilizers, particularly those high in nitrogen, to boost growth. Ensure any fertilizer is safe for edible plants. Applying nutrients weekly or bi-weekly ensures robust and flavorful microgreens. When supplementing, monitor your plants for signs of nutrient excess or deficiency to adjust your approach accordingly.
Harvesting Techniques
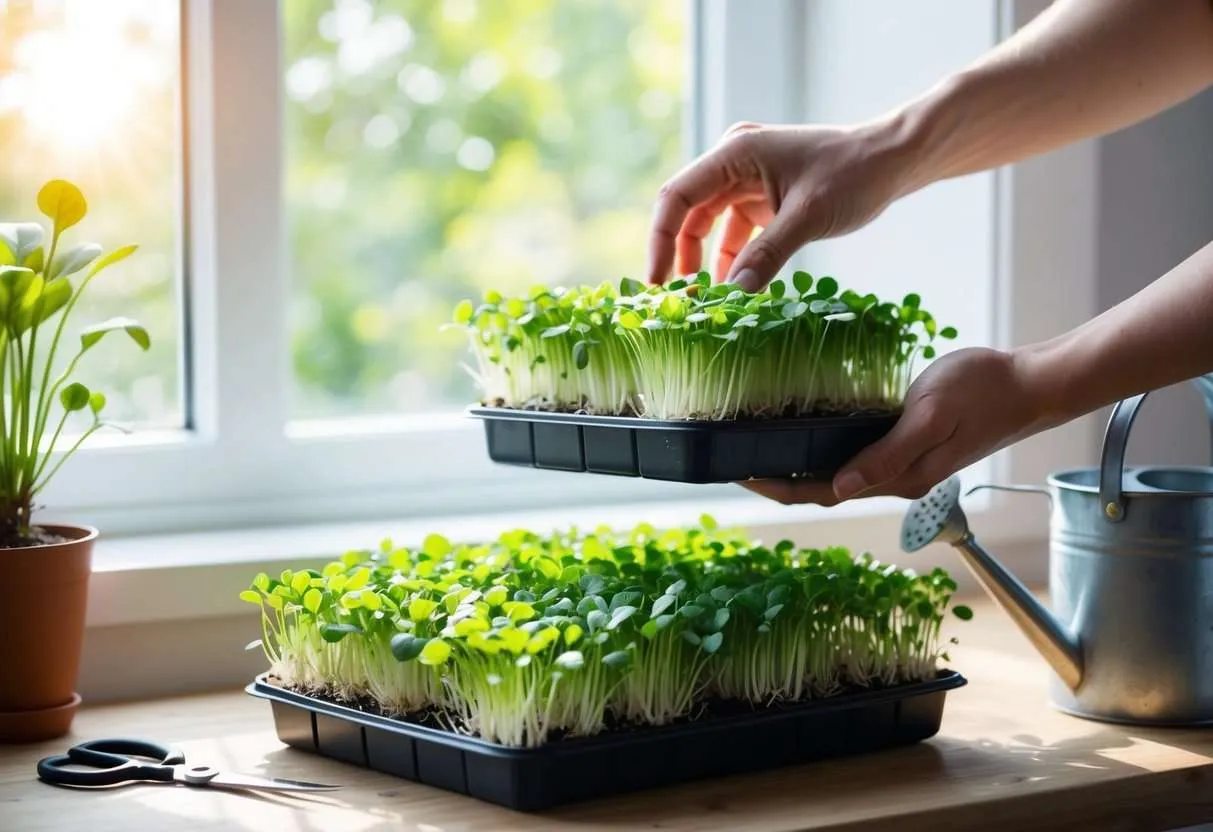
Harvesting microgreens involves choosing the right time and method to ensure optimal flavor and freshness. Proper timing can enhance taste and nutritional value, while careful harvesting preserves the integrity of your plants.
When to Harvest Microgreens
Microgreens are typically ready to harvest between 7 to 21 days after germination, once the cotyledons have fully opened and the first true leaves appear. The optimal harvest time varies depending on the species, so it’s crucial to conduct daily visual checks on plant growth.
For example, sunflower, radish, and pea microgreens commonly reach peak flavor and nutritional content when they are about 1 to 3 inches tall. If you allow the greens to grow too long, they might lose flavor and become less tender. Harvesting during the early morning helps preserve the natural crispness and flavor, as moisture content is highest at this time.
How to Harvest Microgreens
To harvest microgreens, use a clean, sharp tool like scissors or a knife to cut the plants just above the soil line or growing medium. Ensure your tools are sanitized to prevent bacteria transfer, which can spoil your crop. Only cut what you intend to use immediately for the freshest results.
It helps to avoid pulling them out by the roots to minimize disturbance and maintain soil structure. Once harvested, gently rinse your greens under cool water to remove any dirt or debris. Pat them dry with a paper towel. For storage, place the harvested microgreens in a breathable container in the refrigerator to keep them fresh for several days.
Post-Harvest Handling and Storage
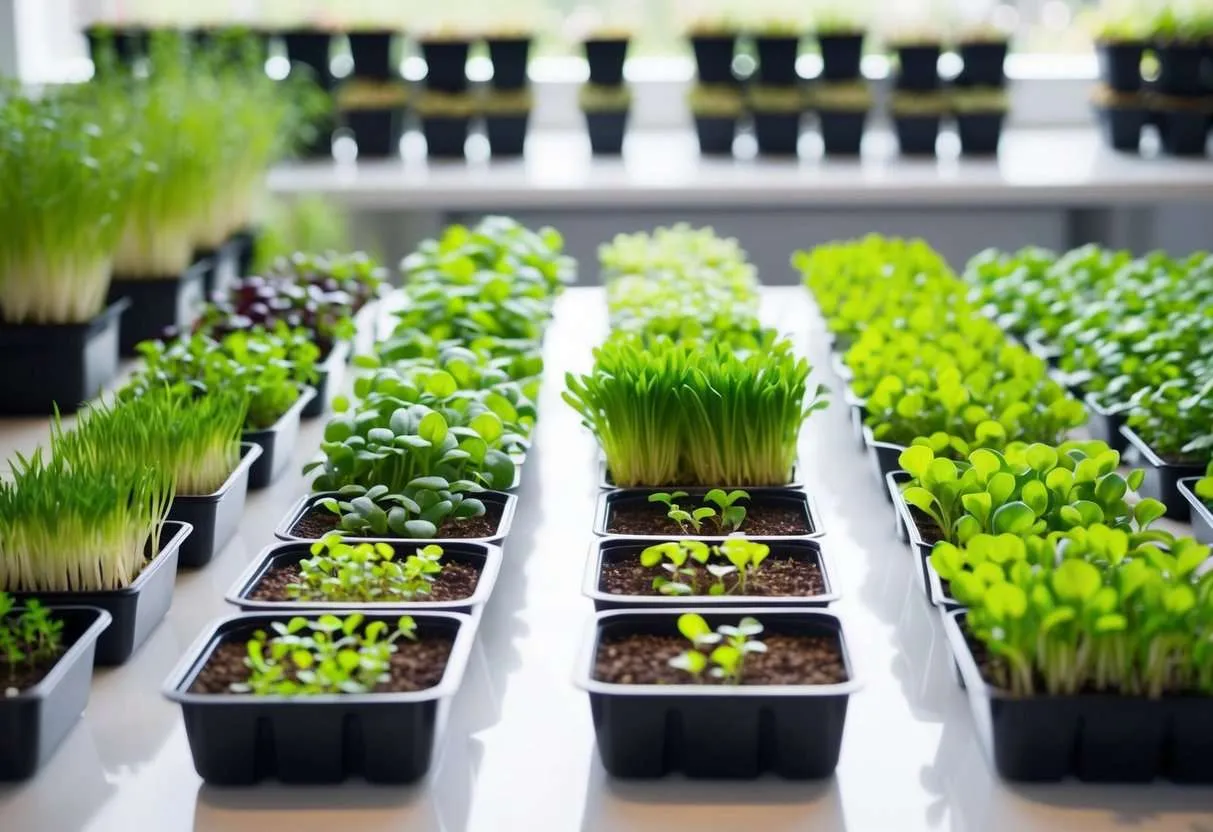
Proper post-harvest handling and storage are crucial for maintaining the freshness and nutritional value of microgreens. Techniques like cleaning, storing, and using specific packaging methods can significantly extend their shelf life.
Cleaning and Storing
After harvesting, it’s important to clean microgreens thoroughly to remove dirt and debris. Use gentle rinsing under cold water, avoiding any harsh scrubbing that could damage the delicate greens. Gently pat dry them with a clean towel or use a salad spinner to remove excess water.
Once cleaned, microgreens should be stored in a cool and dry place. Ideally, they should be kept in the refrigerator at temperatures between 32°F to 41°F (0°C to 5°C) to slow down degradation and maintain their quality. Using breathable, food-grade containers can help maintain moisture levels without causing condensation.
To maximize their flavor and texture, consume the microgreens within a few days of storage. You might find that microgreens begin to lose their crispiness after a week. Proper storage ensures microgreens are fresh when added to dishes.
Extending Shelf Life
Extending the shelf life of microgreens involves using effective storage strategies. One method is modified atmosphere packaging (MAP), which can help maintain freshness by balancing gas concentrations around the greens. This technique reduces the rate of spoilage and microbial growth.
Another strategy is cold storage, which combats browning and physiological degradation. High-pressure processing (HPP) is another advanced method that preserves nutritional quality and extends shelf life without compromising texture.
Regularly checking the stored microgreens for signs of spoilage, such as discoloration or off-odors, is important. These approaches help you enjoy your homegrown microgreens for longer periods.