🪴Balcony Garden Paradise is reader-supported. When you buy through links on our site,
we may earn a small affiliate commission at no extra cost to you. As an Amazon Associate,
we earn from qualifying purchases. Happy Gardening from the team! 🌿
When you grow microgreens on your balcony, it offers a unique opportunity to cultivate a variety of nutritious greens in a limited space. Microgreens, the young seedlings of edible vegetables and herbs, are packed with flavor and nutrients, making them a popular choice for health-conscious individuals. The process is simple enough for beginners and requires minimal equipment, which makes it an excellent entry point into urban gardening.
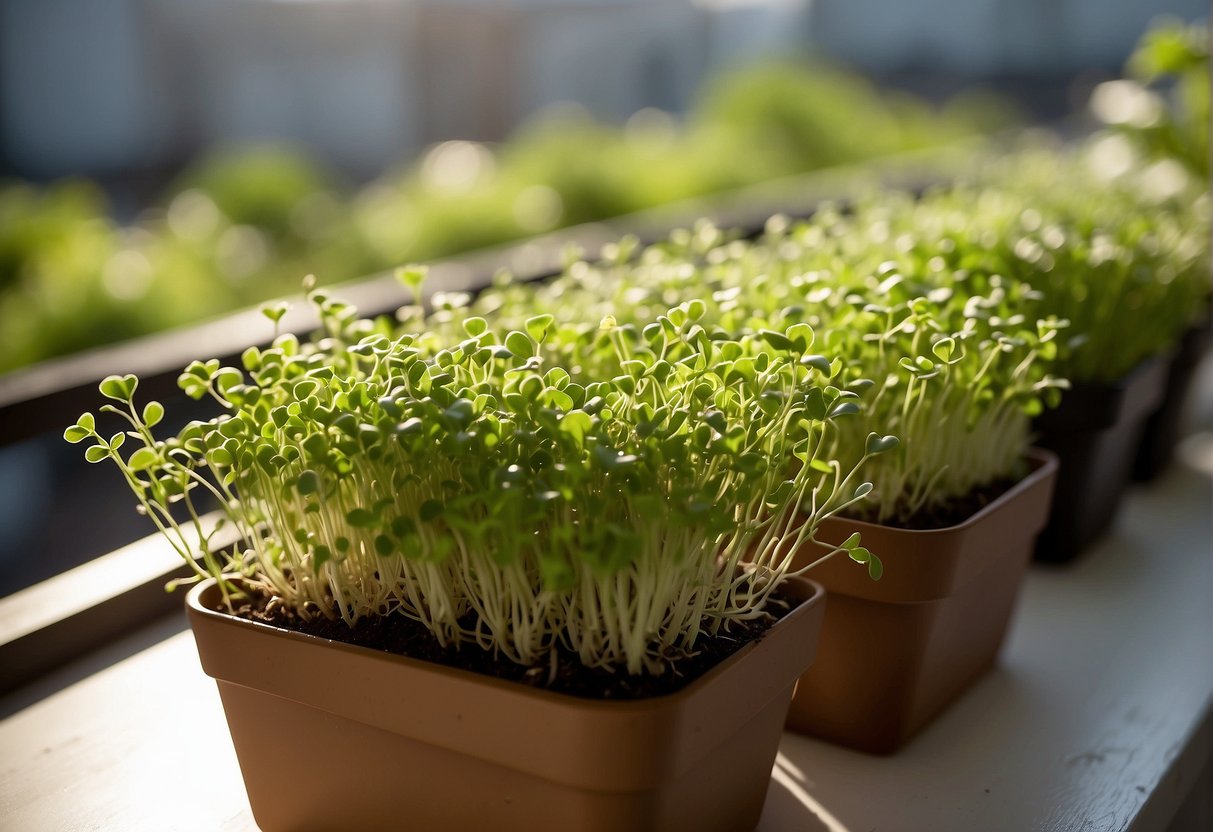
With just a small area of your balcony and a few supplies, you can harvest your own microgreens in under two weeks. Natural sunlight is generally sufficient for these young plants, though you may supplement with artificial light if necessary. The beauty of microgreens lies not only in their health benefits and rapid growth cycle but also in their versatility. You can grow a selection of greens to suit your taste.

To successfully grow microgreens on your balcony, you must understand their needs. These include choosing the right soil, ensuring proper moisture levels, and providing adequate light. Start by selecting quality seeds and shallow trays that fit the space on your balcony. Your microgreens will thrive with attentive care, offering you a fresh, home-grown addition to your meals.
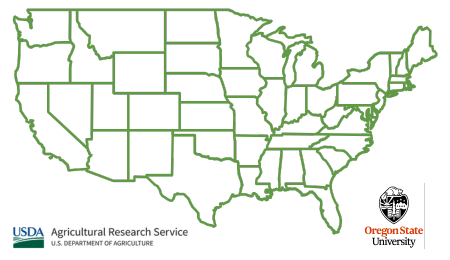
The 2023 USDA Plant Hardiness Zone Map was created by Oregon State University (PRISM Climate Group) and released by the USDA.
Understanding Microgreens
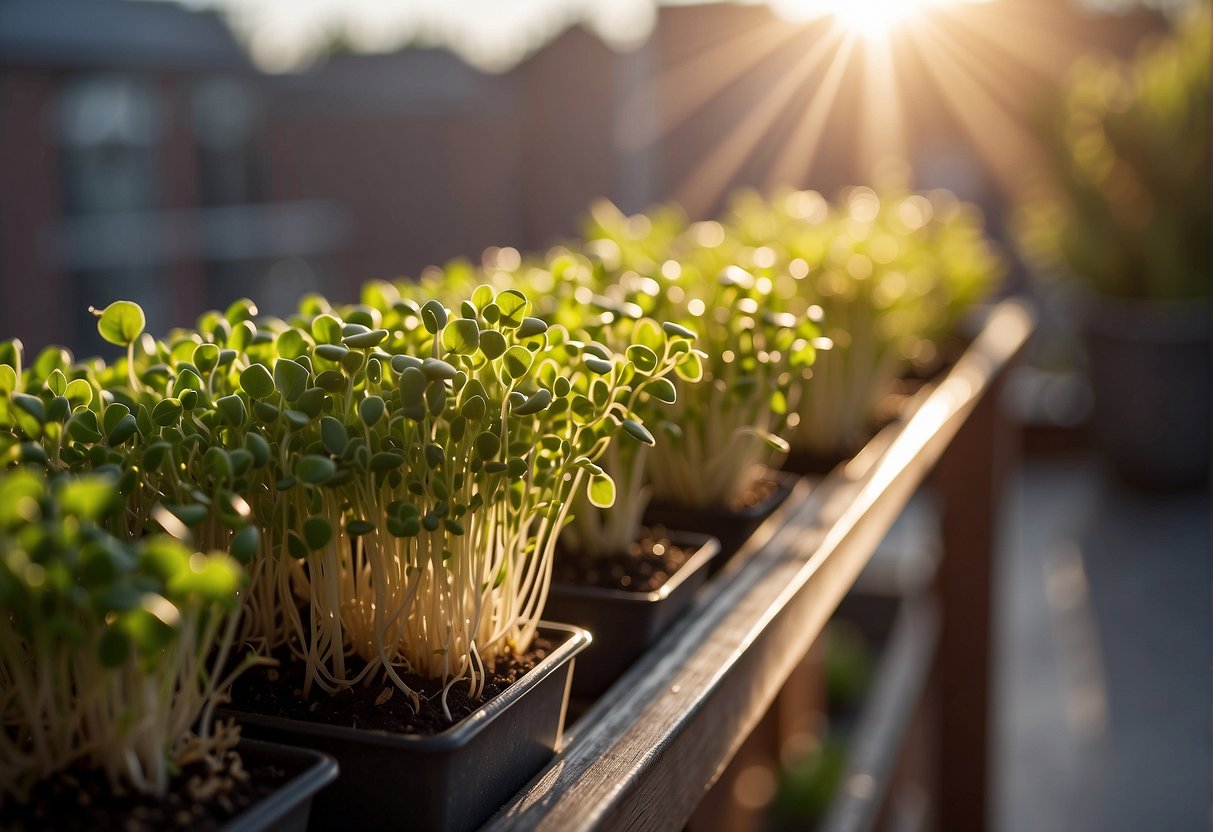
Microgreens are nutrient-rich, flavorful plants that are easy to grow on your balcony, requiring minimal space and effort. Let’s dive into what they are, the benefits they offer, and some of the most popular varieties you can enjoy.
What Are Microgreens?
Microgreens are young vegetable greens harvested just after the first leaves, known as cotyledons, have developed. They are typically grown in soil or soil substitutes, need little space, and are ready for harvest within one to three weeks after planting. Microgreens are not sprouts; they are grown in light and are the stage between sprout and baby green.
Nutritional Benefits of Microgreens
Microgreens are a powerhouse of nutrients; they pack a punch of vitamins, minerals, and antioxidants, often containing higher levels of nutrients than their mature plant counterparts. Studies have shown that microgreens like red cabbage, cilantro, and radish contain high amounts of vitamin C, vitamin E, and vitamin K. They also have concentrated levels of certain beneficial plant compounds like antioxidants that can contribute to your overall health.
Popular Microgreens Varieties
Here’s a glance at some favored microgreens you can grow:
- Radish: Known for its speedy growth and spicy flavor.
- Peas: Sweet taste and tender texture, rich in vitamins A and C.
- Kale: A nutritional superstar with a robust, earthy essence.
- Arugula: Peppery, adds a zestful kick to dishes.
- Sunflower: Nutty flavor, substantial and crunchy texture.
- Beet: Vibrant colors and a sweet, earthy taste.
- Cilantro: Distinctive herbal flavor, great for garnishing.
Experiment with different seeds to find your favorite flavors and textures!
Setting Up for Growth
To successfully grow microgreens on your balcony, choosing an appropriate location, selecting the right containers and growing medium, and maintaining an optimal environment are crucial steps.
Choosing the Right Location to Grow Microgreens on Your Balcony
Your balcony garden will thrive with sufficient sunlight. Aim for a spot that receives consistent direct sunlight for at least 4-6 hours daily. If natural light is limited, consider supplementing with a grow light to provide your microgreens with the full spectrum of light they require.
Selecting Containers and Trays
When it comes to containers and trays, proper drainage is key. Ensure your selected trays have holes to avoid water logging. You can use a variety of sizes, but shallow trays approximately 2-3 inches deep typically work best. The size and type of your containers should also match the scale of your balcony garden.
Soil and Growing Medium
An ideal growing medium for microgreens on a balcony is often a mix of peat, perlite, and vermiculite. This blend provides good water retention and aeration. Options like potting mix, coconut coir, or compost can also be used, especially if you’re aiming to keep your garden organic. A pH-balanced, nutrient-rich soil or soilless mix will promote healthy, robust growth.
Setting Up the Growing Environment
Your microgreens need a temperature range of about 18-24°C (65-75°F) and a relatively humid environment. If your balcony is dry, consider a light misting system to maintain humidity. Keep the area well-ventilated to prevent mold growth. Make sure your setup is sturdy to withstand any unexpected weather changes.
Growing Process
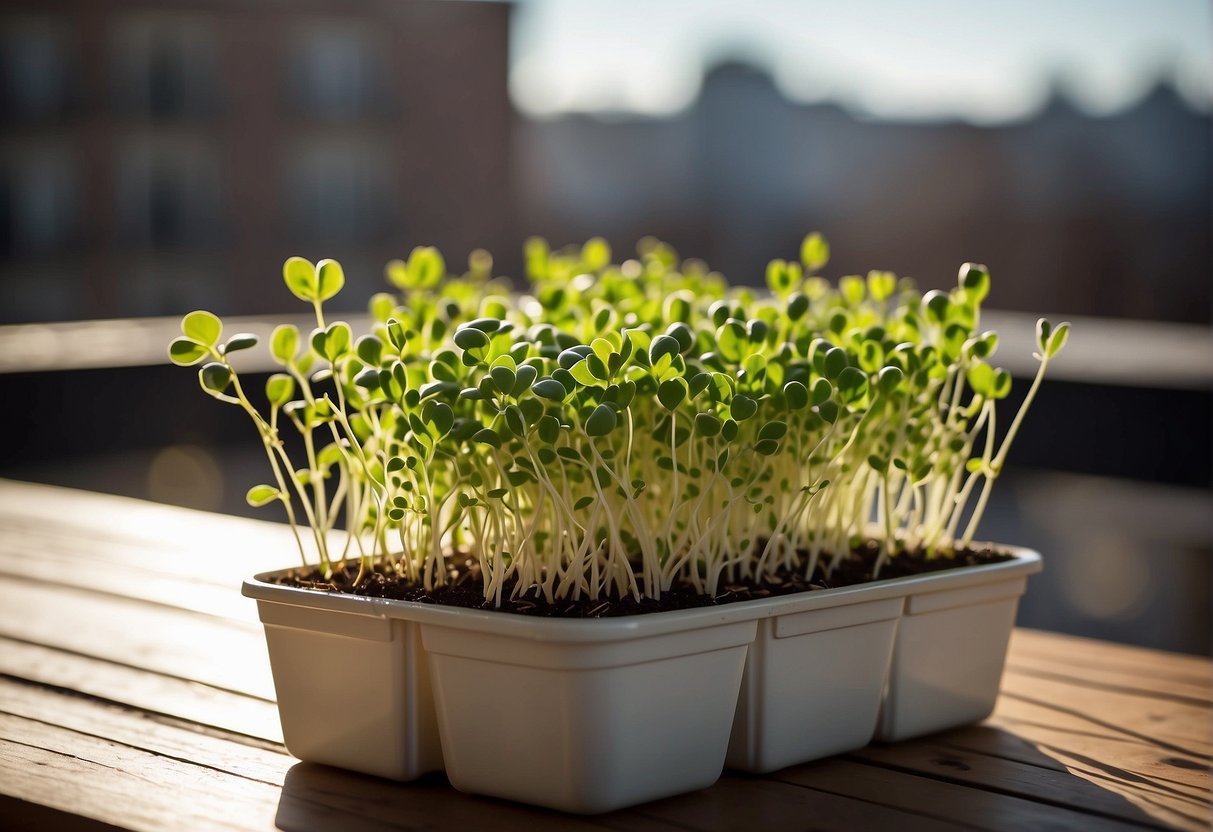
To grow microgreens on your balcony, you must start with quality seeds and end with suitable care techniques. Understanding the intricacies of each step ensures healthy and abundant microgreens for your balcony garden.
Sourcing Quality Seeds
Selecting high-quality, organic, and untreated seeds is crucial for successful germination. Organic seeds reduce exposure to harmful chemicals, and untreated seeds ensure no pre-applied growth inhibitors will affect the sprouting process. Visit websites like Penn State Extension to understand the significance of proper seed selection for microgreens.
Planting and Germinating the Seeds
Before planting, soak your seeds for 4-8 hours to accelerate germination. Disperse seeds evenly across a tray lined with a moist paper towel or use a peat and perlite mix. Cover with another wet paper towel or lightly with your growth medium to create a dark, moist environment ideal for seedlings to sprout.
Caring for Microgreens
Once seeds have germinated, provide plenty of water using a spray bottle to mist the greens without disturbing the delicate seedlings. Ensure adequate sunlight and maintain ambient temperature for optimal growth. Applying a diluted fertilizer can offer essential nutrients for your microgreens, though it’s often not necessary as they are harvested early in their growth cycle.
Harvesting Your Microgreens
Harvesting microgreens at the right time ensures you get the best flavor, texture, and nutritional value. Proper post-harvest handling helps maintain freshness and extends shelf life.
When and How to Harvest
You’ll know your microgreens are ready to harvest when they’ve developed their first set of true leaves, which will be after the cotyledon, or seed leaf, stage. This typically takes between 7 to 14 days after planting, depending on the crop. Using a pair of clean scissors or a sharp knife, cut the microgreens just above the soil line. Aim to harvest in the morning when the leaves are crisp and full of moisture for the best texture and flavor.
Post-Harvest Handling
Once harvested, gently rinse the microgreens to remove any soil or debris. It’s important to handle them carefully to avoid bruising. Rinse them in cold water, shake off excess moisture, and lay them out on a clean cloth or paper towel to dry. To store, place them between damp paper towels and refrigerate in a container or plastic bag. Microgreens can be stored this way for about a week and are ideal for adding nutrition and flavor to salads, soups, and sandwiches. Remember, while they may seem like delicate garnishes, these small vegetables pack a flavorful and nutritious punch.
Troubleshooting Common Issues
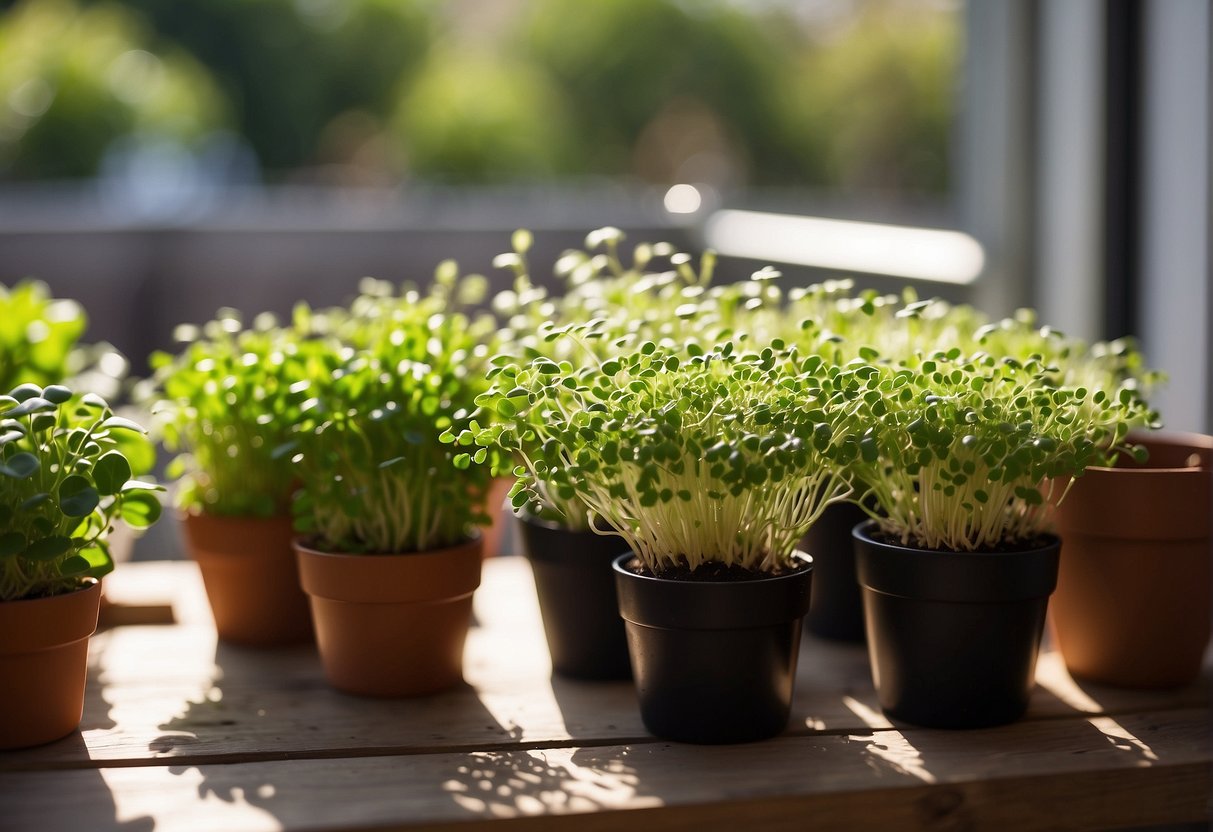
Growing microgreens on your balcony can be a gratifying experience, but like any gardening activity, it sometimes comes with its set of challenges. Successfully managing these issues is key to a bountiful microgreen harvest.
Managing Mold and Rot
Your microgreens need adequate airflow and drainage to prevent mold and rot. If you notice a white, fuzzy substance on the soil or plants, it’s likely mold. To combat this:
- Improve Air Circulation: Position fans nearby or space out the plants to allow air to move freely.
- Adjust Watering: Overwatering is a common cause of mold. Water your microgreens just enough to keep the soil moist without being waterlogged. Using paper towels under the soil can help with moisture management.
Dealing with Pests and Diseases
Pests and diseases can take hold if your balcony garden isn’t well-maintained. Here’s what you can do:
- Identify the Culprit: Common pests include aphids and spider mites. Look for visible insects, discolored leaves, or webbing.
- Natural Remedies: Introduce beneficial insects or apply neem oil to affected areas to control pest populations.
- Monitor Humidity: High humidity can encourage diseases. Use a hygrometer to monitor levels and adjust as necessary, ideally keeping it below 50%.
By addressing these common issues confidently and knowledgeably, your microgreens should thrive, providing a fresh and nutritious addition to your meals.
Regrowing and Reproducing Microgreens
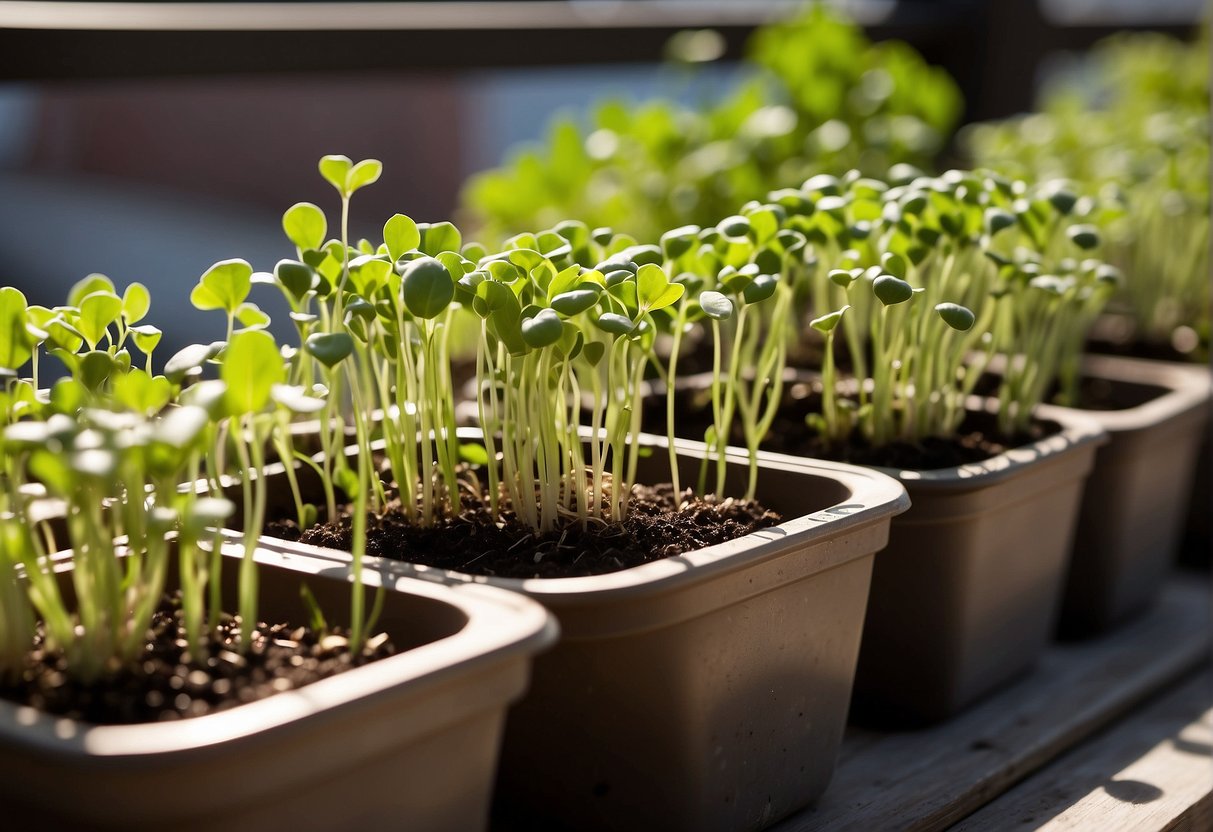
When you harvest microgreens, you might wonder if you can regrow them from the same roots and stems you left behind. Typically, microgreens do not regrow after harvesting, since they are harvested just after the cotyledon leaves have fully developed, and right before the true leaves emerge. However, you can reproduce microgreens efficiently by sowing new seeds for each crop.
Getting Started with New Seeds
- Select your seeds: Pick from a variety of microgreens such as radish, kale, or mustard.
- Prepare your soil: Ensure it’s moist and flattened out in your tray.
- Sow seeds densely: Evenly distribute seeds over the soil surface.
Aftercare for Seedlings
- Provide sufficient light: Sunlight or a grow light will be necessary.
- Keep the soil moist: Use a spray bottle to water gently.
Harvesting Tips
- Harvest once: Use scissors to cut the microgreens just above the soil.
- Clean the tray: After harvesting, remove the old roots and prepare the tray for new seeds.
By constantly sowing new seeds after each harvest, you can have a continuous supply of microgreens growing on your balcony. With this method, you’ll quickly become proficient in producing these nutritious plants right at home. Remember, each batch of microgreens will require its own set of seeds, as the initial roots won’t sprout a second set of crop-worthy stems.
Integrating Microgreens into Your Diet
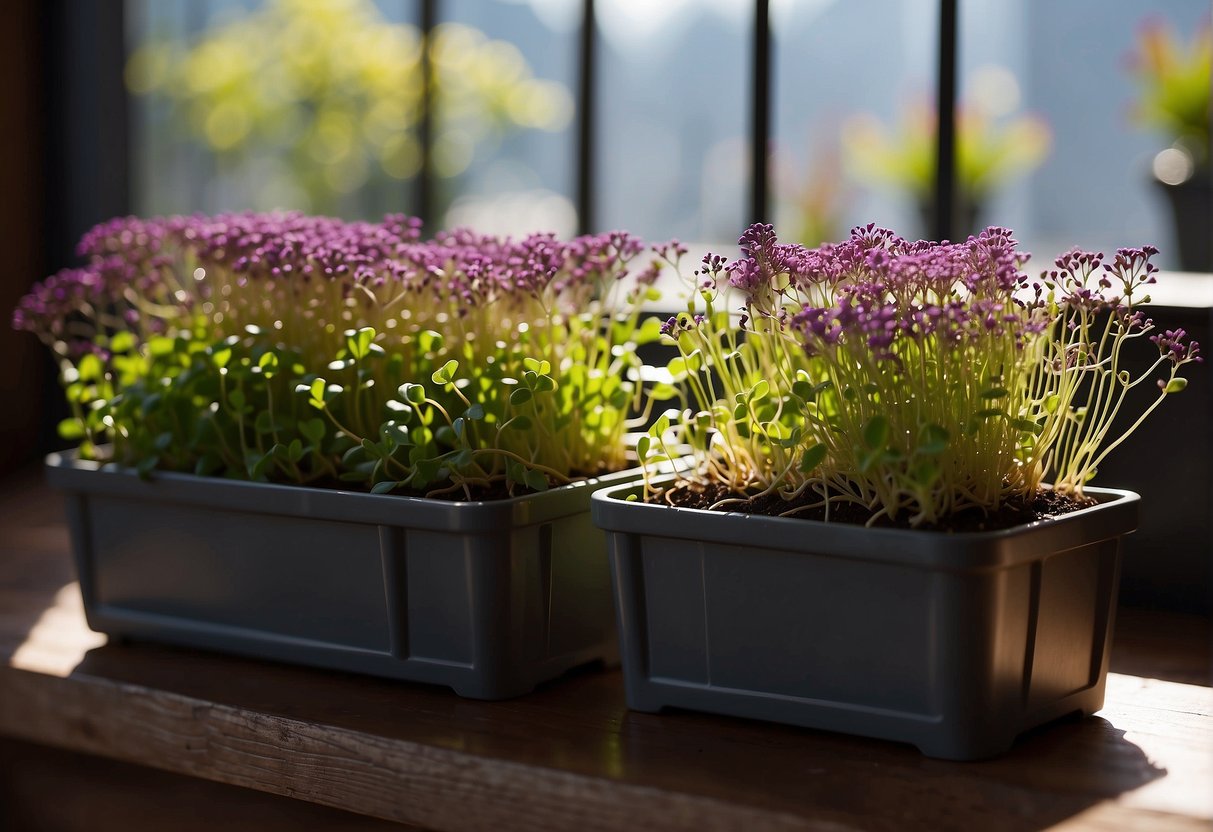
Microgreens are nutrient-dense young vegetables that can easily elevate the flavor and nutritional value of your meals. They’re not only versatile and flavorful but also packed with vitamins and minerals.
- Salads: Tossing a handful of microgreens, such as arugula or radish greens, into your salad can add a spicy or tangy twist. Their bold flavors complement traditional leafy greens, creating a more complex and enjoyable eating experience.
- Soups: Sprinkle microgreens like kale or beet greens on top of soups before serving. Aside from the aesthetic appeal, they add a fresh burst of flavor and a touch of nutrients at the end.
- Sandwiches: Layer microgreens with other vegetables in your sandwiches for added texture and a health boost. They’re less bulky than full-grown lettuce leaves, allowing you to pack in more flavor without overwhelming your dish.
- Herbs replacement: Microgreens can substitute for herbs in many recipes. For example, cilantro or basil microgreens can be used in dishes where their adult counterparts are typically featured.
Here’s a quick guide to help you integrate microgreens into your daily meals:
| Meal Type | Microgreens Suggestion |
|---|---|
| Breakfast | Add to scrambled eggs or omelets |
| Lunch | Enhance wraps or flatbreads |
| Dinner | Garnish pastas or pizzas |
| Snacks | Mix with plain yogurt or hummus |
Remember, microgreens are not just a garnish but a fully-fledged ingredient that can transform your dishes both nutritionally and tastefully.
By incorporating microgreens into your diet, you’re not only adding a variety of flavors but also boosting your intake of vitamins and antioxidants. Their diversity makes it easy for you to experiment and find your personal favorites to mix into your daily eating habits.