🪴Balcony Garden Paradise is reader-supported. When you buy through links on our site,
we may earn a small affiliate commission at no extra cost to you. As an Amazon Associate,
we earn from qualifying purchases. Happy Gardening from the team! 🌿
Growing balcony garden herbs offers a delightful touch of greenery and the convenience of fresh flavors right at your doorstep. Cultivating an array of basil, parsley, thyme, or oregano transforms even the smallest outdoor space into an edible oasis. While tending to your balcony herb garden is both therapeutic and rewarding, preserving your bountiful harvest is equally important.
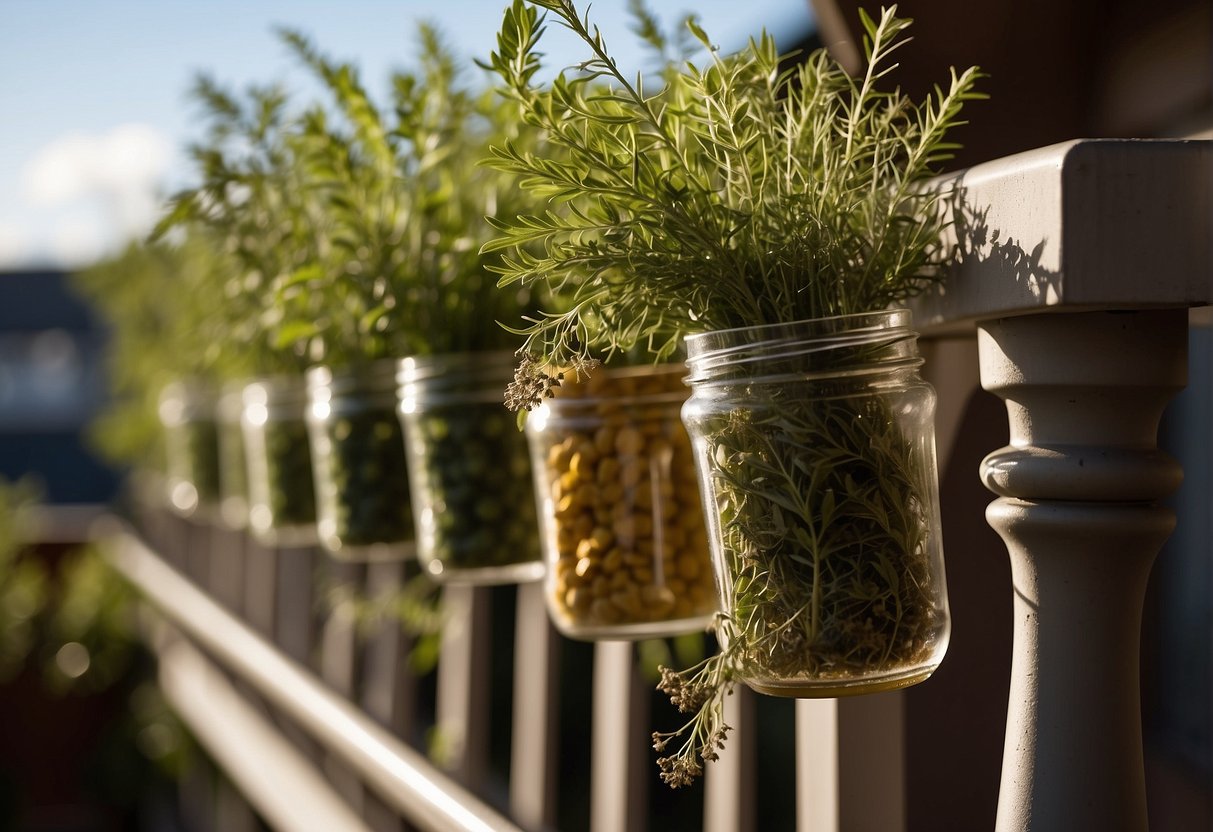
Drying is a traditional and effective way of preserving herbs, ensuring you can enjoy your homegrown flavors year-round. The process is straightforward—you’ll need to wash, dry, and store your balcony garden herbs properly to maintain their aroma and taste. Adequate sunlight and airflow are crucial during the drying process, which can take about a week depending on the herb and environmental conditions.

Once dried, proper storage is key to retaining the quality of your herbs. Store your dried herbs in airtight containers away from direct sunlight and moisture to prolong their shelf life. This way, you can relish the fruits of your balcony herb garden long after the growing season has passed.

The 2023 USDA Plant Hardiness Zone Map was created by Oregon State University (PRISM Climate Group) and released by the USDA.
Planning Your Balcony Herb Garden
Before embarking on the creation of your balcony herb garden, it’s imperative to evaluate the space you have and the amount of sunlight it receives. Selecting herbs that align with these conditions ensures a thriving garden.
Assessing Space and Sunlight Availability
First, you need to assess the space on your balcony. Measure the dimensions and consider the layout. Use vertical planters or hanging baskets to maximize space if your balcony is small. Next, observe the amount of sunlight your balcony gets daily. Most herbs require 6 to 8 hours of direct sunlight. If your space doesn’t meet this, consider shade-tolerant herbs or use artificial grow lights.
- Full Sun: 6-8 hours (suitable for basil, rosemary, thyme)
- Partial Shade: 3-6 hours (suitable for chives, parsley)
- Shade: Less than 3 hours (consider shade-tolerant herbs like mint)
Choosing the Right Balcony Garden Herbs
[amazon box=”B08QLFM4GQ”]Opt for herbs that cater to both your culinary preferences and the growing conditions. Herbs like basil and oregano demand ample sunlight and are excellent for a full-sun balcony. Mint and parsley can manage with a bit less sunlight. Remember, most balcony herbs like thyme, sage, and rosemary are perennials and will return each year if protected from extreme conditions. Annual herbs such as cilantro, dill, and chamomile will need to be replanted annually.
- Perennial Herbs: rosemary, thyme, oregano, sage, lavender, chive, marjoram
- Annual Herbs: basil, cilantro, dill, chamomile
When planning, allocate space efficiently, taking into account the mature size of each herb. Always use high-quality soil and ensure proper drainage to prevent root rot. By tailoring your choices to the space and sunlight, you’ll create a robust balcony herb garden that can provide fresh flavors for your cooking year-round.
Setting Up Your Balcony Garden
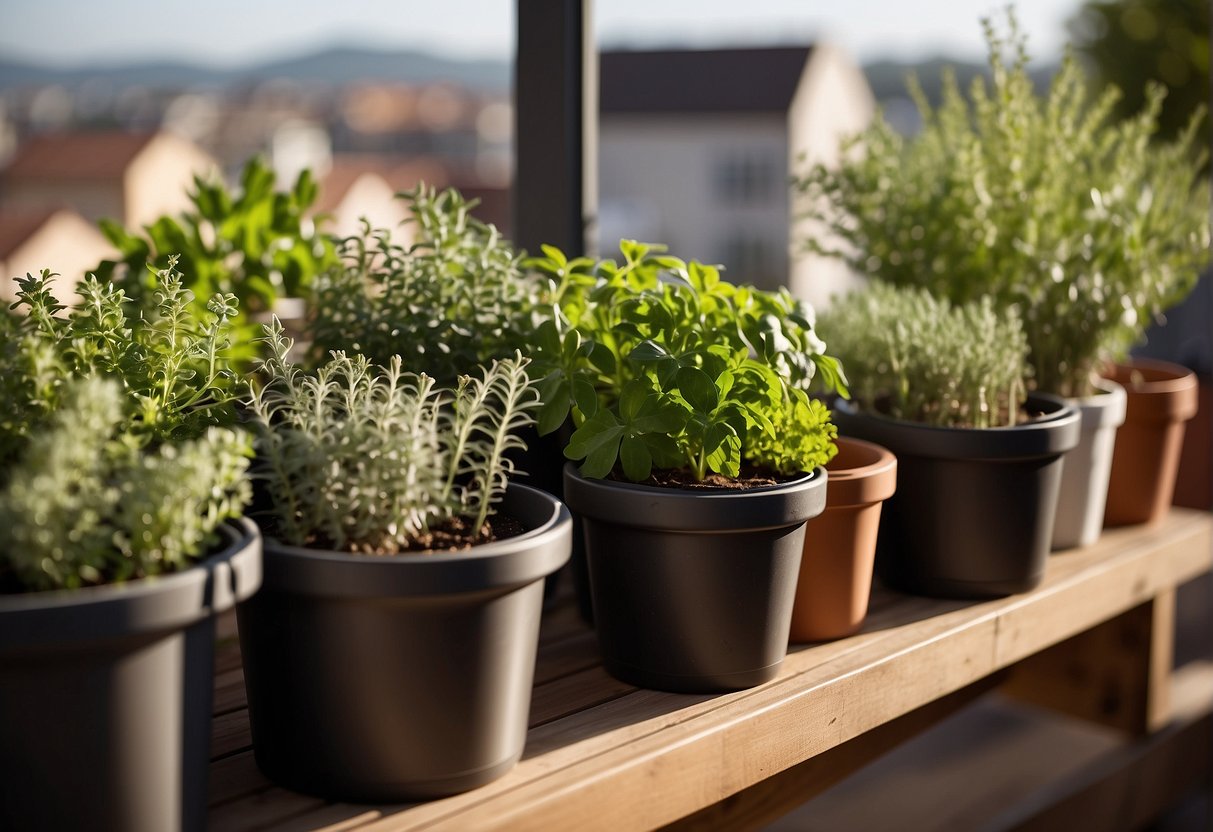
To successfully cultivate herbs on your balcony, selecting appropriate containers and understanding soil composition and drainage mechanisms are essential.
Selecting Pots and Planters
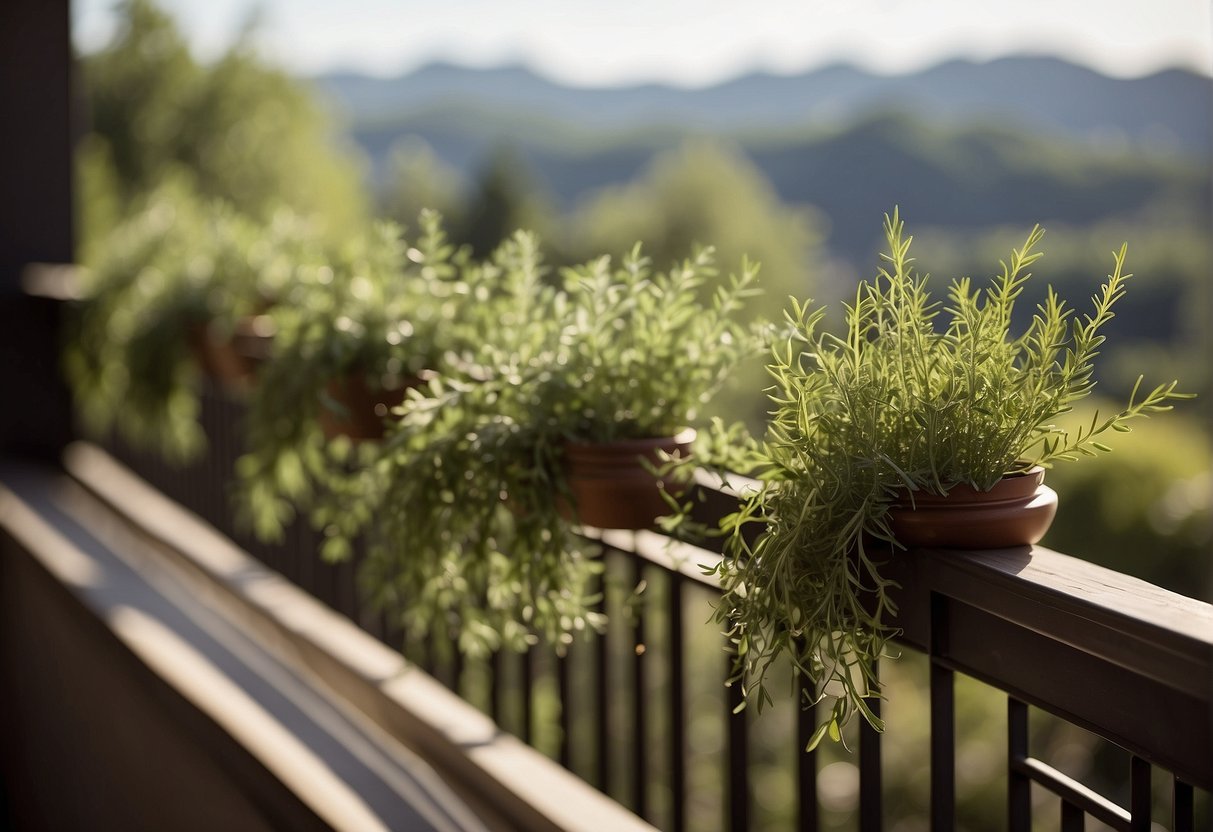
When setting up your balcony garden, choosing the right containers is crucial. For a versatile arrangement, consider railing planters that can be securely attached to the balcony railings, maximizing space. For a more structured garden, vertical herb gardens and shelves are practical, offering multiple levels of planting space. Hanging planters provide a decorative touch and enhance accessibility, while grow bags offer a lightweight and flexible option, especially for renters. Ensure each option has adequate drainage holes to prevent waterlogging.
Recommended materials for pots and planters include:
- Terracotta or ceramic (breathable and heavy)
- Plastic or resin (lightweight and cost-effective)
- Metal (durable, but can get hot)
- Fabric grow bags (promotes air pruning; excellent drainage)
Understanding Soil and Drainage
The health of your balcony herb garden largely depends on the soil quality and drainage system. Start with a high-quality potting mix designed for container gardens, which ensures good aeration and drainage. Avoid using garden soil as it may contain pathogens and is too heavy for container use. Incorporating fertilizer can provide necessary nutrients that might be limited in a container setting. Regularly check the soil’s moisture levels; it should be moist but not waterlogged.
Drainage tips for healthy roots:
- Ensure each container has holes at the bottom.
- Consider a layer of gravel or broken pottery pieces at the base to prevent clogging.
- Use saucers to catch excess water, but empty them to avoid standing water.
Planting and Growing Balcony Garden Herbs
When starting your balcony garden, selecting the right seeds or seedlings and understanding their water and maintenance needs sets the foundation for a lush, productive herb space.
Starting with Seeds or Seedlings
Begin by choosing whether to start herbs from seeds or to plant seedlings. Seeds can be more cost-effective and offer a wider variety, but they require patience and careful attention during the growing season. On the other hand, seedlings give you a head start, allowing you to skip the initial delicate stages of growth. For best results, plant your seeds or seedlings in well-draining soil enriched with organic fertilizer.
Watering and Maintenance
Herbs in containers need consistent watering as they can dry out faster than those in the ground. However, avoid waterlogging by ensuring your pots have adequate drainage. As your herbs grow, regular maintenance, including pinching and pruning, will encourage fuller plants and prevent overgrowth. Monitor your plants for signs they need maintenance, such as wilted leaves, and adjust your water and fertilizer schedule accordingly. Remember, a little care goes a long way in growing a vibrant herb garden on your balcony.
Harvesting Your Balcony Garden Herbs
Harvesting your herbs effectively ensures that you have the freshest flavors for cooking while promoting bushy growth for future use. Here’s how to gather your balcony garden’s bounty at its aromatic best.
Best Times to Harvest
The ideal time to harvest your herbs depends on their specific type and the part of the herb you intend to use. Generally, the best practice is to pick herbs in the morning after the dew has evaporated but before the sun becomes too hot, which can deplete the essential oils in the leaves, resulting in less flavorful herbs. For peak potency, harvest leafy herbs before they flower, as this is when their oil concentration is at its highest.
Trimming Techniques for Healthy Plants
When trimming your herbs, use sharp scissors or pruners to make clean cuts that will help prevent damage to the delicate stems. For leafy herbs like basil or mint:
- Trim just above a leaf pair to encourage bushy growth. This can result in two new stems replacing each cut stem.
- Avoid cutting more than one third of the plant at any one time to prevent stressing the herb.
For woody herbs such as rosemary or thyme:
- Trim stems by cutting just above a node where leaves emerge.
- Harvesting in this way can also help the plant to develop a thicker root system, which supports both the health and longevity of your plants.
Remember, regular trimming not only provides you with fresh herbs for cooking but also keeps your plants healthy and productive throughout the season.
Drying Your Harvested Herbs
Properly drying your herbs ensures they retain flavor and last longer after being harvested from your balcony garden. Here’s how you can preserve your aromatic greens using various methods.
Methods for Drying Herbs
Air Dry: This traditional method is best for herbs that don’t have a high moisture content, like rosemary and thyme. Simply bundle your herbs and hang the herbs upside down in a warm, dry area with good air circulation.
Oven-Drying: If you’re short on time, oven drying is a quick alternative. Preheat your oven to its lowest setting, spread your herbs on a baking sheet, and place them in the oven. Leave the door slightly ajar to let moisture escape.
Dehydrator: If you have a dehydrator, it’s a convenient and controlled method for drying herbs. Lay the herbs in single layers on the dehydrator trays and follow the device’s instructions.
Microwave: For the quickest drying method, lay the herbs between two paper towels and microwave your herbs in short bursts until dry. This works well for smaller batches.
Preparation Steps Before Drying
Inspect and Wash: Check your herbs for any damaged leaves and discard them. Wash the remaining sprigs gently and thoroughly to remove dirt or insects.
Dry Thoroughly: Before you begin to dry your herbs, ensure they are completely dry by patting them with paper towels or using a salad spinner.
Strip Leaves: For herbs with larger leaves, like sage or basil, strip the leaves from the stems. Smaller, fine-leaved herbs can be left on the stem to dry.
Remember, each type of herb may require a slightly different approach to drying depending on its size, moisture content, and oil levels. By following these specific techniques, you can successfully dry your kitchen garden herbs for future use.
Storing Dried Herbs
After drying your herbs, proper storage is critical to maintain their flavor and longevity. You should store them in a way that protects their essential oils and aromatic compounds.
Selecting Airtight Containers
When storing dried herbs, choose airtight containers that will seal in the freshness and protect your herbs from moisture, light, and air. Glass jars with tight-fitting lids, metal tins with screw-on tops, or even vacuum-sealed bags work excellently. Ensure the containers are completely dry before adding your herbs to prevent mold growth.
Conditions for Long-Term Storage
To keep your balcony garden herbs in top condition, find a cool, dry place away from direct sunlight for long-term storage. Cupboards or pantries often provide the best environment. Avoid areas above the stove or near the dishwasher where heat and humidity are more common. The temperature should be consistent, as fluctuations can degrade the herbs quickly.
Labeling and Organization Tips
Proper labeling and organization are key to using and enjoying your dried herbs. Label each container with:
- The name of the herb
- The date of drying
This will help you track freshness and use herbs at their peak. Organize your herbs alphabetically, by cuisine, or by how frequently you use them. Add silica gel packets or a few grains of rice to absorb any accidental moisture. Consider lining the container with paper towels to absorb any excess oil or moisture that could accumulate.
Using Herbs in Cooking and Beyond
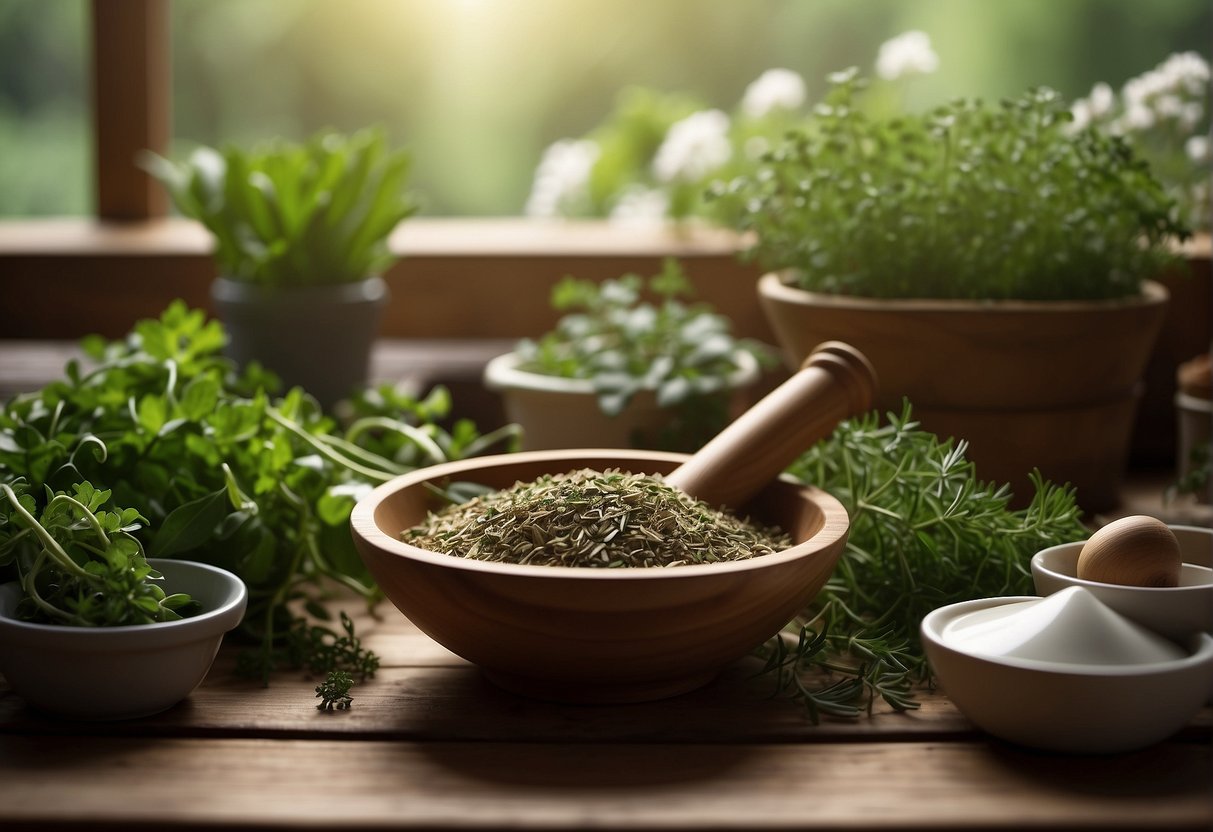
Growing herbs on your balcony provides a fresh supply of flavor and zest to enhance your meals, beautify your living space, and offer health benefits. Learn to make the most of your herb garden.
Cooking with Your Balcony Herbs
Fresh Herbs: They’re a treasure trove of flavor. You can use fresh herbs, such as basil or cilantro, directly in your recipes to add depth and fresh aromas. Chop them finely and sprinkle on top of pasta, or infuse them in oils to dress salads.
- Pesto & Sauces: Herbs like basil and parsley are perfect for making rich and vibrant pesto. Simply blend with nuts, garlic, cheese, and olive oil.
- Marinades: Rosemary and thyme from your balcony can be combined with olive oil and garlic to create aromatic marinades for meats and vegetables.
Herbs as Decorative Elements
[amazon box=”0760368406″]Edible Plants: Your herb garden serves a dual purpose as both a source of culinary ingredients and a decorative element. Arrange potted herbs in clusters for a visual impact, and enjoy the added benefit of their aromatic presence.
- Table Settings: A sprig of mint or lavender tied with a ribbon can add a touch of elegance to your dining table.
- Shelving Aesthetics: Stagger potted herbs on open shelves for a display that is as attractive as it is practical.
Health Benefits of Homegrown Herbs
Herbs are not only for cooking – they possess various health benefits.
- Mint: Known for aiding digestion and freshening breath.
- Sage: May improve brain function and memory.
- Rosemary: High in antioxidants and anti-inflammatory compounds.
The herbs you cultivate in your herb garden do more than just add flavor to your dishes; they can also contribute to a healthier lifestyle.
Troubleshooting Common Issues
In your journey to dry and store herbs from your balcony garden, you might face some challenges. Here’s how you can confidently manage common pests, diseases, and issues with water and fertilization to ensure your herbs remain viable.
Dealing with Pests and Diseases
The first step in pest and disease management is identification. Common pests like aphids or spider mites can be controlled using a blast of water, insecticidal soap, or a combination of vinegar and water. For diseases such as mildew or blight, remove affected parts of plants, avoid water splash on foliage, and improve air circulation. For resistant cases, consider an appropriate fungicide, but always follow the label’s instructions and adhere to organic options if possible.
- Identify Pests: Look for signs such as holes in leaves or sticky residue.
- Pest Control Methods:
- Water spray
- Insecticidal soap
- Disease Prevention:
- Remove affected leaves
- Water at the base, not on the foliage
- Ensure adequate air flow
Managing Water and Fertilizer Problems
Overwatering and under-watering can manifest through wilted or yellowed leaves. Ensure your herbs are in well-draining pots and establish a regular watering schedule. Herbs generally require less fertilizer than other plants, so over-fertilization can lead to poor flavor or growth. Use a balanced, organic fertilizer only when necessary, and always in moderation.
- Water Management Tips:
- Use well-draining soil
- Check soil moisture before watering
- Fertilizer Guidelines:
- Opt for organic fertilizers
- Apply sparingly, according to plant needs
#commissionsearned