🪴Balcony Garden Paradise is reader-supported. When you buy through links on our site,
we may earn a small affiliate commission at no extra cost to you. As an Amazon Associate,
we earn from qualifying purchases. Happy Gardening from the team! 🌿
Cultivating a balcony garden offers a delightful way to harness the natural healing properties of herbs right at your doorstep. Growing herbs for homemade ointments not only gives you control over the ingredients but also ensures a fresh supply for your natural remedies. Whether you have a sprawling balcony or just a modest outdoor space, a variety of herbs can thrive with proper care – mint, lavender, and calendula are just a few that can be transformed into soothing homemade ointments.
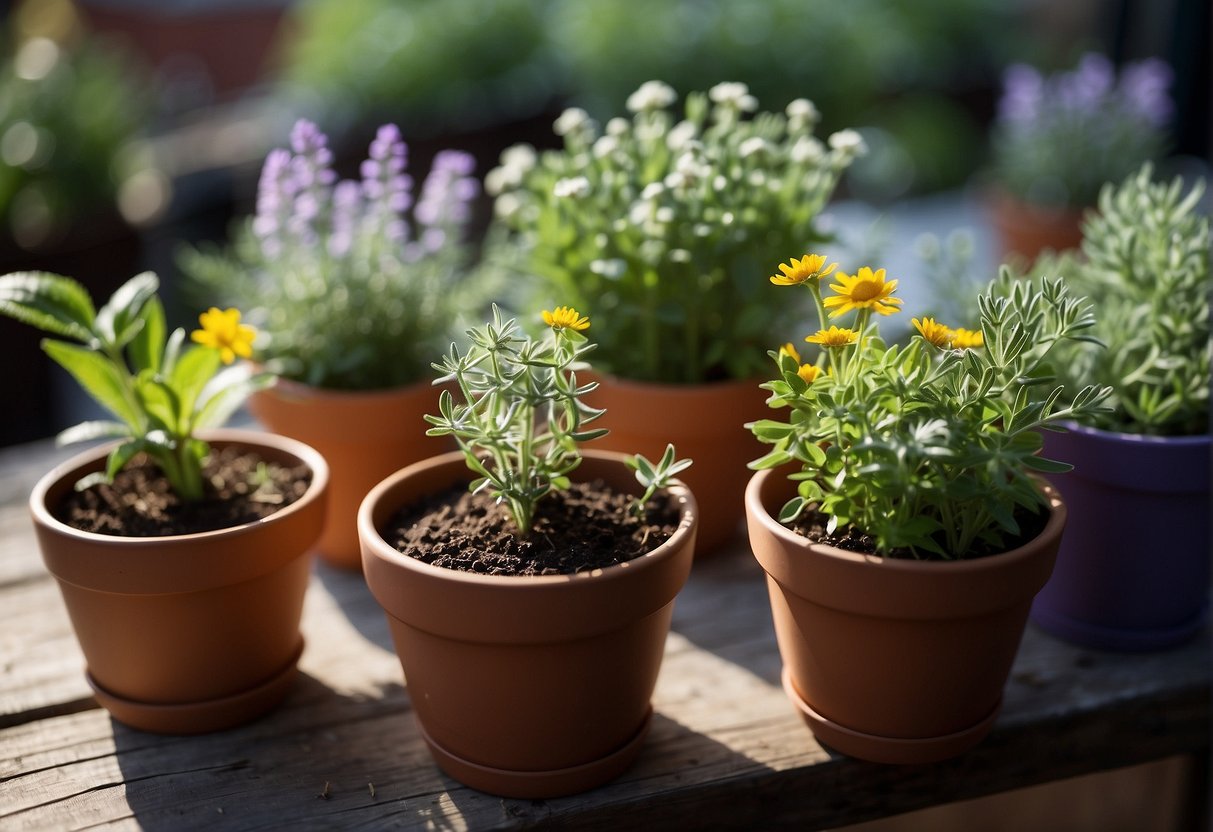
To get started with your own balcony herb garden, consider the amount of sunlight your space receives, as this is crucial for your plants’ growth. Herbs require a good amount of light; however, some can manage with partial shade. Organizing your planters to maximize exposure to natural light cascading onto your balcony will be a key factor in your garden’s success. Your green friends will need at least 4-6 hours of sunlight daily to flourish, setting the scene for a successful harvest that’s ripe for ointment making.

When you grow herbs on your balcony, you are engaging in a sustainable practice that benefits both your health and the environment. Starting with easy-to-grow herbs such as chamomile or thyme will eventually lead to a collection of aromatic and medicinal plants. Each having its unique properties, these herbs can be harvested and infused into oils or blended into salves, providing natural relief for a range of skin ailments. Your balcony herb garden thus becomes both a serene green space and a personal wellness nook.

The 2023 USDA Plant Hardiness Zone Map was created by Oregon State University (PRISM Climate Group) and released by the USDA.
Selecting the Right Herbs for Your Balcony
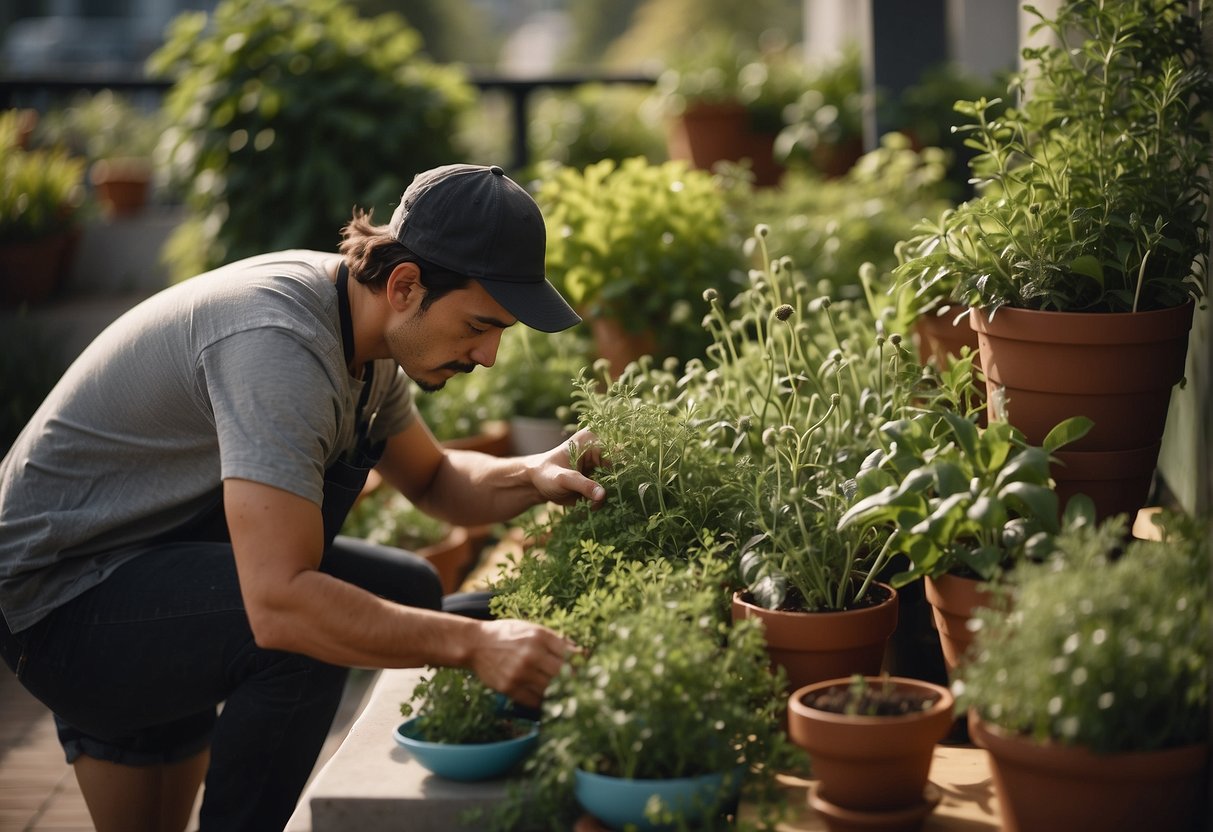
When creating a balcony garden for homemade ointments, choosing herbs that match your climate and sunlight availability is essential. Opt for a mix of annuals and perennials to provide a year-round supply of medicinal plants.
Understanding Climate and Sunlight Requirements
Basil, rosemary, and sage thrive in full sun and need at least six hours of direct sunlight each day. These herbs prefer warmer climates and should be sheltered from cold drafts. Mint and parsley are more adaptable, with some varieties capable of growing in partial shade. However, they do best with plenty of light.
- Full Sun Herbs:
- Basil
- Rosemary
- Sage
- Thyme
- Lavender
- Oregano
- Partial Shade Herbs:
- Mint
- Parsley
- Chives
- Cilantro
- Lemon Balm
Herbs like chamomile and calendula require full sun but are less demanding regarding the intensity of the heat, making them versatile for cooler climates.
Annual vs. Perennial Herbs
Annual herbs, including basil, cilantro, and fennel, need to be replanted each year, which gives you the chance to rotate and experiment with different types. Perennial herbs like rosemary, sage, and thyme are a good investment as they grow back annually and become more robust over time.
- Annual Herbs:
- Basil
- Cilantro
- Fennel
- Chamomile
- Perennial Herbs:
- Rosemary
- Sage
- Thyme
- Mint
- Oregano
- Lavender
- Hyssop
Remember, perennials require well-draining soil to prevent root rot during winter months. By choosing the right balance of annual and perennial herbs, you’ll have a fresh supply of ingredients for your homemade ointments year after year.
Optimizing Balcony Space and Layout
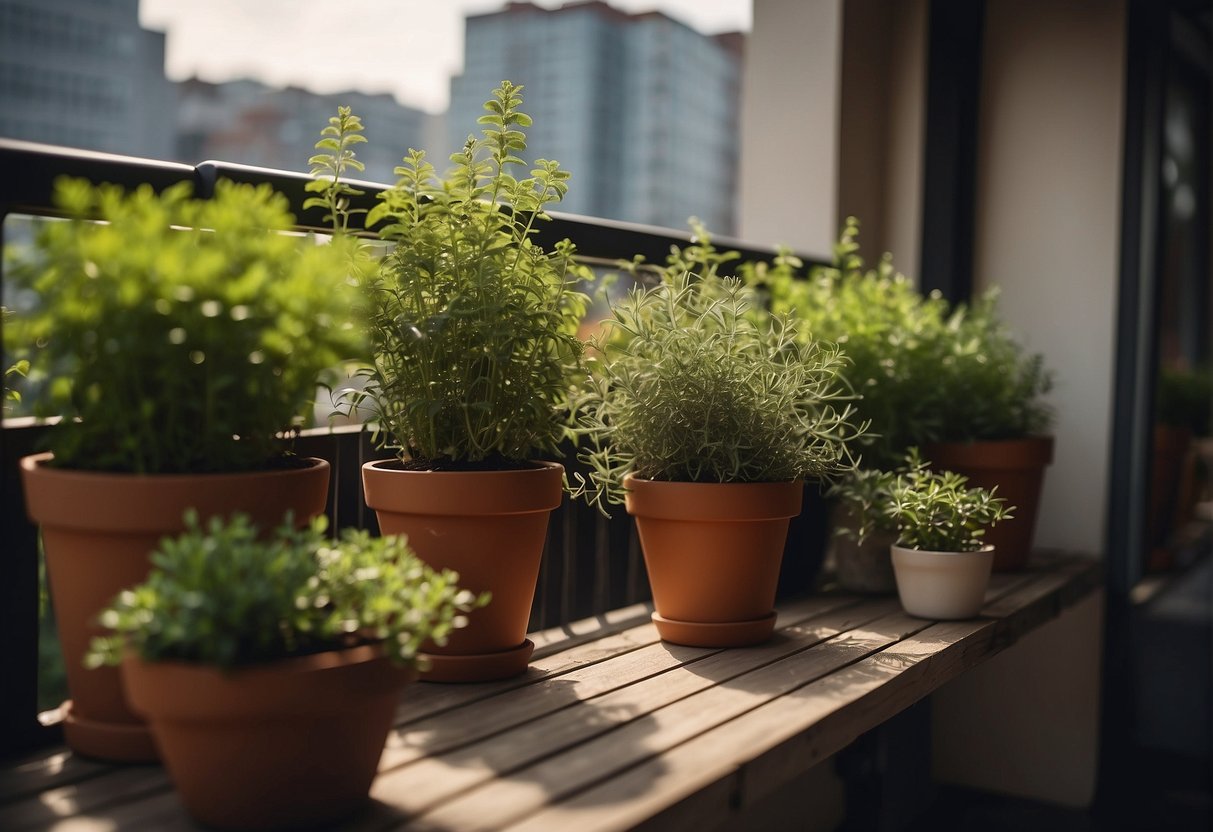
Maximizing your balcony space is crucial for growing a variety of herbs for homemade ointments. The right arrangement and choice of containers can make a small balcony a prolific herbal oasis.
Choosing the Right Containers
Selecting suitable containers is the first step to utilizing your balcony space efficiently. You’ll want pots that fit comfortably in the area without crowding. Railing planters are excellent for conserving floor space while grow bags offer flexibility and are ideal for herbs with a larger root system. Opt for containers that have adequate drainage to ensure your herbs are not over-watered.
Effective Use of Vertical Space
To make the most of your balcony, think vertically. Install a vertical herb garden to grow multiple herbs in stacked or wall-mounted planters. Utilize hanging baskets to take advantage of the overhead space that would otherwise go unused. Balcony-friendly options such as tiered shelves or trellises can also help in organizing your herb pots more effectively, allowing for more growing space.
Soil and Fertilization
For the healthiest herbs, getting your soil and fertilization right is crucial. This section details the steps to prepare the optimal soil mix and the appropriate fertilization techniques for your balcony herb garden.
Preparing the Right Soil Mix
Your herbs will thrive in well-draining soil with plenty of organic matter. Begin by mixing two parts potting soil with one part compost. This blend ensures good aeration and nutrient supply. If you have heavy soil, add perlite or sand to improve drainage. Here’s a simple table to guide your soil mix preparation:
| Ingredient | Purpose | Proportion |
|---|---|---|
| Potting Soil | Base for planting; retains moisture | 2 parts |
| Compost | Adds nutrients; improves texture | 1 part |
| Perlite/Sand | Enhances drainage (if needed) | To adjust |
When and How to Fertilize Herbs
Fertilizing should be done carefully to avoid overfeeding your herbs, which can be detrimental. Use a balanced, organic fertilizer or dilute manure during the growing season every 2-4 weeks. Pay close attention to the signs your plants give; if they display lush green growth and steady development of new leaves, you’re on the right track.
| Fertilizer Type | Frequency of Application | Note |
|---|---|---|
| Organic Fertilizer | Every 2-4 weeks | Observe plant response; adjust as necessary |
| Diluted Manure | Every 2-4 weeks | Ensure it is well-aged or composted to prevent burning plants |
A consistent schedule and the right blend of soil and nutrients are the cornerstones of a productive herb garden right on your balcony.
Planting and Propagating Herbs
To cultivate a flourishing herb garden on your balcony, understanding the nuances of starting herbs from seed versus seedlings is essential, alongside mastering the transplantation of young herbs to optimize growth and vitality.
Starting From Seeds vs. Seedlings
Seed Starting: When you begin with seeds, you’ll need a seed tray and a quality potting mix. Ensure you plant the herb seeds shallowly, as they require light to germinate. The germination process for seeds can be more controlled in terms of light, moisture, and soil mixture. Using grow lights can enhance germination if your balcony lacks sufficient natural sunlight.
Opting for Seedlings: Starting with seedlings reduces the wait time significantly. Your young herbs can be bought as nursery seedlings and typically have a stronger start, especially true for slow-starting varieties. However, the selection may be constrained compared to the diversity available in seed packets.
Transplanting Tips for Herb Seedlings
Soil Preparation: Before transplanting, make sure your balcony containers are filled with a nutrient-rich potting mix. A loose and airy soil promotes healthy root growth.
Transplanting Process:
- Water your seedlings before transplanting to minimize shock.
- Gently remove the herb seedling from its container, handling the base to protect the stem.
- Make a hole in your potting mix just large enough for the seedling’s root ball.
- Place the seedling in the hole and fill around gently with soil.
Remember, regular watering post-transplant is crucial, but avoid waterlogging the soil. With careful attention, your growing herbs will soon be ready for making homemade ointments.
Watering and Drainage
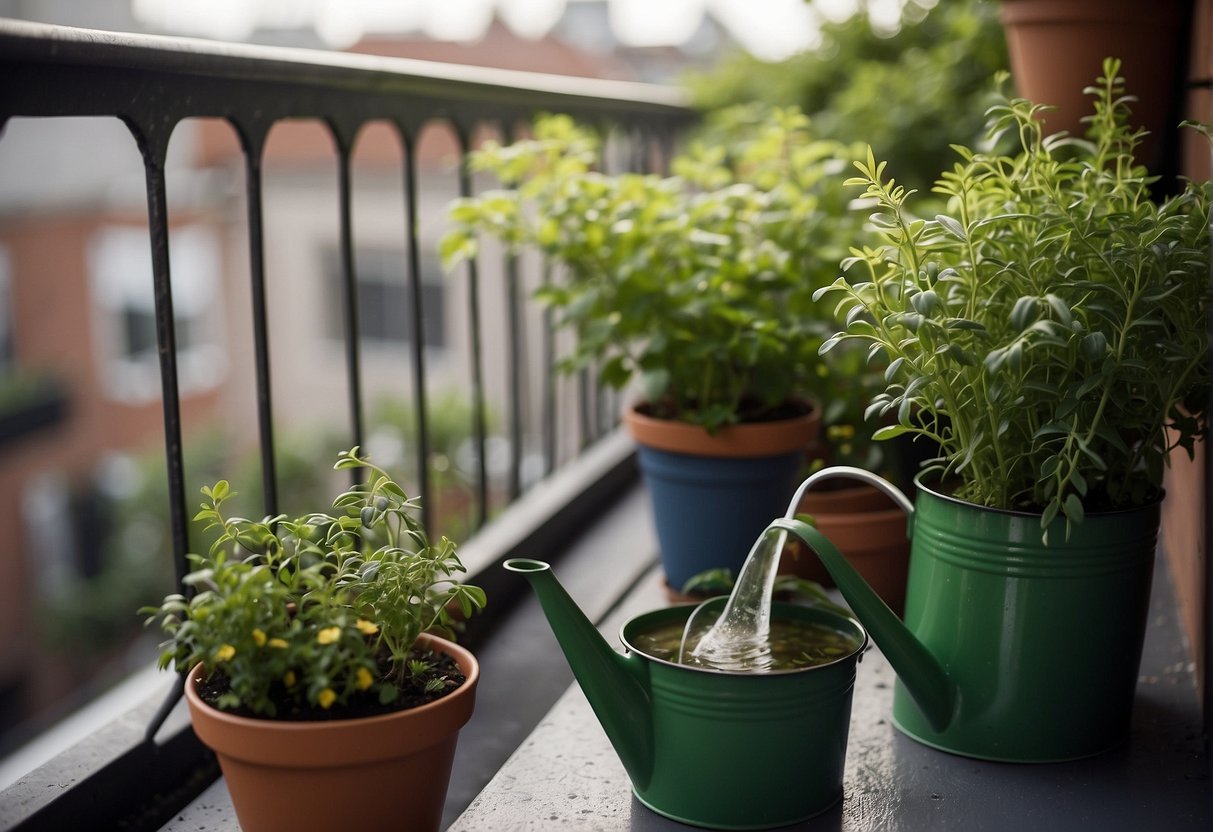
Proper hydration and well-designed drainage are critical for the success of growing herbs in your balcony garden. Herbs can be particular about their water needs, and adequate drainage is key to preventing root rot.
Water Requirements for Common Herbs
Basil requires consistent moisture and might need watering daily during hot weather. On the other hand, Rosemary prefers drier conditions and should be watered only when the soil feels dry to the touch.
- Mint thrives in moist soil but is prone to wilt if left dry for too long.
- Thyme and oregano are drought-tolerant; overwatering can harm them.
For most herbs, the best method is to check the top inch of the soil; if it’s dry, it’s time to water.
Ensuring Proper Drainage in Containers
- Containers must have drainage holes to allow excess water to escape.
- Use a mixture of potting soil and perlite to enhance drainage.
- Raising the pot on feet or a small stand promotes airflow and drainage.
Tip: If your container lacks drainage holes, consider drilling some in the bottom. Without proper drainage, your herbs are at risk of root rot, which can be fatal.
Pruning and Harvesting
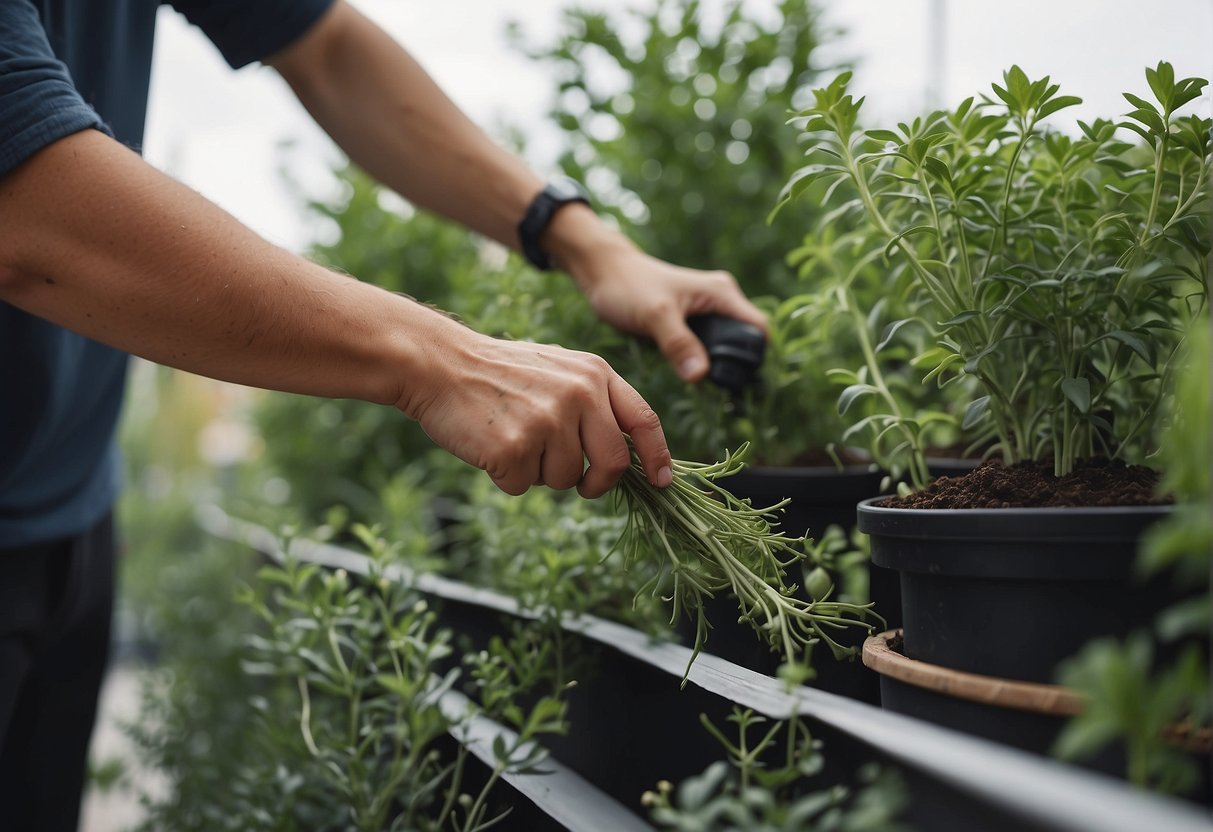
Before diving into the practical aspects of your herb garden, it’s crucial to understand that regular trimming and timely harvesting are key to ensuring a constant supply of fresh herbs for your cooking needs.
Trimming for Healthier Herb Growth
By trimming your herbs, you encourage fuller and bushier plants. When pruning, focus on removing just the top third of growth. This prompts the plant to produce new growth, thus leading to a healthier plant. Be sure to use clean, sharp scissors or pruning shears to make precise cuts without damaging the plant.
Best Practices for Harvesting Herbs
When it’s time to harvest, it’s best to cut herbs early in the morning, before the sun is at its peak, as this is when their flavor is most potent. For continual harvest, only take about one-third of the plant at any one time. This allows your herb to recover and regrow for future harvesting. Freshly cut herbs can be used immediately in your cooking, offering the freshest flavors.
Overcoming Challenges in Balcony Herb Gardening
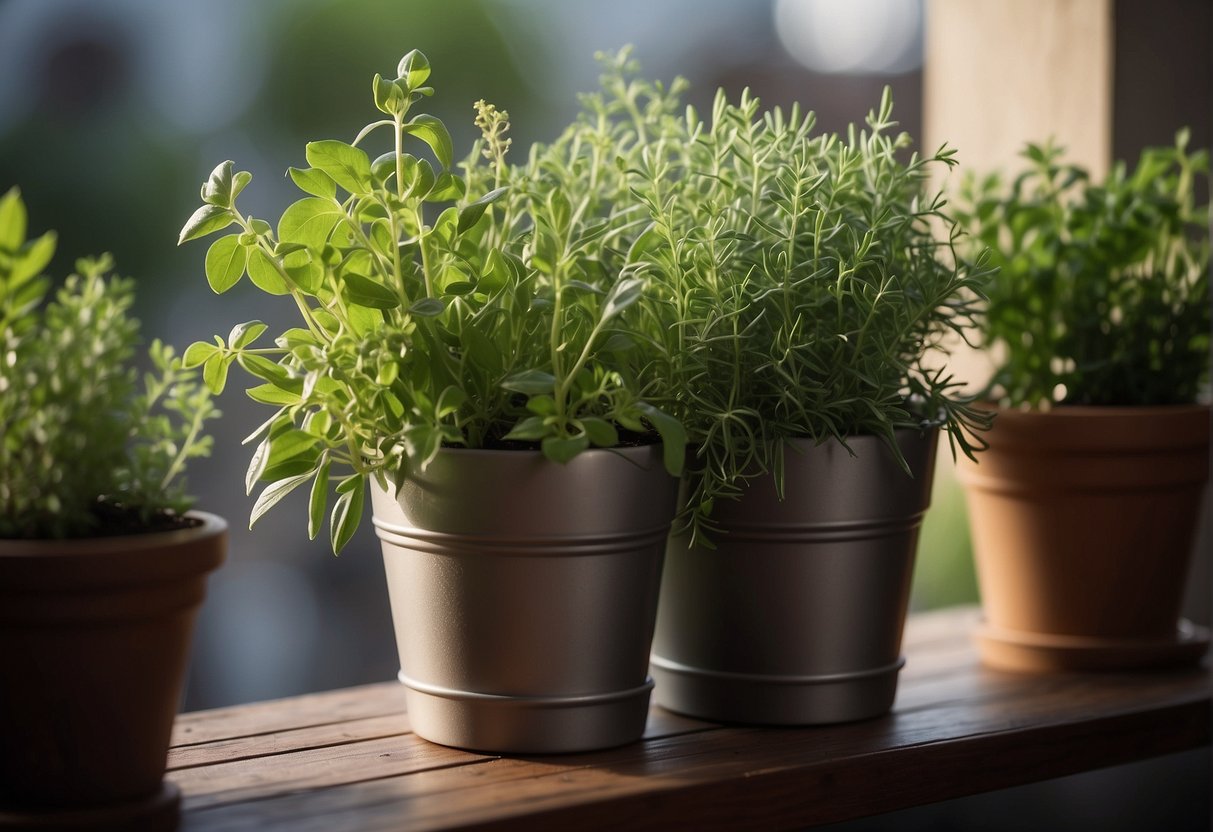
While balcony herb gardening offers a convenient way to cultivate ingredients for home remedies, it can present unique challenges such as pests, disease, and weather extremes. Understanding how to navigate these issues is key to maintaining a successful balcony garden.
Dealing with Pests and Diseases
Pests can be especially troublesome in the contained space of a balcony herb garden. Here’s what you can do:
- Inspect regularly: Check your herbs often for signs of pests or disease, looking under leaves and near the soil.
- Natural remedies: Use mild soap and water mixtures or introduce beneficial insects like ladybugs that eat common herb pests such as aphids.
Diseases like root rot can arise from poor drainage. To prevent this:
- Proper potting: Ensure your containers have adequate drainage holes and use well-draining soil to avoid waterlogged roots.
- Monitor watering: Over-watering can lead to root rot. Make sure to water only when the top inch of soil feels dry.
Managing Extreme Weather Conditions
Extreme weather, including cold winters and hot, dry periods, threatens the vitality of your herbs. For cold protection:
- Insulation: Wrap pots with burlap or move them against a shared wall to shield against freezing temperatures.
During drought or heat waves:
- Shade: Provide temporary shade using a cloth or a parasol during the hottest parts of the day to prevent wilting.
- Watering: Increase watering frequency, but do so either in the morning or evening to reduce evaporation.
Using Herbs from Your Balcony Garden
Cultivating an herb garden on your balcony equips you with a versatile arsenal for homemade ointments and cooking endeavors, turning your space into both a healing haven and a gourmet station.
Creating Homemade Ointments and Remedies
When you pick fresh herbs from your pots, you’re just steps away from crafting natural home remedies. For instance, an ointment with Mediterranean herbs like rosemary can help soothe muscle aches. To start:
- Harvest the desired herb(s).
- Dry or crush them as needed.
- Infuse them into a base like beeswax or coconut oil.
- Store your homemade ointment in a cool, dry place.
Remember, growing plants on your balcony isn’t just decorative; it’s practical. Lavender, for example, can be used to create a calming balm, while aloe vera provides a healing gel for skin irritations.
Six Simple Recipes
Calendula Salve
- Melt 1/2 cup of calendula-infused oil (you can make your own) with 2 tablespoons of beeswax in a double boiler.
- Stir until well combined and then pour into small tins or jars.
- Allow to cool before sealing.
- Calendula is known for its soothing properties, making it great for skin irritations and minor wounds.
Lavender Healing Salve
- Combine 1/2 cup coconut oil, 1/4 cup olive oil, 1/4 cup beeswax, and 1 tablespoon of vitamin E oil in a double boiler.
- Once melted, remove from heat and add 15 drops of lavender essential oil.
- Pour into containers and let cool.
- Lavender is calming and antibacterial, ideal for burns, cuts, and scrapes.
Tea Tree Antiseptic Ointment
- Mix 1/2 cup of coconut oil with 1/4 cup of beeswax and melt them together.
- After removing from heat, stir in 20 drops of tea tree essential oil.
- Pour into small jars and let it set.
- Tea tree oil has antiseptic properties, which can be useful for treating minor cuts and acne.
Peppermint Foot Balm
- Heat 1/2 cup of coconut oil and 1/4 cup of beeswax in a double boiler until melted.
- Add 15 drops of peppermint essential oil after removing from heat.
- Stir well, pour into containers, and allow to cool.
- Peppermint is cooling and refreshing, perfect for tired, achy feet.
Chamomile Skin Cream
- Infuse 1/2 cup of sweet almond oil with dried chamomile flowers by heating gently for a few hours, then strain.
- Melt the infused oil with 2 tablespoons of beeswax in a double boiler.
- Once melted, remove from heat and allow to cool slightly before adding 10 drops of chamomile essential oil.
- Pour into a container and let it solidify.
- Chamomile is gentle and soothing for sensitive or inflamed skin.
Eucalyptus Chest Rub
- Melt 1/4 cup of coconut oil with 1/8 cup of olive oil and 1/8 cup of beeswax in a double boiler.
- Once the mixture is fully melted and combined, remove from heat.
- Stir in 15 drops of eucalyptus essential oil and 10 drops of peppermint essential oil.
- Pour the mixture into a small jar or tin and let it cool before sealing the lid.
- Eucalyptus and peppermint are known for their decongestant properties, making this rub great for easing respiratory discomfort from colds.
Check out this article by Nourished Essentials: HOW TO MAKE ESSENTIAL OILS.