Balcony Garden Paradise is reader-supported. When you buy through links on our site,
we may earn a small affiliate commission. Happy Gardening from the team! 🌿
You can create a thriving winter pollinator balcony garden that supports bees, butterflies, and other beneficial insects even during the coldest months of the year. Many people think pollinator gardening stops when temperatures drop, but winter is actually a critical time when these creatures need reliable food sources and shelter. Your balcony can become a vital habitat through smart plant choices and simple design strategies.
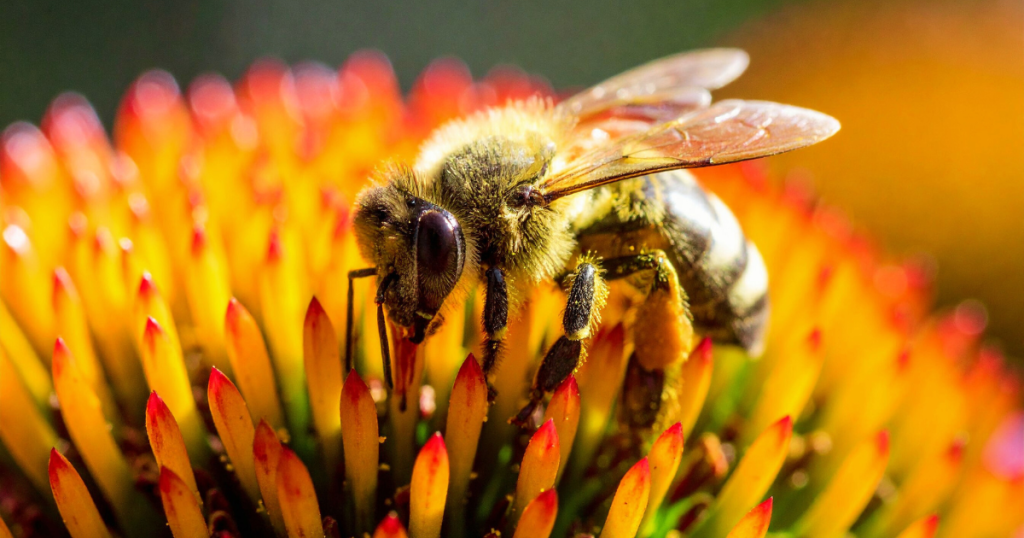
A winter pollinator balcony garden combines cold-hardy flowering plants, protective shelter features, and strategic container placement to provide food and habitat for pollinators from January through early spring. Even a small balcony space can make a real difference. If every household planted just one pollinator-friendly plant, more than 120 million additional plants would support habitat across the country.
Building your winter pollinator garden requires selecting plants that bloom in cold weather, choosing frost-proof containers, and arranging your space to maximize both sun exposure and protection from harsh winds. You can start this project right now in January 2026 and see results within weeks as early pollinators visit your balcony oasis.

The 2023 USDA Plant Hardiness Zone Map was created by Oregon State University (PRISM Climate Group) and released by the USDA.
Key Takeaways
- Winter pollinator balcony gardens use cold-hardy plants and frost-proof containers to support bees and butterflies during colder months
- Vertical design features like hanging baskets and wall planters maximize small balcony spaces for pollinator habitat
- Proper winter care includes adjusted watering schedules, frost protection methods, and specialized soil mixes for container plants
Understanding Winter Pollinators
Many insects remain active or survive winter in various life stages, ready to emerge when temperatures warm. Some pollinators even venture out on milder winter days to search for food sources.
Types of Pollinators Active in Winter
Several pollinator species stay active during winter months, though their activity depends on temperature and available food sources. Bumblebees, particularly rusty patched bumblebees, take short breaks and can become active by March, searching for early flowers. Some hardy beetles and flies wait for warmer winter days to take brief flights.
Ladybugs spend the winter mostly dormant, hiding in tree holes, under logs, and beneath rocks. Winter-active moths may emerge during temperature spikes to feed on available nectar sources. Your balcony garden can support these pollinators if you provide the right conditions.
Even butterflies contribute to winter pollination in mild climates. Mourning cloak butterflies sometimes fly on warm winter afternoons. Red admiral butterflies also venture out when sunshine warms their sheltered spots.
Pollinator Life Cycles and Winter Survival Strategies
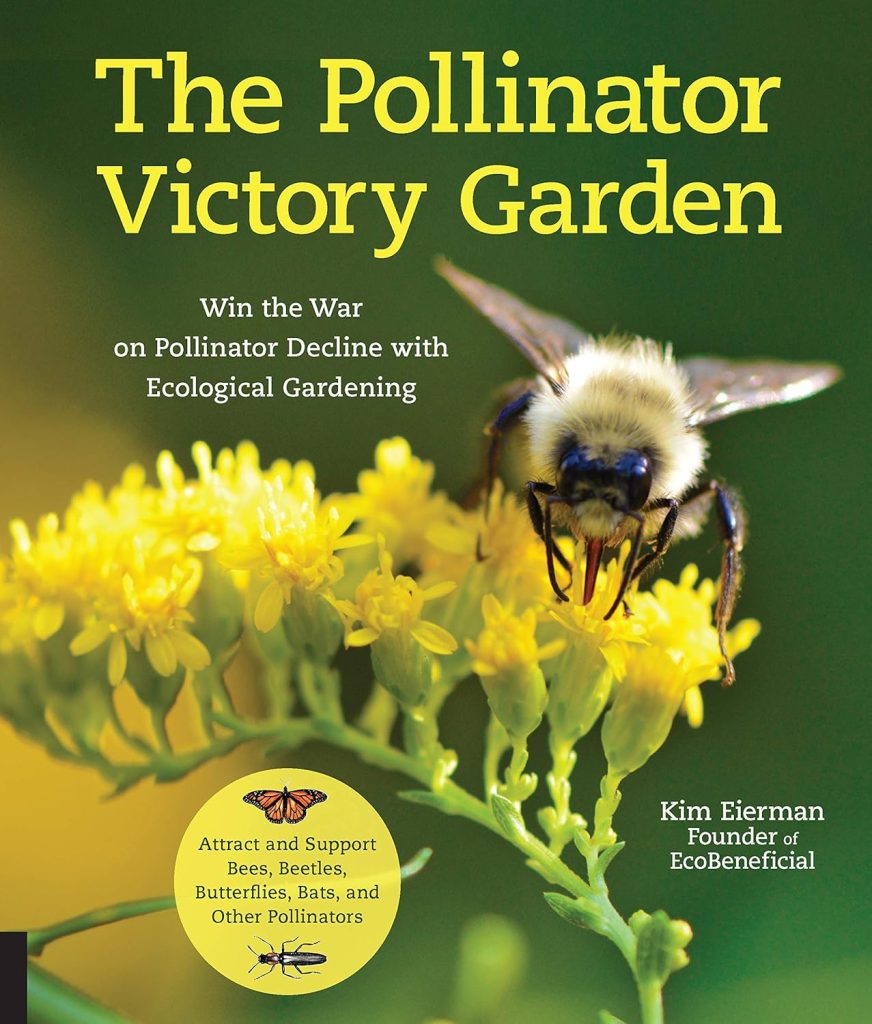
The Pollinator Victory Garden
Many pollinators enter a state called diapause when temperatures drop. This condition puts their development on hold until spring arrives. Native bees and butterflies often overwinter as larvae, seeking shelter in leaf litter or burrowing underground.
Dragonflies survive beneath ice in their nymph form. Praying mantids lay eggs that withstand freezing temperatures throughout winter. Moths wrap themselves in a non-feeding pupal stage until warmer weather returns.
Your balcony can help pollinators survive winter by providing proper shelter. Leave plant stems standing because they offer nesting sites for solitary bees and other insects. Dried flower heads and seed pods create protected spaces for overwintering insects.
Common Challenges Faced by Balcony Pollinators
Balcony environments present unique obstacles for winter pollinators. Limited space reduces available shelter options compared to ground-level gardens. Wind exposure increases on higher floors, making it harder for insects to maintain body temperature and find protected spots.
Balconies often lack natural ground cover where many pollinators burrow or hide. The absence of leaf litter removes important insulation and cover for caterpillars and eggs. Container gardens dry out faster than in-ground beds, affecting plants that provide winter food sources.
Temperature fluctuations on balconies can confuse pollinators. South-facing balconies may warm quickly on sunny days, drawing out insects before adequate food sources bloom. You need to create microclimates using strategic plant placement and add shelter features like bundled stems or small insect hotels to address these challenges.
Essential Cold-Hardy Plants for Winter Pollinator Balcony Gardens
Building a successful winter pollinator balcony garden requires selecting plants that can survive freezing temperatures while providing nectar and pollen during the colder months. The right combination of cold-tolerant species, strategic bloom scheduling, and regionally appropriate selections will keep pollinators fed when food sources are scarce.
Best Cold-Tolerant Pollinator Plants for Containers
Winter-blooming heathers (Erica carnea) are excellent cold-hardy pollinator plants that balcony gardeners should prioritize. These evergreen shrubs bloom from late winter through early spring, providing crucial nectar for early bees. They survive temperatures down to Zone 5 and thrive in containers.
Hellebores produce bowl-shaped flowers from January through March, attracting hungry bumblebees. These shade-tolerant perennials handle Zone 4 winters and work well in potted outdoor winter plants arrangements.
Winter-flowering honeysuckle (Lonicera fragrantissima) blooms in late winter with fragrant white flowers that draw early butterflies and bees. Hardy to Zone 4, this shrub adapts well to large containers.
Crocus bulbs emerge in late winter, offering pollen-rich blooms for solitary bees. Plant them densely in shallow containers for maximum impact.
Snowdrops (Galanthus) provide early nectar sources in late winter. These small bulbs naturalize easily in pots and survive Zone 3 winters.
Bloom Times and Succession Planting for Winter Interest
Planning your easy container garden for butterflies’ winter success means staggering bloom times from November through March. Start with November-blooming plants like late-flowering sedums that continue from fall.
December through January represents the hardest period for pollinators. Focus on evergreen plants with persistent berries like winterberry holly, which feed overwintering moths and provide shelter.
February plantings should include early crocuses, winter aconite, and snowdrops. These emerge during warm spells when bees venture out.
March transitions require hellebores, early daffodils, and primroses to bridge into spring. Layer your containers with different bulb depths to ensure sequential blooming.
Combine early, mid, and late winter bloomers in single large containers. This creates continuous food availability and maximizes your limited balcony space.
Selecting Native and Regionally Adapted Species
Choose plants native to your specific region for the best pollinator support. Zone 6 gardeners should focus on Virginia bluebells and native violets that emerge in late winter.
Zone 5 locations benefit from native winterberry (Ilex verticillata) and American cranberrybush viburnum. Both produce persistent fruits that sustain overwintering Lepidoptera larvae.
Zone 7 and warmer can grow winter-blooming native azaleas and witch hazel, which bloom during mild winter periods.
Check with your local native plant society to identify which species naturally bloom in your area during the winter months. Native plants support specialist pollinators that non-native species cannot sustain. They also require less maintenance since they evolved in your climate conditions.
Select container plants rated for one or two zones colder than your location, as roots in pots face more exposure than ground-planted specimens.
Choosing and Using Winter-Proof Containers and Pots
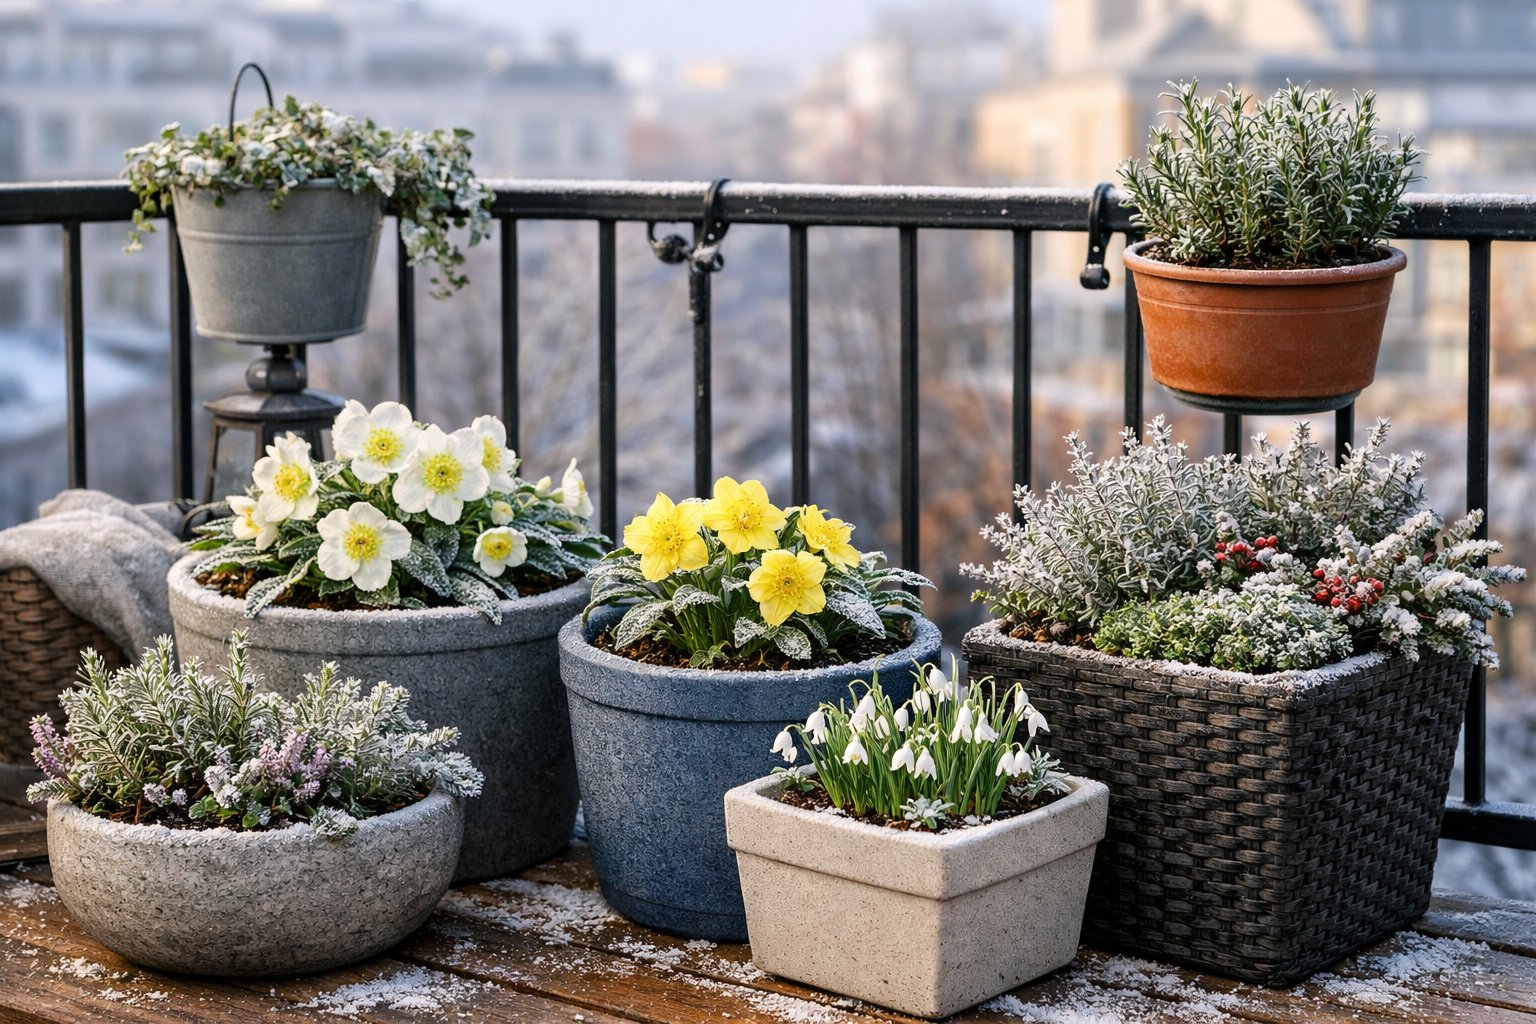
Winter containers need to handle freezing temperatures and protect plant roots from the cold. The right materials, proper drainage, and smart placement keep your pollinator plants alive through harsh weather.
Frost-Proof Materials for Urban Balconies
Frost-proof pollinator pots for urban balconies must withstand repeated freeze-thaw cycles without cracking. Fiberglass and resin containers offer excellent durability in cold weather while staying lightweight enough for balcony weight limits.
Wood planters insulate plant roots naturally, but you need to treat them with weatherproof sealant. Cedar and redwood resist rot better than other woods.
Thick ceramic pots work if they’re specifically rated for freezing temperatures. Avoid thin terracotta or clay pots since they crack easily when water inside them freezes and expands. Metal containers conduct cold directly to the roots, so they require extra insulation with bubble wrap or burlap around the outside.
Stone and concrete planters provide natural insulation but add significant weight. Check your balcony’s weight capacity before using it.
Pot Sizes, Drainage, and Insulation Techniques
Select planters about two inches larger than your plant’s root ball. Pots that are too large hold excess moisture that can freeze and damage roots. Pots that are too small don’t provide enough soil to insulate roots from cold.
You can frost-proof containers by adding mulch around the pot for extra protection. Layer two to three inches of straw, shredded leaves, or wood chips on top of the soil.
Drainage holes are essential since waterlogged soil freezes solid and kills roots. Place pot feet or small stones under each container to lift it off the balcony floor. This allows water to drain freely and prevents the drainage holes from freezing shut.
Wrap containers with insulating materials when temperatures drop below 20°F. Bubble wrap, burlap, or foam insulation sleeves protect roots from extreme cold.
Elevating and Arranging Pots for Maximum Protection
Raise pots off the balcony floor using pot feet, bricks, or small wooden blocks. This creates airflow underneath and prevents water from pooling and freezing around the base.
Position your containers against building walls where they receive radiant heat. The wall blocks wind and provides several degrees of extra warmth.
Group pots together in clusters since plants insulate each other. Place taller containers on the outside to shield smaller pots from the wind. Arrange them in corners or against railings where they get maximum protection from building structures.
Move the most cold-sensitive plants closest to doors or windows where building heat radiates through the walls. Keep hardy natives in more exposed areas since they tolerate temperature swings better.
Designing a Pollinator-Friendly Winter Balcony
A winter pollinator balcony garden requires smart design choices that make the most of limited space while protecting pollinators from harsh weather. The right arrangement of plants, structures, and shelter areas can transform even a small balcony into a valuable winter refuge.
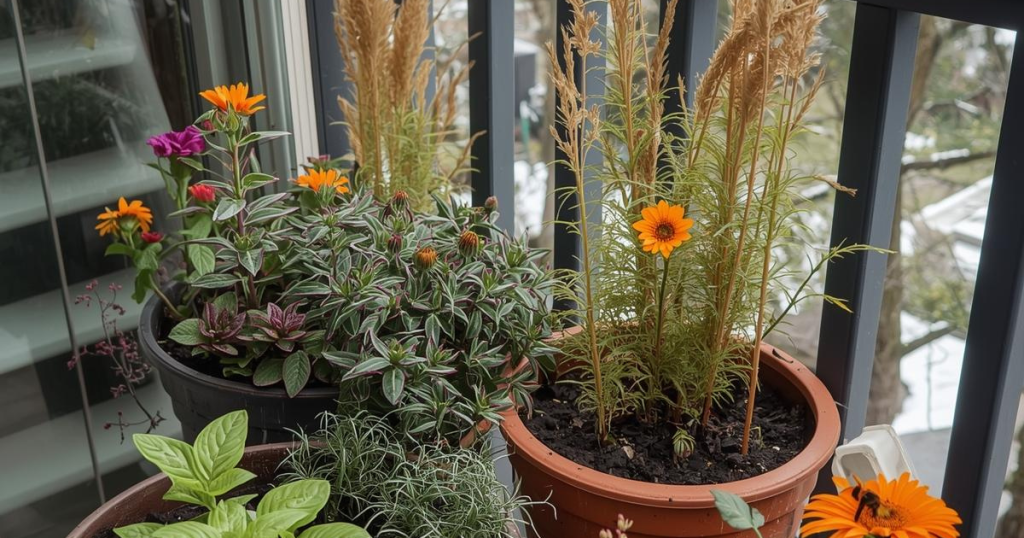
Maximizing Limited Space: Vertical and Layered Planting
You can fit more plants on your balcony by thinking vertically. Wall-mounted planters, hanging baskets, and tiered shelving let you grow multiple pollinator plants without taking up floor space.
Train climbing plants like winter jasmine or hardy honeysuckle along railings using twine or wire supports. These vertical elements create additional feeding and shelter spots for winter-active pollinators. You can also attach small containers to walls or fences at different heights.
Layered planting means placing shorter plants in front and taller ones behind. This approach gives you better access to all your plants for maintenance. It also ensures each plant gets adequate light exposure during winter’s low sun angles.
Consider using window boxes along your balcony railing for low-growing winter bloomers. Stack smaller pots on plant stands or repurposed crates to create multiple levels. This vertical layering increases your total planting area by up to three times compared to single-level arrangements.
Arranging Plants for Sunlight and Wind Shelter
The winter sun sits lower in the sky than the summer sun. Most pollinator plants require full sun, so you need to position them where they’ll receive maximum winter light.
Place your tallest containers along the back or side walls of your balcony. Position shorter plants toward the front where they won’t be shaded. South-facing balconies get the most winter sun, while north-facing spots stay shadier and colder.
Wind protection matters just as much as sunlight during winter. Strong winds dry out plants quickly and make your balcony too cold for pollinators to visit. Create windbreaks by positioning evergreen plants or small trellises on the windward side of your balcony.
Group your containers together rather than spacing them far apart. This clustering creates a microclimate that’s warmer and more protected than individual pots. Leave enough room between groups for air circulation to prevent fungal problems.
Creating Microhabitats and Nesting Sites
Winter pollinators need more than food sources. They require protected spots to rest, hide from predators, and shelter from storms.
Leave some plant stems standing instead of cutting everything back in the fall. Hollow stems provide nesting sites for native bees. Bundle together several bamboo canes or drill holes in untreated wood blocks to create additional bee hotels.
Add a shallow dish filled with pebbles and water. Pollinators need water even in winter, and the stones give them safe landing spots. Change the water regularly to prevent freezing and mosquito breeding.
Consider these shelter additions for your winter balcony:
- Rock piles: Stack flat stones in corners to create hibernation spots for beneficial insects
- Leaf litter: Place dried leaves in mesh bags under plant containers for ground-dwelling pollinators
- Brush piles: Bundle twigs together and secure them against railings for additional shelter
- Cork bark: Lean pieces of natural cork against walls to provide insulated hiding spaces
Dense evergreen plants like dwarf conifers or winter-blooming heathers create natural windbreaks and shelter zones. Position these strategically to protect more delicate flowering plants and visiting pollinators.
Habitat Features for Supporting Pollinators Through Winter
Pollinator Pathway: Preparing Your Garden for Winter Darien Library (long video, but very well done)
Winter pollinator balcony gardens need more than just plants to keep beneficial insects alive during cold months. Creating shelter spaces, maintaining water access, and avoiding harmful products give overwintering pollinators the resources they need to survive until spring.
Providing Shelter: Leaf Litter, Stems, and Bee Hotels
Many native bees and beneficial insects spend winter in hollow plant stems, leaf piles, or small cavities. You can help these pollinators by leaving dead plant stems standing in your containers instead of cutting them down in the fall. Cut perennial stems to different heights between 8 and 24 inches to create varied nesting spots.
Bee hotels provide artificial nesting sites for solitary bees that need places to overwinter. Mount a bee hotel on your balcony wall in a spot that faces southeast to get morning sun. The hotel should have paper tubes or hollow reeds between 3 and 10 millimeters in diameter and at least 6 inches deep.
Add a shallow layer of dry leaves around the base of your planters. This leaf litter creates hiding spots for ladybugs, lacewings, and other beneficial insects that help control pests. Keep these areas undisturbed throughout winter.
Water Sources for Cold Months
Pollinators need water even during winter on warmer days when they become active. Place a shallow dish filled with pebbles or marbles on your balcony and add water just below the top of the stones. The rocks give insects safe landing platforms so they won’t drown.
Change the water every few days to prevent mosquito breeding and keep it fresh. On days when temperatures drop below freezing, bring the water dish inside or let it freeze naturally.
Avoiding Chemicals and Promoting Safe Practices
Never use pesticides, herbicides, or chemical fertilizers in your winter pollinator balcony garden. These products kill beneficial insects along with pests and can persist in soil for months. Even organic pesticides harm pollinators when applied directly to plants or during active hours.
Use compost or organic potting soil to feed your plants naturally. If you need to clean containers between seasons, use plain water and a scrub brush instead of chemical cleaners.
Care and Maintenance of Your Winter Pollinator Balcony Garden
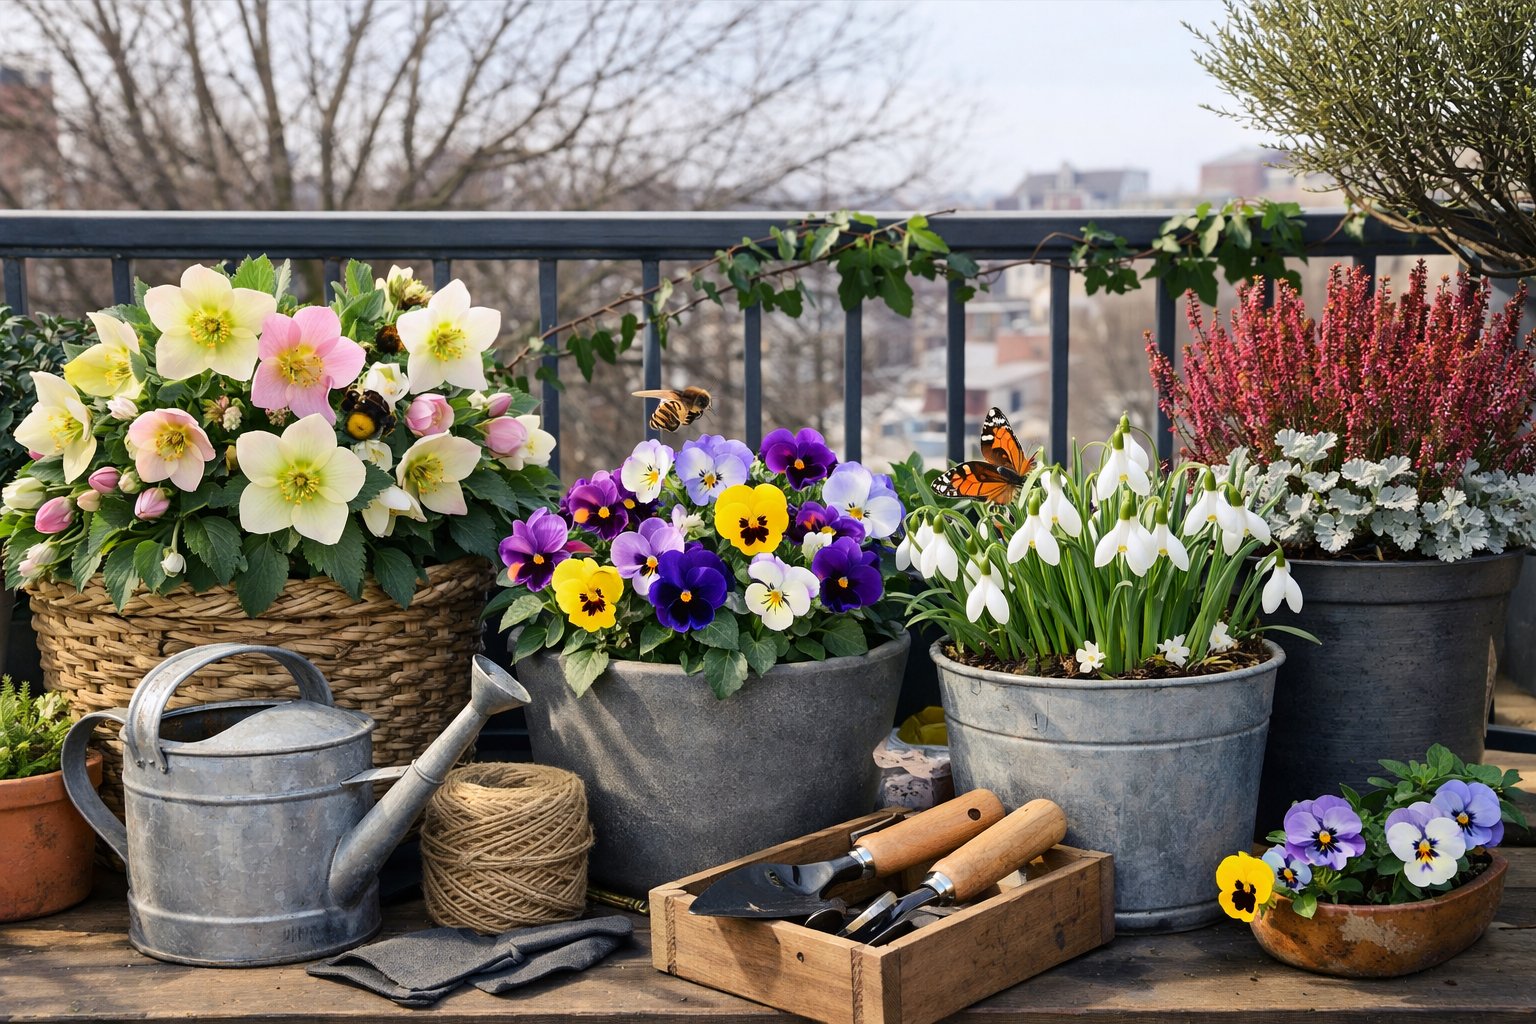
Your winter pollinator balcony garden needs regular attention to stay healthy through cold months. Proper watering, organic pest control, and careful spring transitions keep your plants strong and ready to support pollinators.
Winter Watering and Preventing Root Rot
Container plants need less water in winter but still require moisture. Check the soil every few days by sticking your finger about two inches deep into the soil. Water only when the top layer feels dry.
Water your containers during the warmest part of the day to prevent freezing. Use room temperature water and pour slowly until it drains from the bottom holes. Empty drainage trays within an hour to stop roots from sitting in water.
Root rot happens when the soil stays too wet in cold weather. Make sure all containers have drainage holes. Add a layer of gravel or small stones at the bottom of pots to improve drainage. Mix perlite or sand into your potting soil to help water move through faster. Reduce watering frequency if temperatures drop below 40°F.
Managing Pests and Diseases Organically
Winter brings fewer pests, but aphids and spider mites can still attack indoor or sheltered plants. Inspect leaves weekly for small bugs, webbing, or yellowing spots. Spray affected plants with a mixture of one tablespoon of dish soap in one quart of water.
Remove any dead or diseased leaves right away. These can harbor fungal spores and spread problems to healthy plants. Trim brown stems back to green growth using clean scissors.
Powdery mildew appears as white patches on leaves in damp conditions. Space containers apart to improve air flow between plants. Avoid watering leaves directly and focus water at the soil level. If mildew appears, mix one teaspoon of baking soda with one quart of water and spray affected areas.
Transitioning from Winter to Spring: Cleanup and Rejuvenation
Start preparing your balcony garden in late winter when temperatures begin warming. Leave stems and dried plant material in place until late spring to protect overwintering pollinators like solitary bees that nest in hollow stems.
Remove winter mulch gradually as nighttime temperatures stay above 50°F. Pull back mulch from plant crowns first to prevent rot. Watch for early spring bulbs pushing through the soil.
Cut back dead stems in late spring after you notice pollinator activity increasing. Leave some stems standing for insects that emerge later. Add fresh compost around plants and divide any overcrowded perennials. Check containers for cracks from freeze-thaw cycles and replace damaged pots before adding new soil.