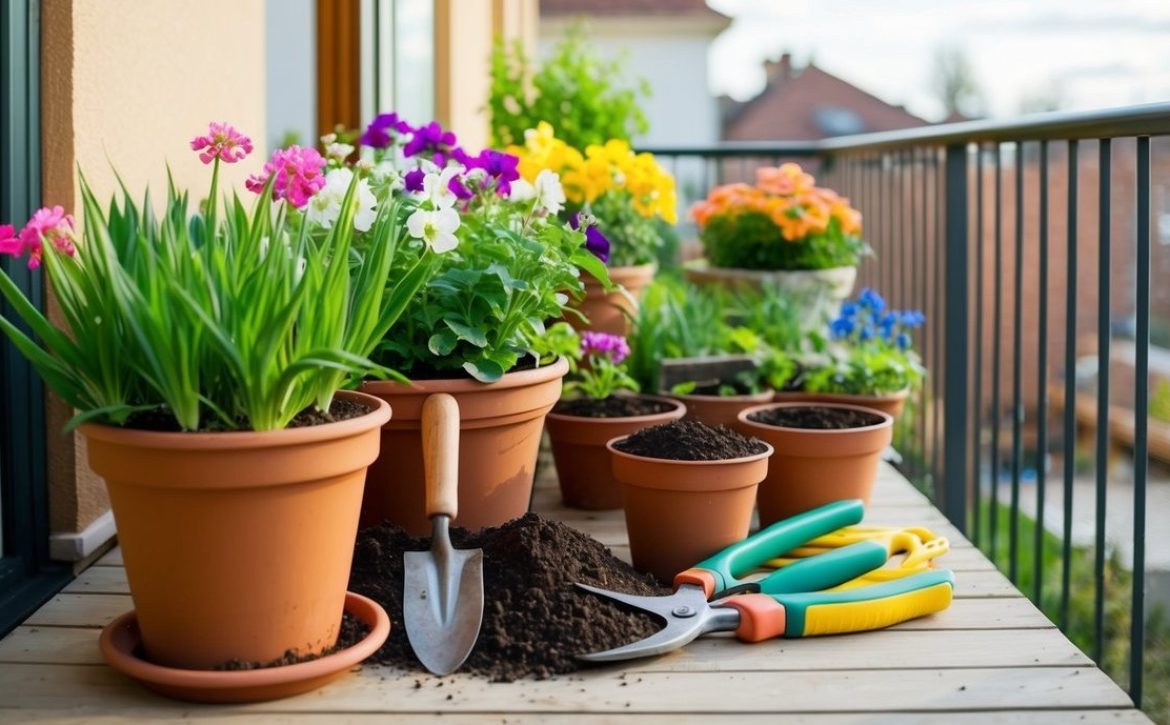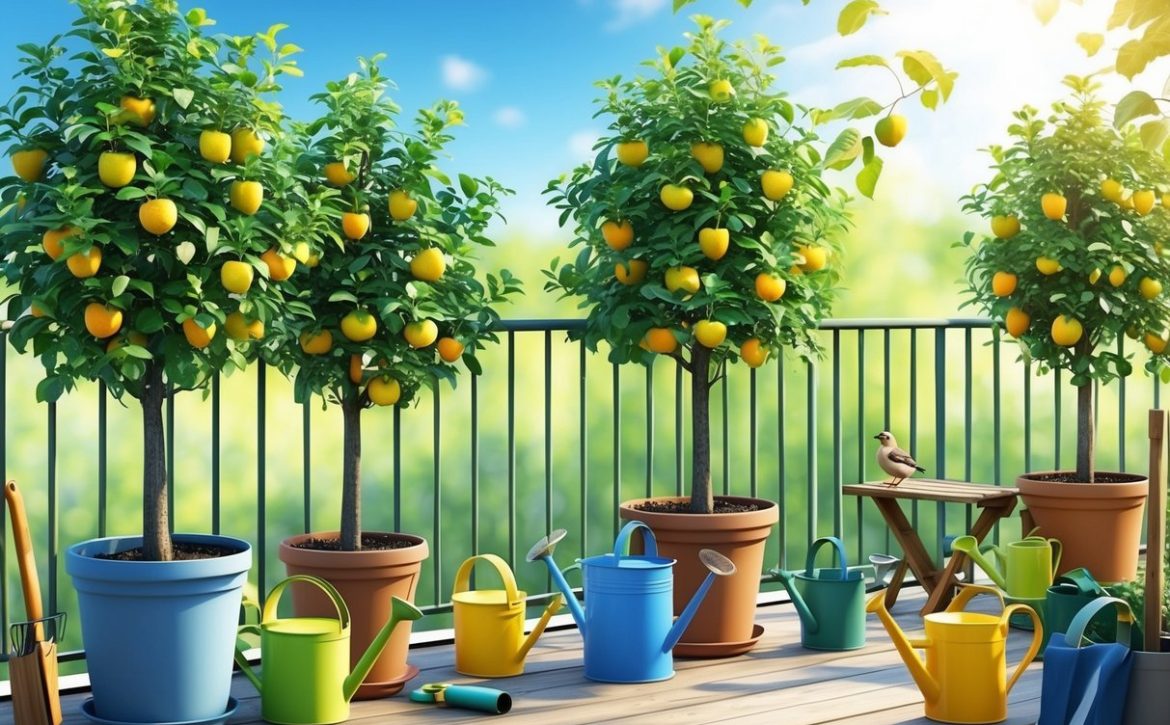
Prepare Your Balcony Garden for Spring: Enjoy the Blooms

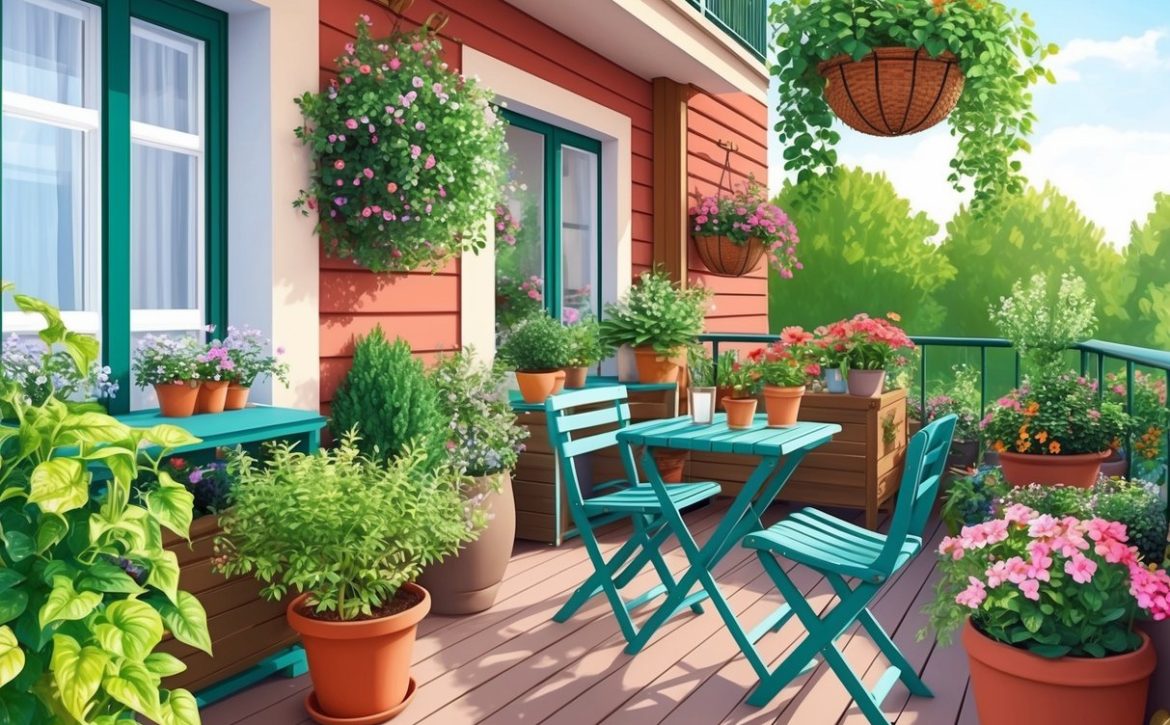
Spring is here, and it’s time to prepare your balcony garden for a burst of color! Check out our latest tips on how to plant beautiful blooms and maximize your outdoor space. Let’s make this spring unforgettable!

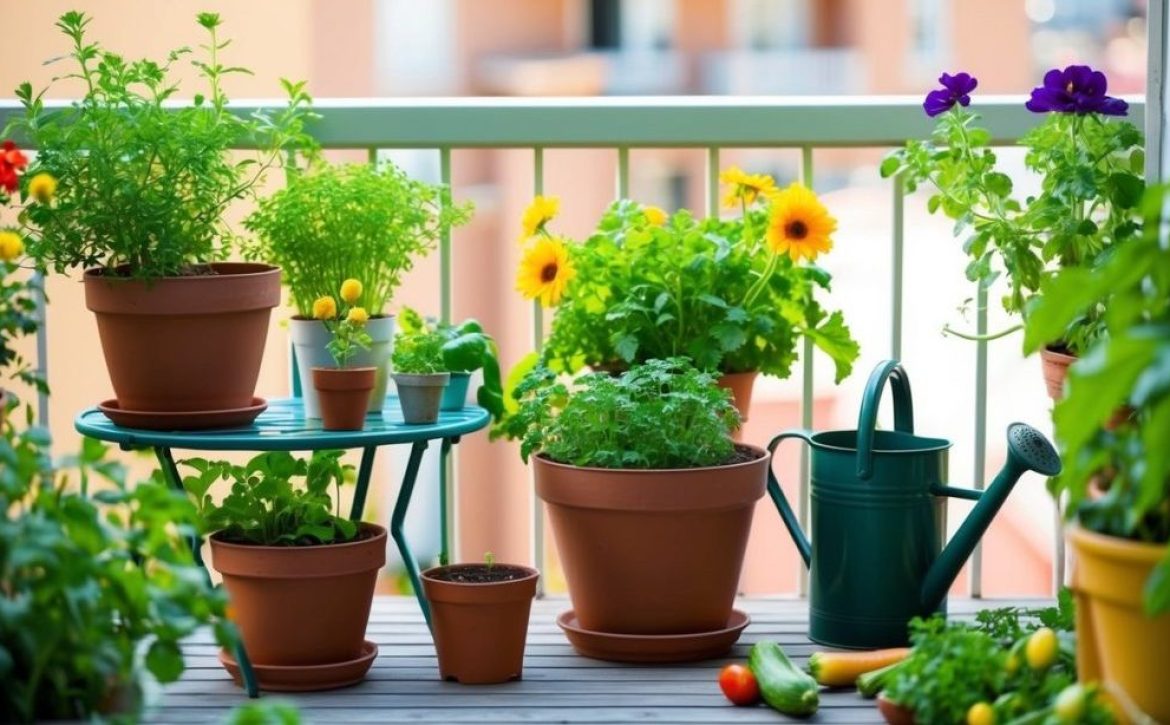
Top 10 Plants to Grow on Your Balcony This Spring: Easy Urban Gardening Ideas

Ready to bring your balcony to life this spring? Check out our latest article on the top 10 plants to grow in your urban garden! Whether you’re a seasoned gardener or a beginner, these easy ideas will help you create a beautiful green space right at home.

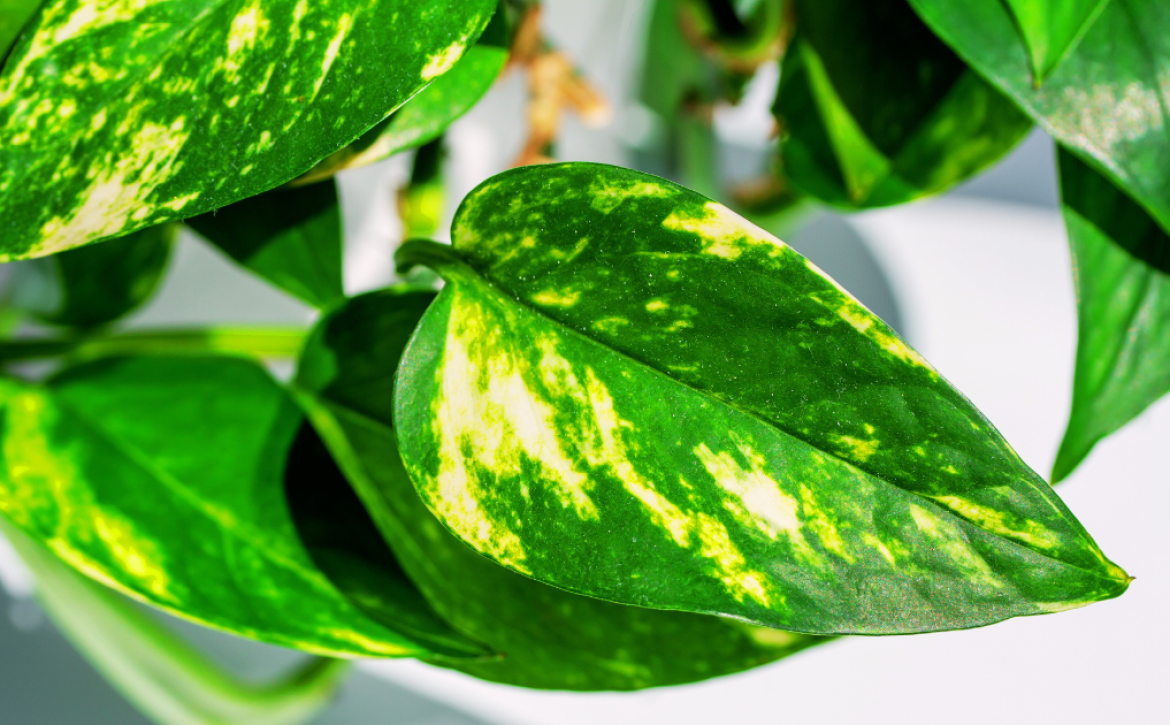
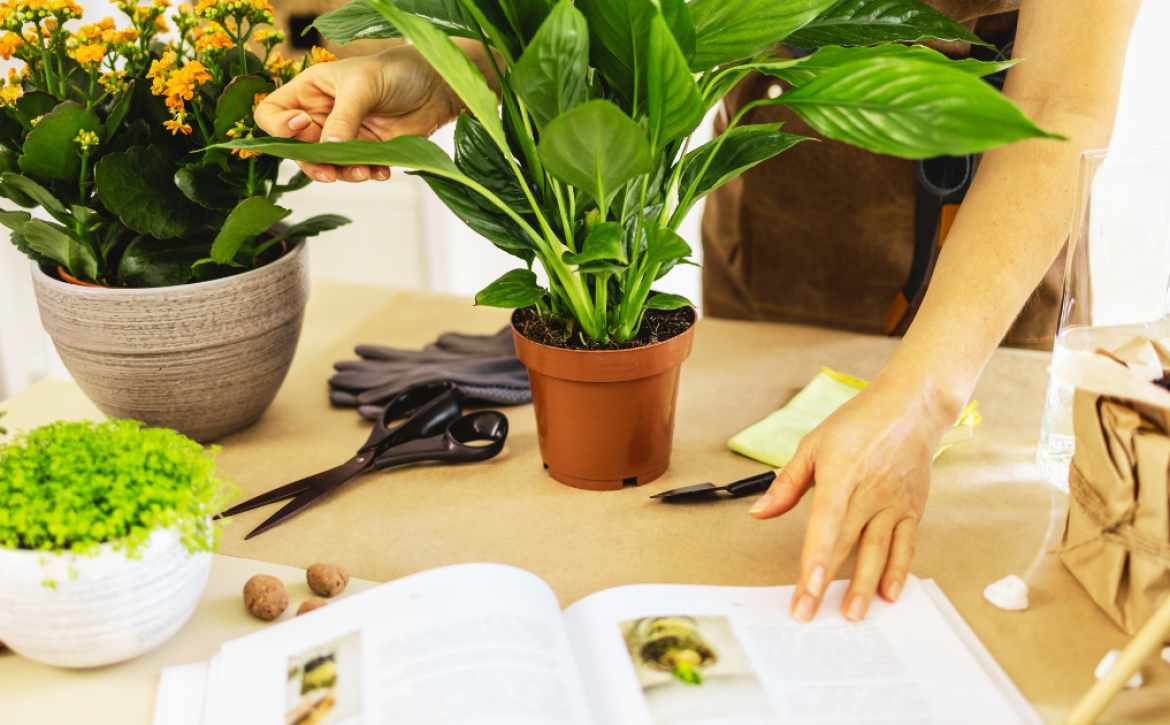
Costa Farms Golden Pothos: The Ultimate Air-Purifying Houseplant?

Looking to bring some greenery into your home? Check out our latest review of the Costa Farms Golden Pothos live plant! Not only does it add a touch of nature to your decor, but it also acts as a natural air purifier. Perfect for beginners and plant enthusiasts alike! ðŸŒąðŸ’š Read more about its care tips and benefits in our article!

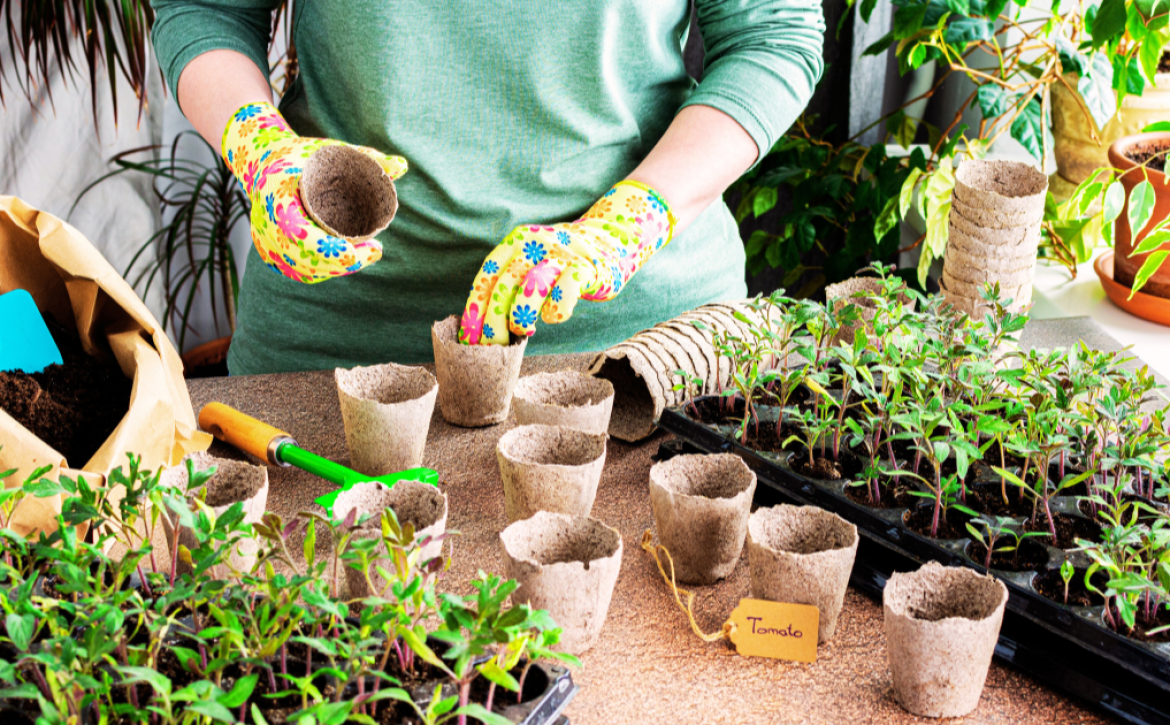
Eco-Friendly Practices in Your Balcony Garden: 5 Simple Steps for Sustainable Urban Growing

Check out our latest article on “Eco-Friendly Practices in Your Balcony Garden: 5 Simple Steps for Sustainable Urban Growing.” Learn how to grow your own plants while being kind to the planet!

Your Must-Read Books for Balcony Gardeners: Practical Guides and Inspiration

Check out our latest article, “Must-Read Books for Balcony Gardeners”! Dive into our top picks that will inspire and guide you on your gardening journey. Whether you’re a beginner or a seasoned pro, these reads are perfect for cultivating your green thumb!

The Ultimate Balcony Garden Trends for 2025

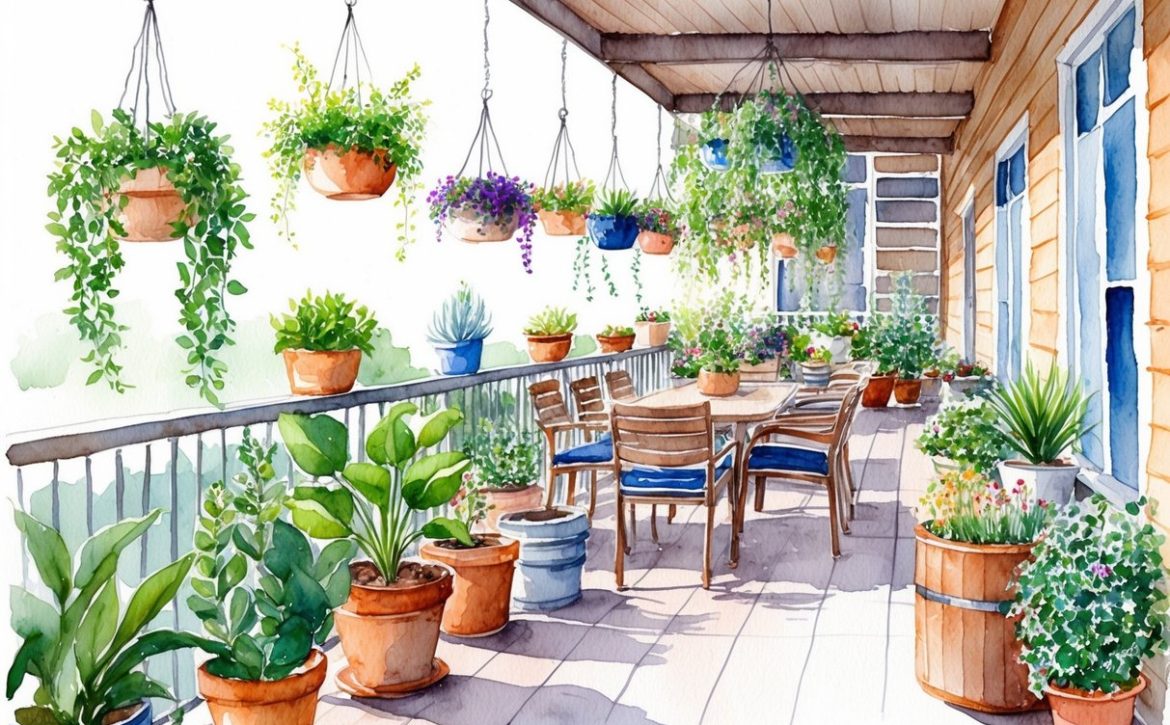
Ready to elevate your outdoor space? Check out our latest guide on balcony garden trends for 2025! From vertical gardens to sustainable planting, we’ve got all the tips you need to create a stunning urban retreat. Don’t miss out on these inspiring ideas!

Sustainable Balcony Gardening: Innovative Tips for Urban Green Thumbs

Ready to turn your balcony into a sustainable paradise? Check out our latest guide on balcony gardening! From vertical gardens to eco-friendly plant choices, we’ve got innovative tips to help urban green thumbs thrive. Let’s create a greener city together!

Spring Watering for Your Balcony Garden: Tips for Growth

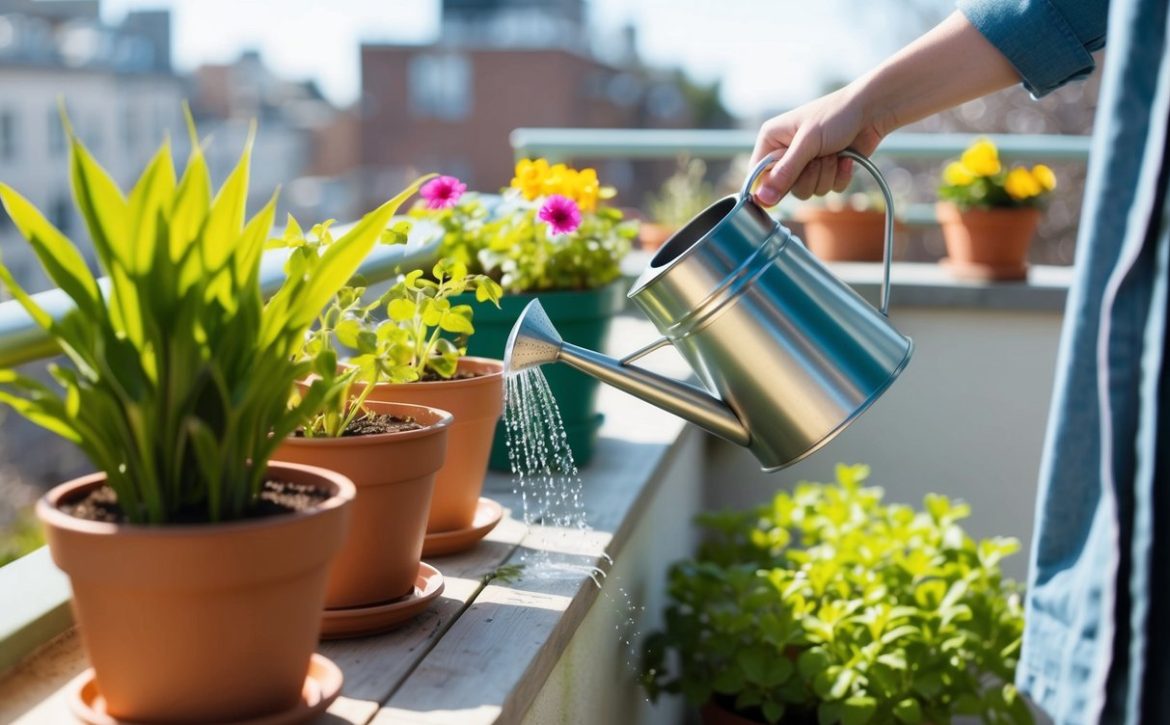
Elevate your balcony garden this spring? Check out our latest article on spring watering techniques! From the right timing to effective methods, we’ve got all the tips you need to ensure your plants thrive. Let’s make your balcony a lush oasis!

Dwarf Fruit Trees for Balconies: Unique Space-Saving Solutions

Urban gardeners, rejoice! Transform your balcony into a fruit-filled oasis with BGP dwarf fruit trees! These space-saving solutions are perfect for small spaces, allowing you to grow delicious fruits right at home. Check out our latest article for tips on choosing and caring for these compact trees!

Ultimate Guide to DIY Microgreens: Effortless Gardening for Beginners

Growing DIY microgreens at home offers an enjoyable and practical way to introduce fresh greens into your diet year-round. You don’t need a large garden or extensive gardening knowledge to get started. With the right DIY microgreen setup, you can transform a small area in your home into a thriving microgreen farm. This guide provides the insight and steps needed to create an efficient setup without breaking the bank, introducing more nutrition into your meals with minimal effort.

A glass jar filled with soil, with small sprouts emerging, sitting on a windowsill next to a watering can and a packet of seeds

Selecting the appropriate seeds is crucial for a successful microgreen setup. You’ll find that some varieties, such as kale, radish, or sunflower, grow well indoors. Preparing your growing space with attention to lighting and choosing the right growing medium sets the foundation for healthy growth. Paying attention to water and nutritional needs ensures your DIY microgreens thrive, offering a fresh harvest in just a few weeks.

Having a dedicated space for your DIY microgreen setup and understanding the essentials of care from germination to harvesting will allow you to enjoy a steady supply of delicious greens. Dive into the world of microgreens, troubleshoot common issues, and create a sustainable practice that fits seamlessly into your lifestyle.

Key Takeaways

  • Choose the best seeds and set up a suitable growing environment.
  • Provide proper lighting, water, and nutrients for healthy growth.
  • Harvest and enjoy fresh microgreens in just a few weeks.

Choosing the Right Seeds

A hand reaching for various seed packets on a shelf, with small pots, soil, and gardening tools laid out on a table for a DIY microgreens setup

Selecting the appropriate seeds is crucial for growing healthy and flavorful microgreens. Different seed varieties offer unique tastes, textures, and colors, while their germination rates affect the success of your growing efforts.

Microgreen Seed Varieties

Microgreens come in numerous varieties, each with distinct characteristics. Popular options include pea shoots, which offer a sweet taste and crunchy texture, and radish microgreens, known for their spicy flavor and vibrant red stems. When choosing seeds, consider your culinary preferences and nutritional goals.

They may be small, but microgreens are intensely flavorful, ranging from sweet to spicy to tart to sour. ~ Brad Leone

Some seeds produce microgreens that are packed with vitamins and antioxidants. Make sure the seeds are specifically labeled for microgreen growing to ensure they haven’t been chemically treated.

Having a diverse mix allows for a range of flavors and nutrients in your final harvest. Mixing varieties like sunflower, broccoli, and arugula can enhance both the taste and nutritional profile of your greens.

Germination Rate Considerations

Understanding germination rates is key to successful microgreen growth. Germination refers to how many seeds will sprout and is typically expressed as a percentage. Seeds like radish and broccoli often have high germination rates, making them reliable choices for beginners.

Choose seeds with high germination rates to maximize yield from your initial planting. This ensures your efforts in caring for them lead to abundant growth. Always purchase seeds from reputable suppliers to guarantee quality and consistency in germination.

Keep track of germination times for various seeds. This helps in planning the optimal environment, such as temperature and moisture. Knowing the germination rate allows for better planning, so you’re not left with sparse grow trays.

Preparing Your Growing Space

Professional Microgreens Setup ~ Josh Sattin Farming

Setting up your growing space involves choosing suitable containers and assessing indoor conditions. Proper preparation ensures that your DIY microgreens thrive in a controlled environment.

Selecting Containers or Trays

Choosing the right containers or trays is crucial for a successful DIY microgreen setup. Look for shallow trays—about 1-2 inches deep—to allow for easy watering and optimal root growth. Consider using food-safe plastic or stainless steel growing trays for durability and safety.

Size and shape matter too; rectangular trays are efficient for space utilization and management. Drainage holes help prevent overwatering and root rot. If you prefer reusing household items, shallow baking pans or repurposed takeout containers can work as well, provided they have adequate drainage.

Assessing Climate and Indoor Garden Conditions

Climate control is vital when cultivating microgreens indoors. Aim for consistent temperatures between 60-75°F (15-24°C). Place your trays in an area with strong indirect light or use grow lights to ensure your plants receive at least 12-16 hours of light daily. Control humidity levels to prevent mold while maintaining adequate moisture for growth.

Setting up an area with good air circulation minimizes potential fungal issues. If possible, use a fan to maintain airflow. Your indoor garden conditions significantly impact the quality and speed of your microgreen growth. Taking time to assess and adjust can lead to more successful harvests and a rewarding gardening experience.

Selecting a Suitable Growing Medium

Silicone vs Steel: Which Reusable Grow Medium is Best for Microgreens? ~ On The Grow

Choosing the right growing medium is crucial for the success of your DIY microgreens setup. Key considerations include the type of growing medium you choose and ensuring it has proper drainage capabilities for optimal plant health.

Types of Growing Mediums

There are several options for growing mediums, each with its benefits and drawbacks. Potting mix and potting soil are popular due to their availability and balanced nutrients. They are well-suited for most microgreens but may require additional amendments for better drainage.

Coconut coir, or coco coir, offers excellent water retention and reusability. It’s a sustainable choice, often mixed with other mediums to enhance moisture management. Vermiculite is another lightweight option, frequently mixed with potting mixes to improve aeration and water retention.

Peat-based mixes are traditional choices, favored for their natural water retention and nutrient availability. However, they are often considered less sustainable. Hemp mats provide a soil-free option, ideal for hydroponic setups, though they can be more expensive and may require nutrient supplementation.

Importance of Drainage

Proper drainage in your growing medium is essential to prevent root rot and ensure healthy microgreens growth. A growing medium like a potting mix should be airy enough to allow excess water to drain while retaining enough moisture for plant uptake.

Combining materials can enhance drainage; for instance, mixing coconut coir or vermiculite with potting soil helps maintain balance. Evaluate the medium’s drainage by observing water flow and adjusting mixtures as needed for optimal results.

Avoid overwatering, which can lead to waterlogged roots, impeding oxygen accessibility. Ensure containers have drainage holes to allow excess water to escape, preserving the fine-tuned environment crucial for microgreen growth.

Setting Up Lighting

A bright, well-lit room with shelves, LED grow lights, and trays of microgreens at various stages of growth

Lighting is crucial for the successful growth of microgreens, influencing their health and nutrient content. Understanding the options available and their benefits will help you choose the most effective setup for your needs.

Choosing Grow Lights

Understanding Grow Lights: The right grow light is key for microgreens to undergo photosynthesis efficiently. LED grow lights are popular due to their energy efficiency and full-spectrum light, closely resembling natural sunlight. Fluorescent shop lights are also used, offering a good balance between cost and effectiveness.

Light Characteristics: Look for grow lights that offer a full spectrum, ensuring plants receive the necessary wavelengths. The light intensity and distance from the plants are crucial. Position lights 12-18 inches above the microgreens to optimize light exposure without causing heat stress.

Types and Costs: Consider the cost of installation and operation. LED lights may have a higher upfront cost but tend to save money in the long run. Compare this with other options such as fluorescent lights to determine what best fits your budget and needs.

Natural Light vs Artificial Grow Lights

Pros and Cons of Natural Light: Natural light can save on energy costs and is best when your setup is near a window with plenty of sunshine. However, it can be inconsistent due to seasonal changes, which might affect growth rates and plant health.

Benefits of Artificial Lights: Artificial grow lights, including LEDs and fluorescents, provide a consistent light supply, allowing you to control the growing environment precisely. This control helps optimize growth cycles and achieve uniform microgreens.

Choosing the Best Option: Evaluate your space and climate. If consistent natural light isn’t available or feasible, investing in artificial grow lights offers the flexibility and control needed for optimal microgreen growth. Balancing these factors will help you decide the best lighting strategy.

Nutrition and Watering

A small tray of microgreens sits on a windowsill. A hand pours water from a small watering can onto the plants. A bag of soil and a container of plant food sit nearby

Ensuring your microgreens have the right nutrients and moisture is vital for healthy growth. Proper feeding and watering techniques directly impact their development and nutritional value.

Feeding Microgreens with Nutrients

Microgreens are known for being nutrient-dense, so providing them with the right nutrients is essential. Many growers use a balanced liquid fertilizer to supplement nutrients. Choose a low-concentration fertilizer specifically designed for microgreens, as their delicate roots can easily burn.

When preparing the growing medium, consider fortifying it with compost or worm castings for a natural nutrient boost. This enriches the soil, supporting healthier sprouting. It is crucial to monitor plants for signs of nutrient deficiency, such as yellowing leaves, and adjust your feeding practices accordingly.

Watering Techniques and Tools

Watering microgreens requires precision to maintain optimal moisture levels. A consistent routine helps prevent over-watering or dryness, both of which can hinder growth. Use a fine misting spray bottle or a watering can with a narrow spout to gently water the plants without disturbing their delicate structure.

After planting, keep the seeds moist by covering them with a damp cloth during the initial sprouting phase. Positioning a humidity dome over the trays can also help maintain moisture. Regularly check soil moisture by touching the surface, ensuring it remains evenly damp but not soggy. Proper watering supports lush, vibrant microgreens ready for harvest.

The Growth Process

A table with soil-filled trays, seeds, and a spray bottle. A grow light hangs above the setup

Discover the essentials of cultivating microgreens by focusing on monitoring and adjustments. Understanding the sprouting timeline and care intricacies will ensure a healthy growth cycle for your DIY microgreens indoors.

Sprouting and Care

To begin the sprouting process, you should first prepare your soil or growing medium in your chosen trays. After spreading seeds evenly, lightly cover them with additional soil to keep them in place. A humidity dome can help maintain the right moisture levels. A consistent water supply ensures seeds do not dry out; a spray bottle often works well.

Place your trays in an area with indirect light, or use grow lights if you plan to grow microgreens indoors. Allow air circulation using small fans to avoid mold growth. Set a timer to automate lighting, mimicking natural sunlight cycles to promote quicker sprouting. Sprouts should emerge in about three to four days. Once they do, ensure they receive sufficient light, as inadequate lighting can lead to leggy seedlings.

Monitoring Growth and Making Adjustments

After the initial sprouting, shift your focus towards monitoring the microgreens’ growth. Pay attention to the leaves’ texture and color. Healthy plants are vibrant and firm. Use a fan to continue providing adequate air circulation, reducing excess moisture that may result in mold.

Check daily for the right balance of water—too much can waterlog roots; too little will stunt growth. Adjust light exposure to prevent legginess by lowering grow lights if needed. Monitor the growth speed, adjusting your care routine based on environmental factors like temperature and humidity. Once microgreens reach the desired size, they are ready for harvesting.

Harvesting Your DIY Microgreens

A hand reaching for freshly harvested microgreens from a DIY setup on a kitchen counter. The vibrant green shoots are neatly arranged in small trays ready for consumption

To ensure optimal flavor and nutrition, the right timing and method for harvesting microgreens are crucial. Post-harvest, proper handling keeps them fresh and ready to enjoy.

When and How to Harvest

Microgreens are typically ready to harvest between 7 to 21 days after sowing, depending on the type. Look for the appearance of the first true leaves, which often indicates they are mature enough to harvest.

Gently hold the base and use small scissors to cut the stems just above the soil. Harvest in the morning when they are at their freshest. Avoid pulling them out by the roots to prevent dirt contamination.

It’s beneficial to clean your tools before harvesting. This helps maintain the quality and safety of your harvested DIY microgreens.

Post-Harvest Handling

After cutting, rinse your microgreens in cold water to remove any debris. Use a salad spinner or gently pat them dry with a clean towel. Moisture is a key factor in their longevity, so ensure they are thoroughly dried before storing.

Store them in a sealed container lined with a paper towel to absorb excess moisture. Place in the refrigerator for up to a week, checking regularly for any signs of wilting or spoilage.

Handling them with care minimizes bruising and maintains their vibrant color and taste. Proper post-harvest steps help you enjoy fresh microgreens straight from your DIY setup.

Using Your Microgreens

A small tray of microgreens growing under LED lights on a countertop. Watering can and seed packets nearby

Microgreens are not only fresh and nutritious but also versatile in culinary applications. They can enhance the flavor and appearance of a wide range of dishes, and proper storage ensures they remain a nutritious staple in your kitchen.

Incorporating Microgreens into Your Diet

Microgreens are a wonderful addition to various dishes, adding both nutrition and visual appeal. Salads benefit from their vibrant colors and distinct flavors; try combining them with mixed greens for an enhanced taste experience. They make excellent toppings for sandwiches, bringing a fresh, crunchy texture that complements various fillings.

Consider using microgreens as a garnish for soups and main courses. Their concentrated nutrients qualify them as a superfood, offering a burst of vitamins and minerals to any meal. Whether used as a main ingredient or an accent, microgreens can elevate everyday dishes to gourmet levels with minimal effort.

Storing Microgreens for Freshness

To ensure your microgreens stay fresh, proper storage is key. Place them in a clean, dry container lined with a paper towel to absorb excess moisture. Store them in the refrigerator, ideally in the vegetable crisper, to maintain their crispness and flavor for up to a week.

Avoid washing your microgreens before storage, as moisture can lead to spoilage. Instead, rinse them just before use. Seal the container tightly or use a plastic bag with small air holes to prevent wilting. By following these steps, your microgreens will retain their nutritional value and vibrant appearance, ready to enhance your meals whenever needed.

Troubleshooting Common Issues

A person inspecting small pots of microgreens, checking for signs of mold or overwatering. A watering can and small gardening tools are nearby

Growing DIY microgreens at home can be highly rewarding, yet certain issues may arise during cultivation. Common challenges involve managing pests and diseases, as well as ensuring optimal growth conditions for the plants.

Managing Pests and Diseases

Pests like aphids or fungus gnats can become a nuisance in your microgreen setup. To manage these pests, maintain clean trays and use sterile equipment. Introducing beneficial insects or a gentle insecticidal soap may help control infestations.

Damp conditions can foster mold growth, a frequent problem in microgreen cultivation. Ensure adequate ventilation by using a fan or opening windows. This helps reduce excess moisture. In cases where diseases persist, rotate seeds and conduct regular inspections to catch issues early.

Resolving Growth Problems

Poor growth can occur due to insufficient light, water, or nutrients. Ensure your microgreens receive adequate natural or artificial light. Consider using LED grow lights if natural light is sparse.

Improper watering is another common issue. It’s crucial to provide consistent moisture without overwatering. Use a spray bottle to keep the soil evenly damp. Ensure trays have good drainage to prevent waterlogging. Poor air circulation can also hinder growth, so a fan might be beneficial.

Reference guides like the step-by-step guide for growing microgreens to ensure you’re meeting specific requirements for different species.

Creating a Sustainable Microgreen Practice

A wooden shelf with rows of small trays filled with soil, each tray holding various types of microgreen seeds in a well-lit room

Growing DIY microgreens at home is an excellent step towards sustainability and healthy eating. To start, choose easy-to-grow varieties such as radish or sunflower. These require minimal effort and can thrive in small spaces.

Essential Materials:

  • Seeds
  • Growing trays
  • Potting soil or coconut coir
  • A rack system for organization

For a small home garden, a simple rack system can help maximize space. This setup allows you to stack multiple trays vertically, which is beneficial when space is limited.

Schedule regular watering and ensure that trays receive adequate sunlight. Placing them near a sunny window or using grow lights can accelerate the growing process.

Implement composting practices for any waste generated. Using leftover soil and seed remnants as compost helps in reducing waste and promotes a cyclic use of resources.

Social media & sharing icons powered by UltimatelySocial
Facebook
fb-share-icon